
For the design of openings between rooms without a door, arches can be used. They are made from drywall, after which they put off with the reinforcing ribbon, painted or fall by wallpaper. At first glance, the task is simple, but still has a lot of nuances.
What will take:
- Wall plasterboard;
- UD profile;
- self-tapping screw;
- Gypsum plaster.
Arch manufacturing process
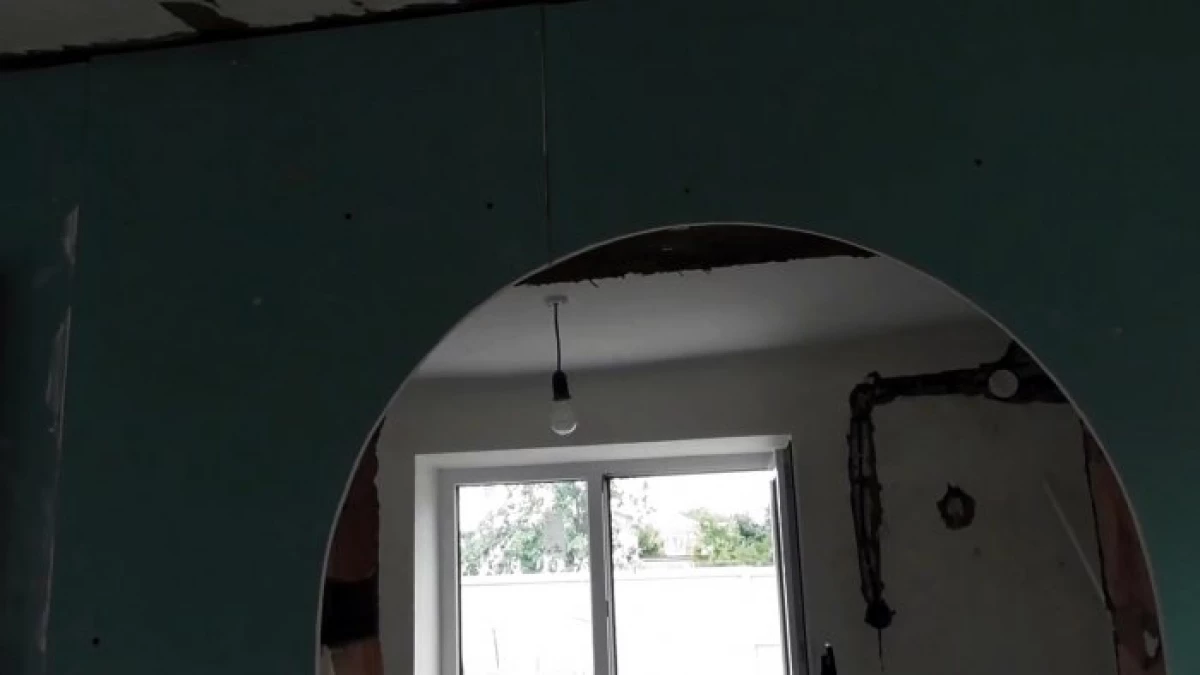
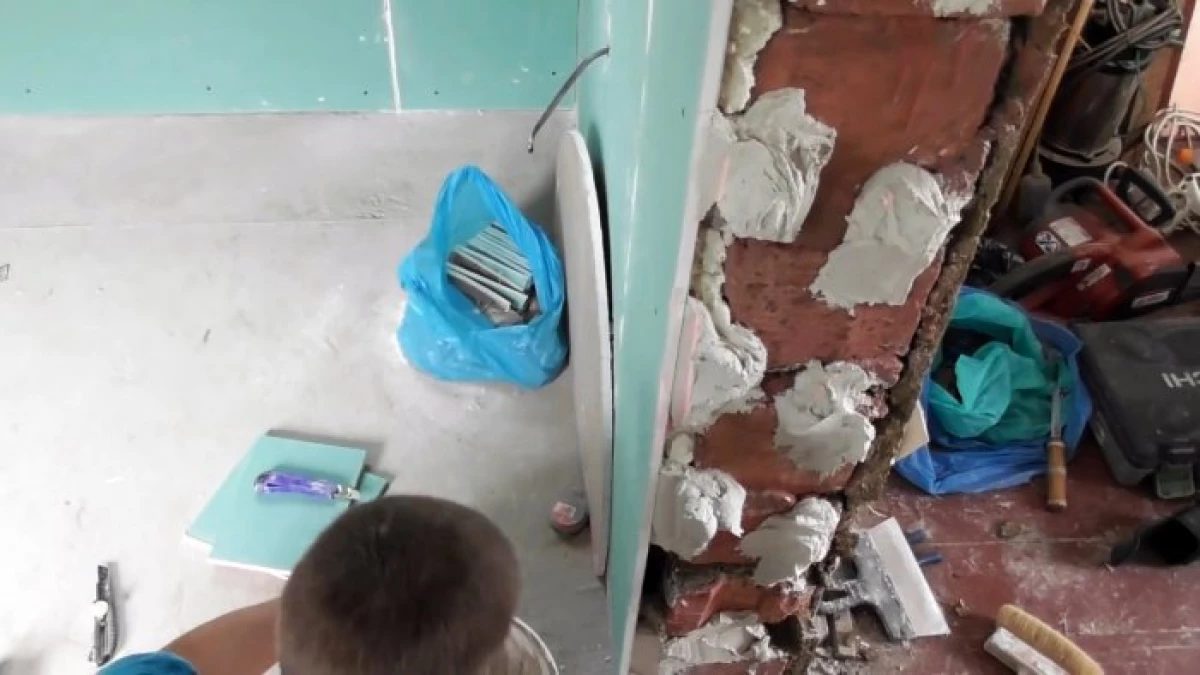
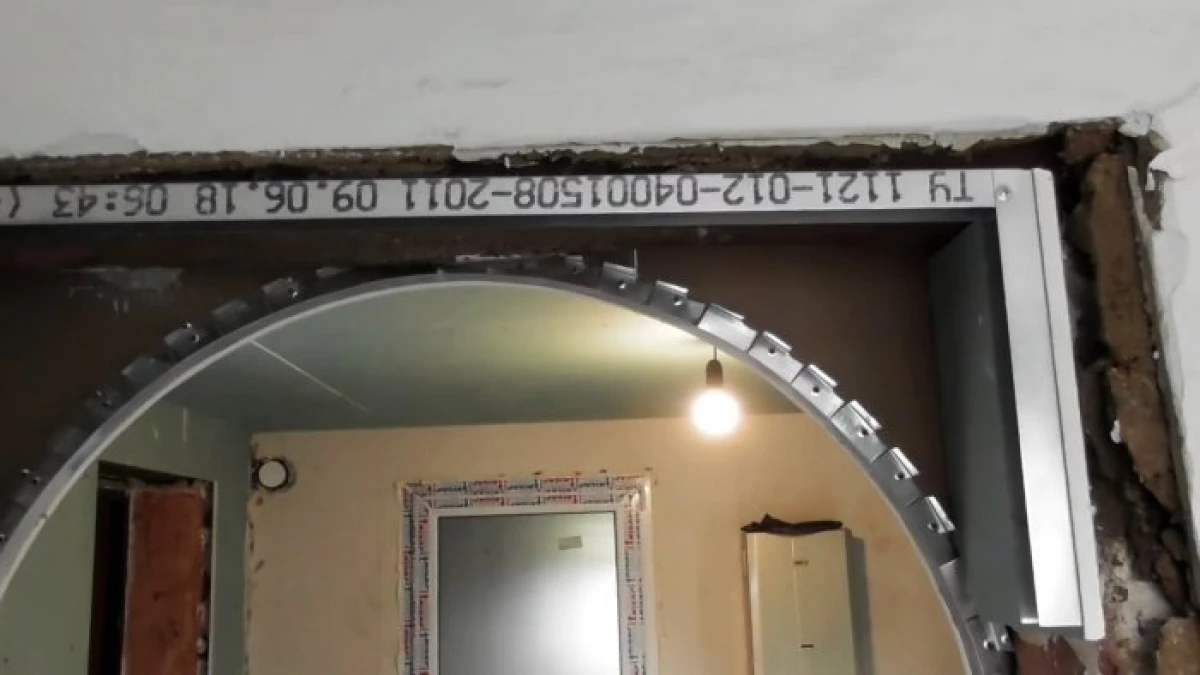
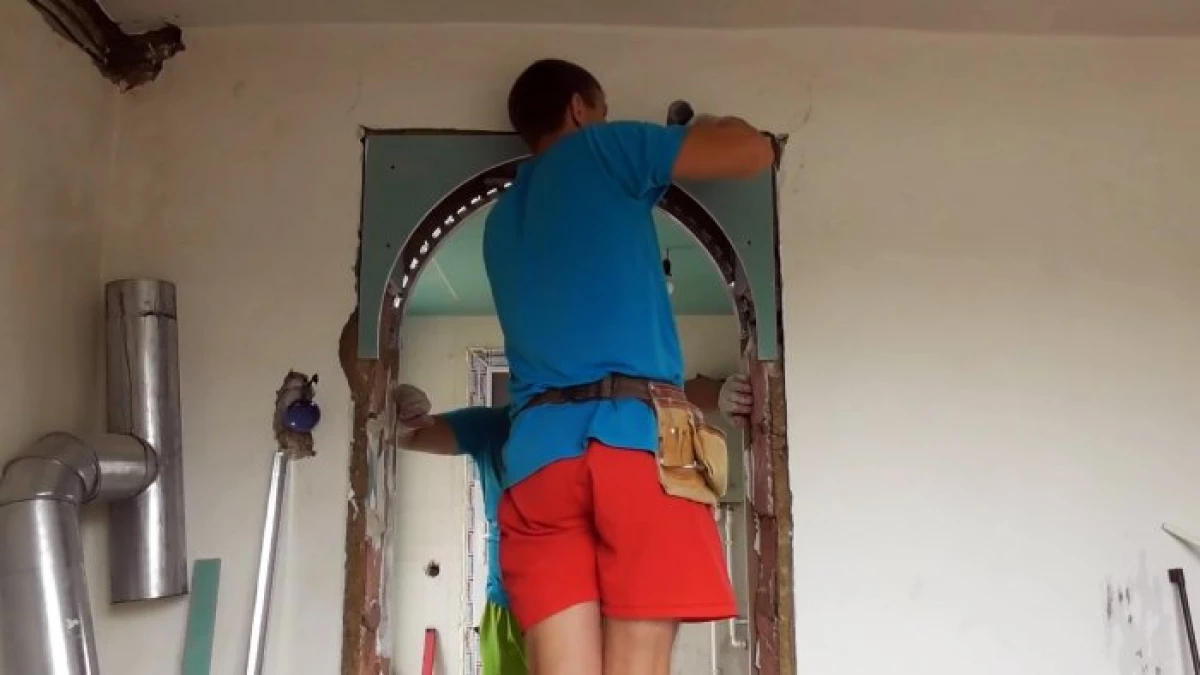
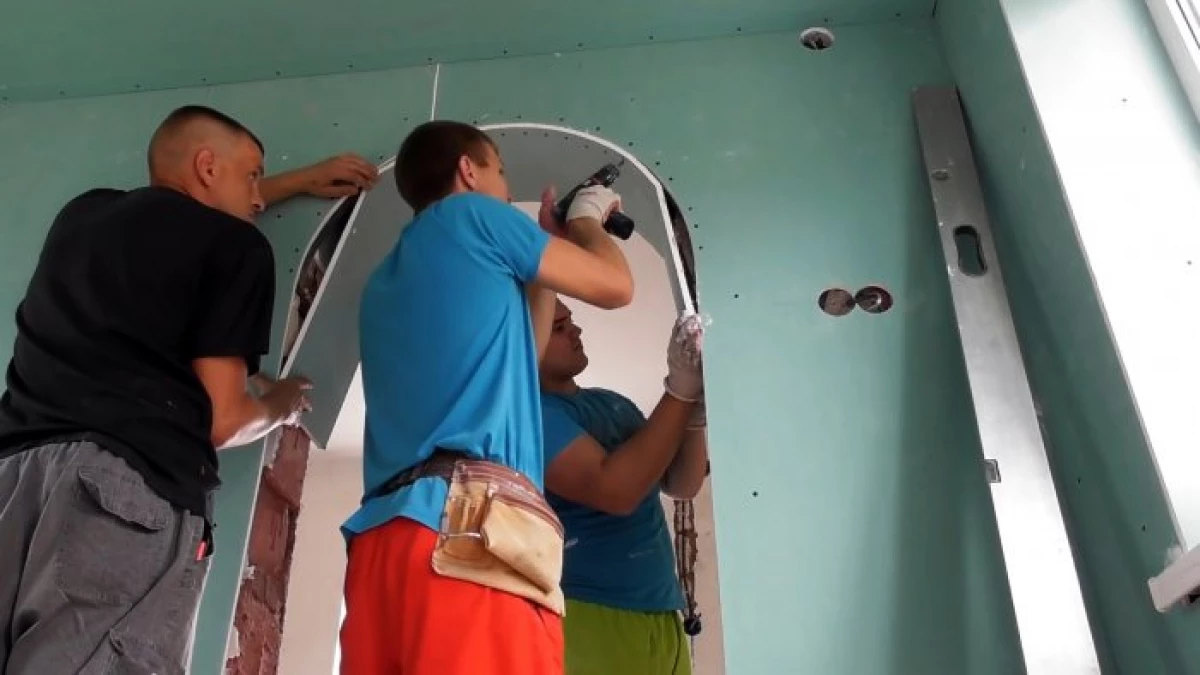
On the one hand, the wall is glued or screwed into the crate of a plasterboard sheet with a cut-out arch. It is important to do everything in terms of level, as it will serve as a starting point for assembling the rest of the design.
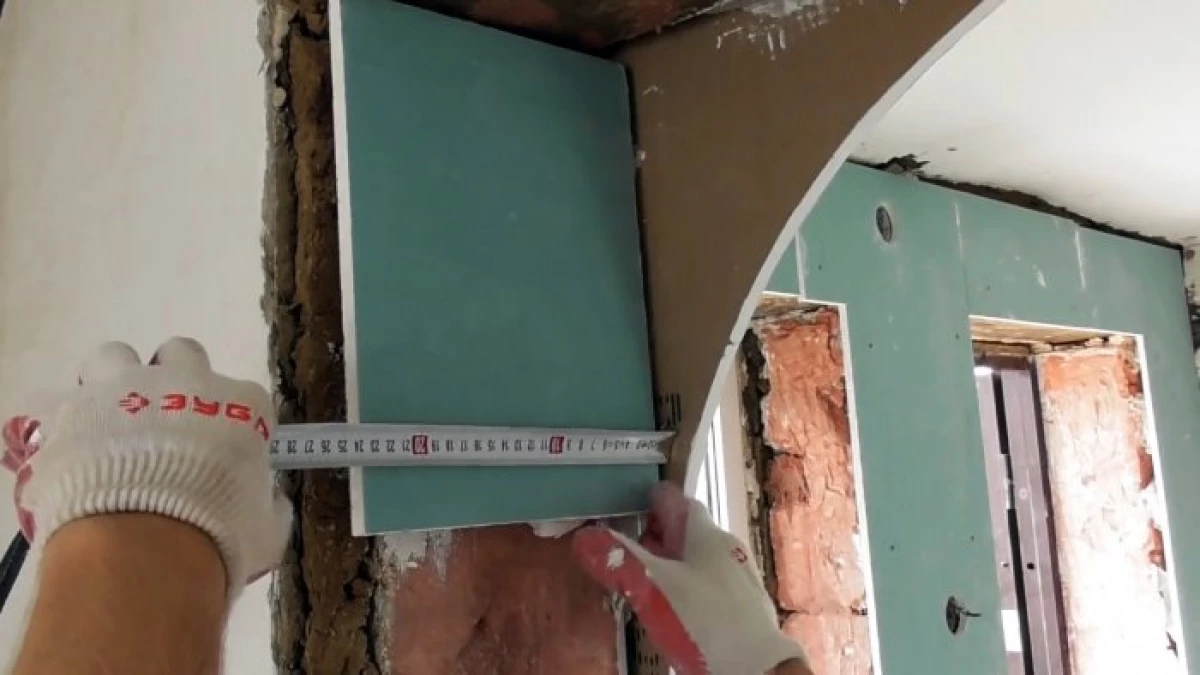
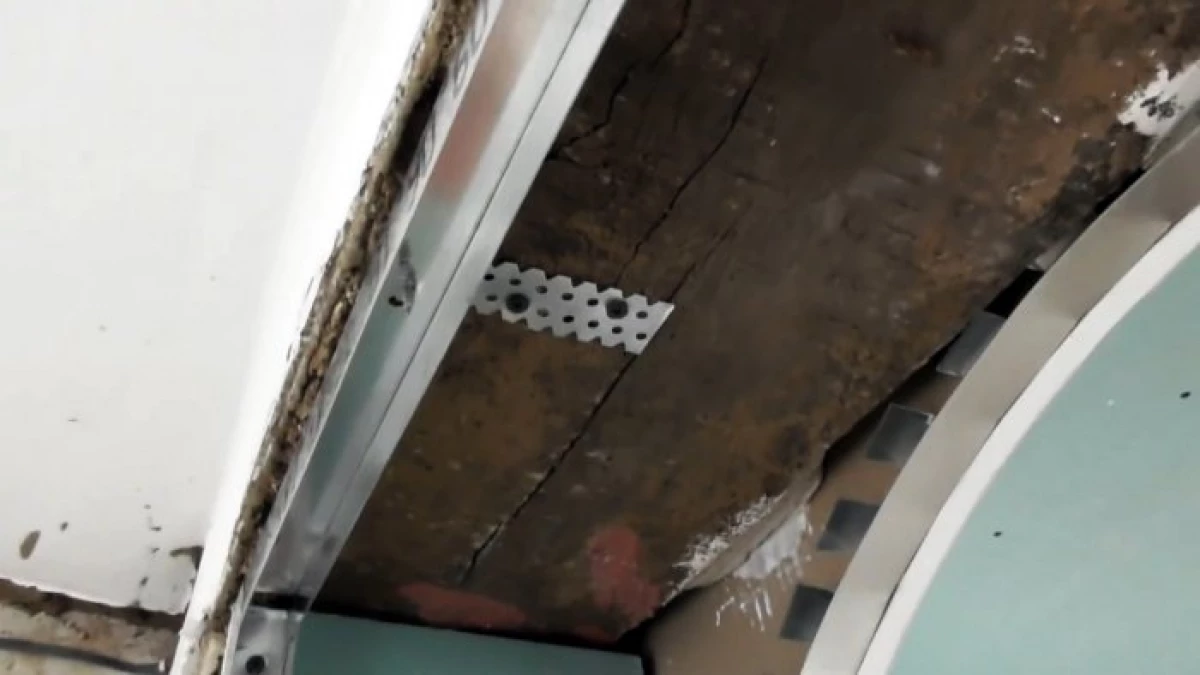
If on the other side of the opening of the second sheet will be applied to the wall with the wall, and not on it, then it is required to prepare the base for fastening the UD profile. For this, if we open a curve, pieces of drywall are glued on it and aligned.
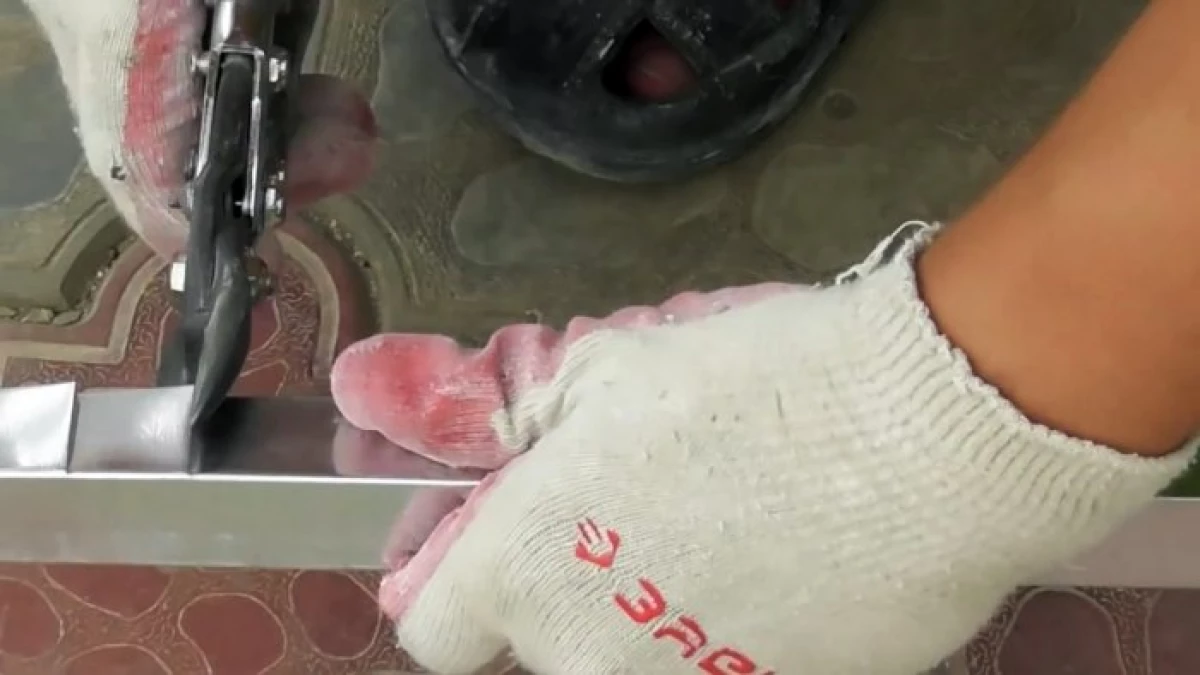
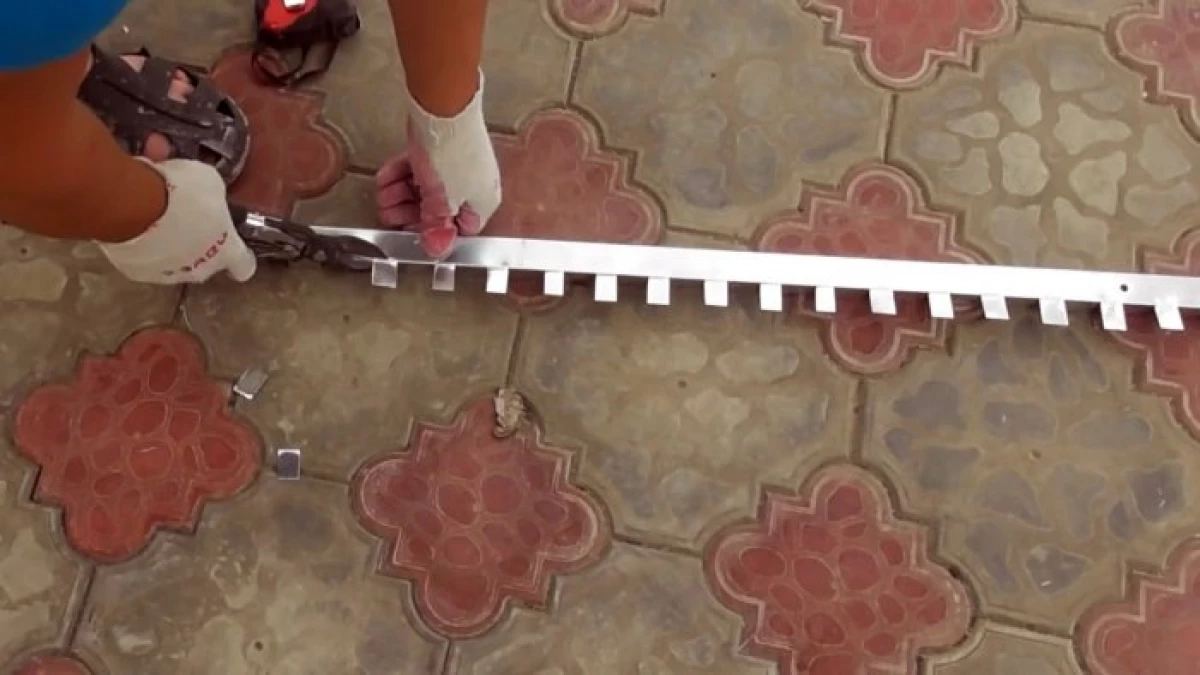
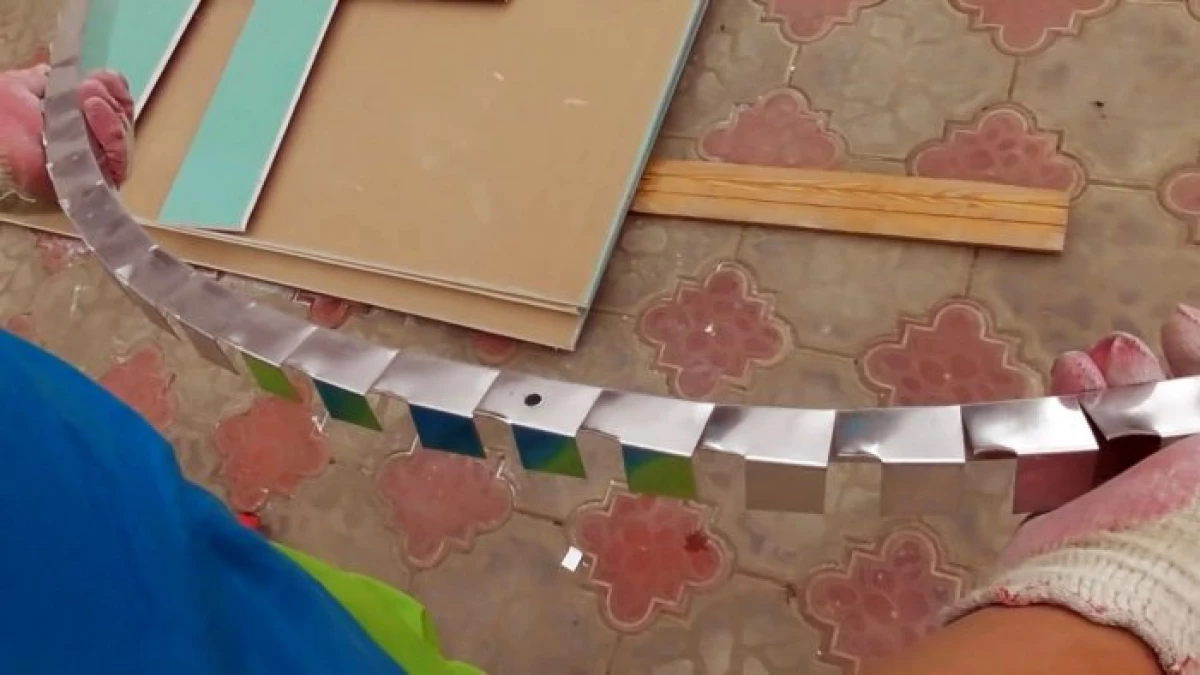
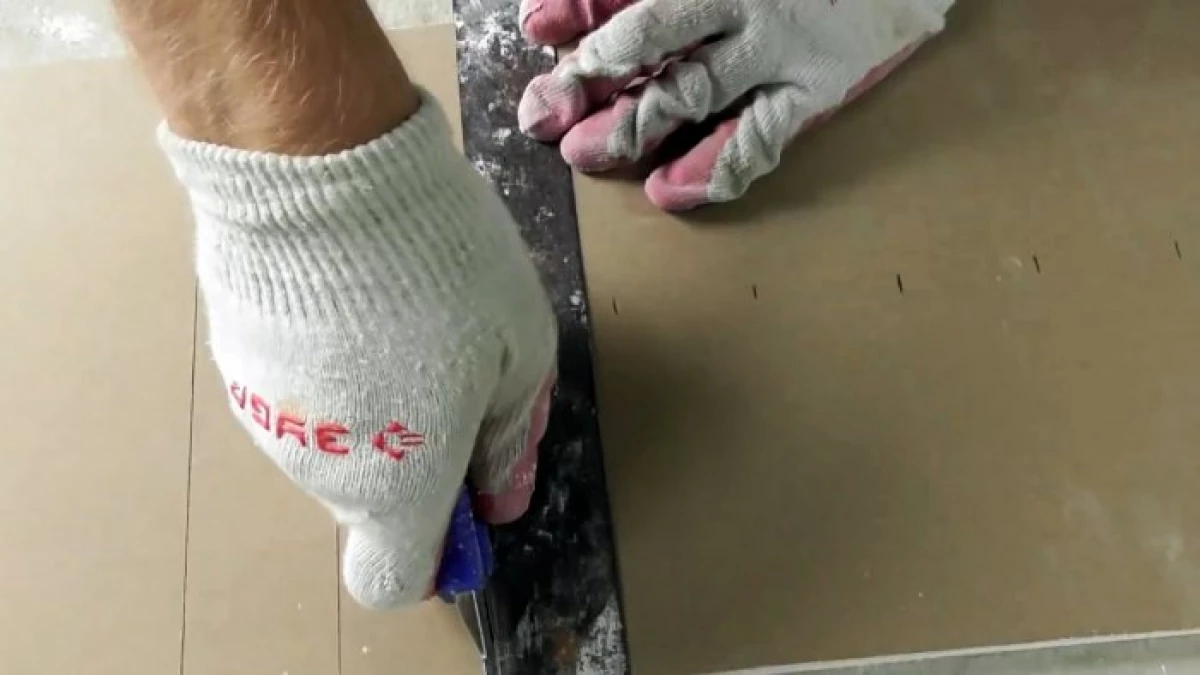
Next, you need to make notches on the UD profile shelves, remove the metal pieces through one, and get it up to fasten it from the inside the arches on plasterboard.
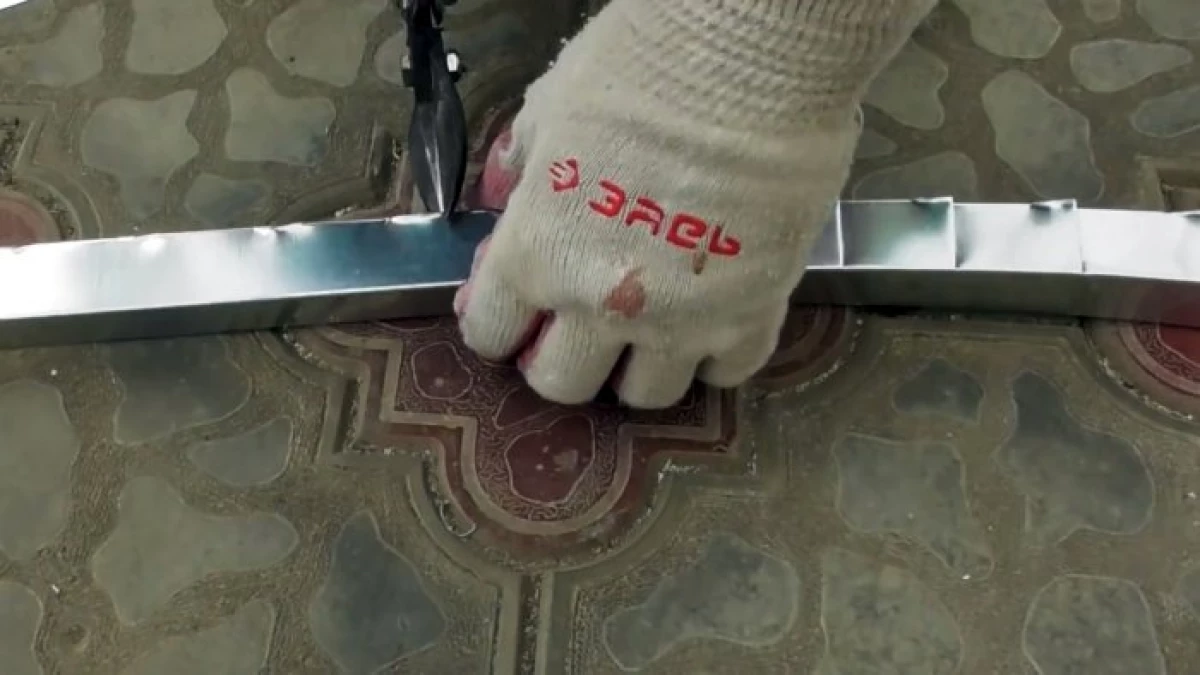
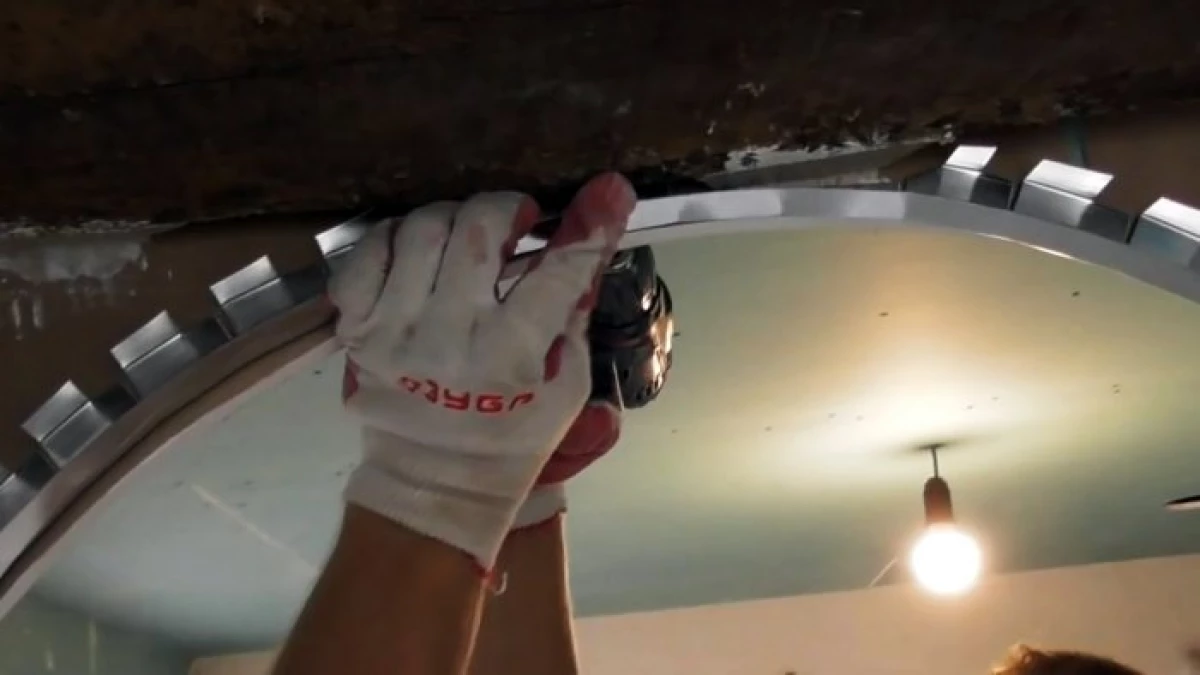
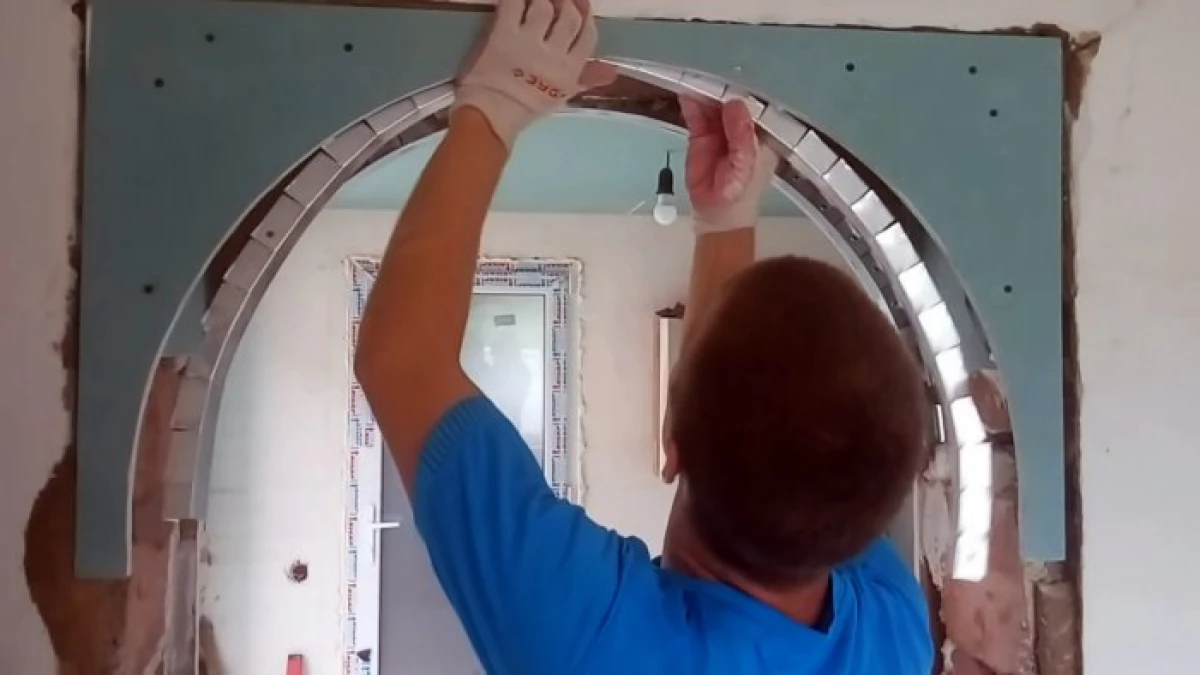
At the previously glued pieces of drywall in the opening, slices of the UD profile are screwed. Between them at the top, the upper part of the frame is opened. If necessary, the protruding parts of the profile are cut. It is important to drown everything in the opening, so that when the sheet is superimposed, there was a floss with a plastered wall.
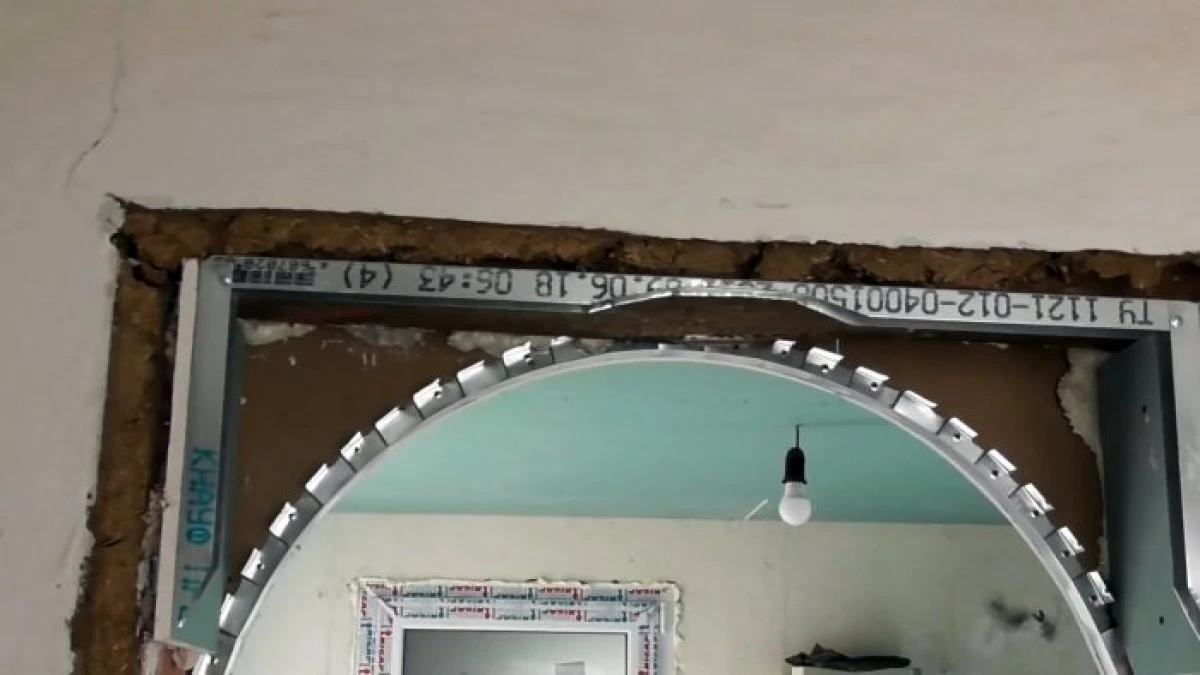
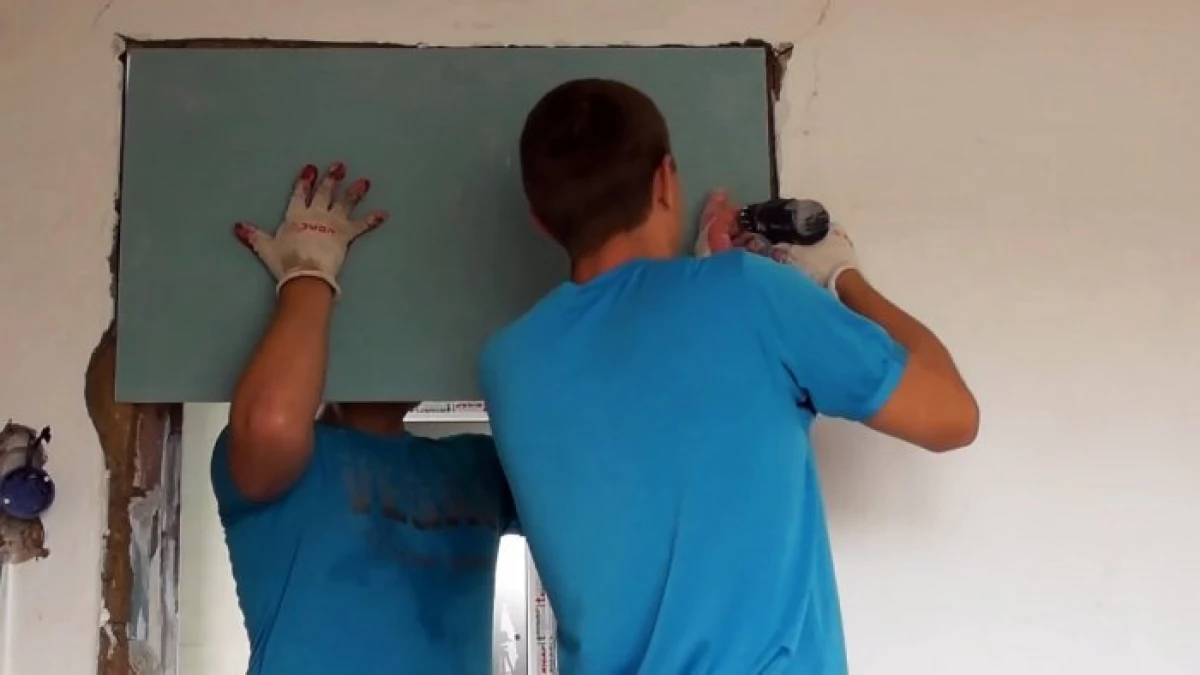
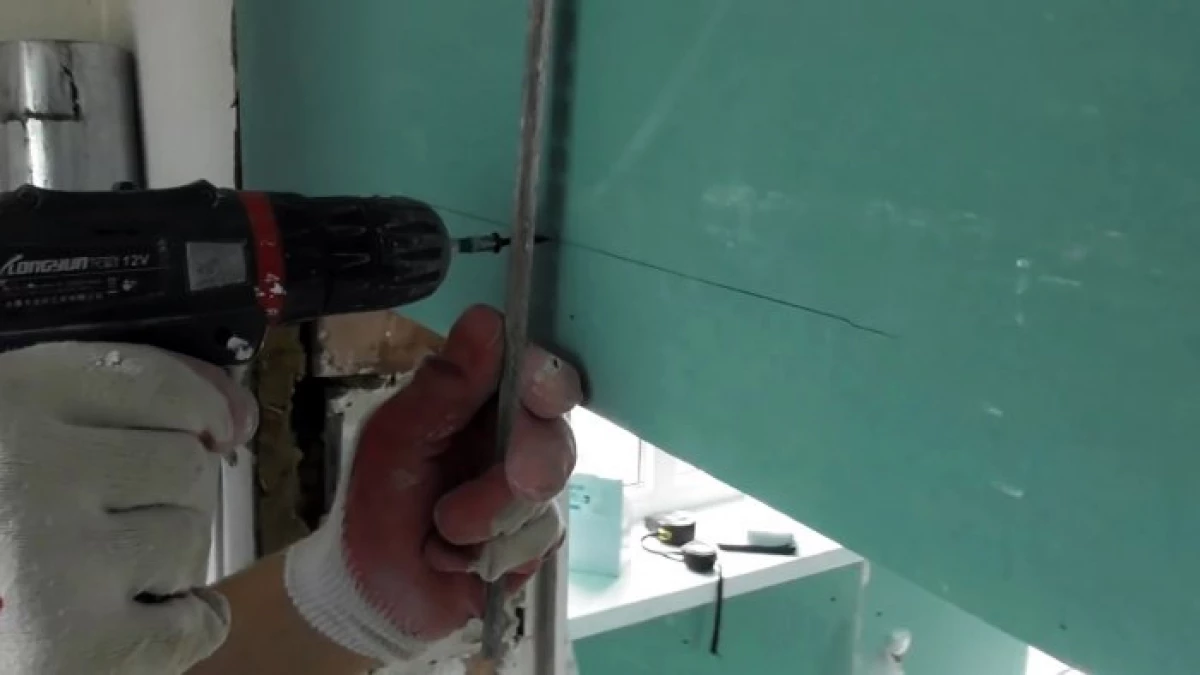
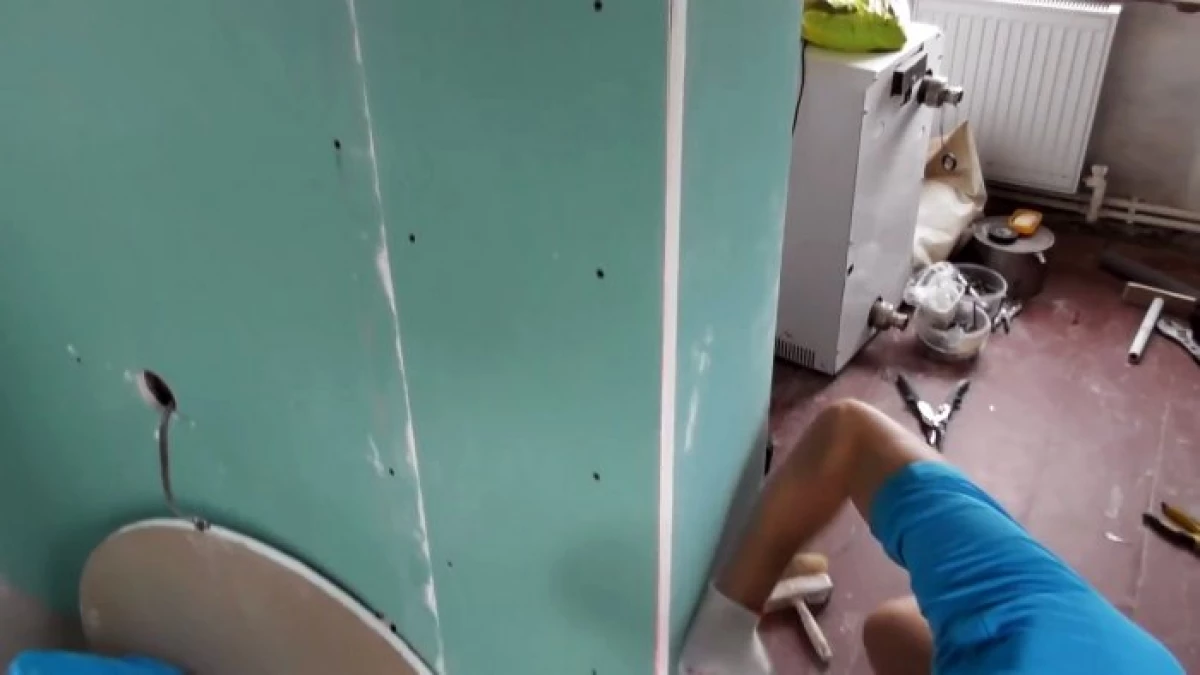
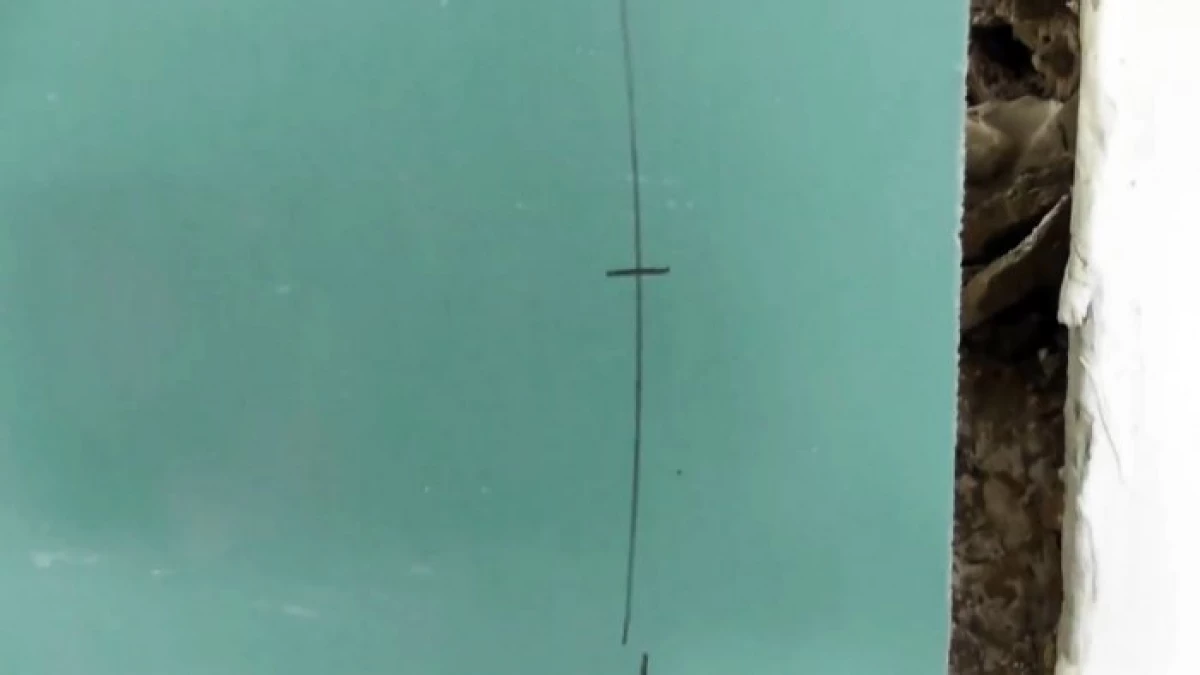
Further, a piece of drywall is screwed to the base, not yet cropped under the arch, since otherwise it can be randomly breaking when mounting. Then the markup is made on it and cut out too much.
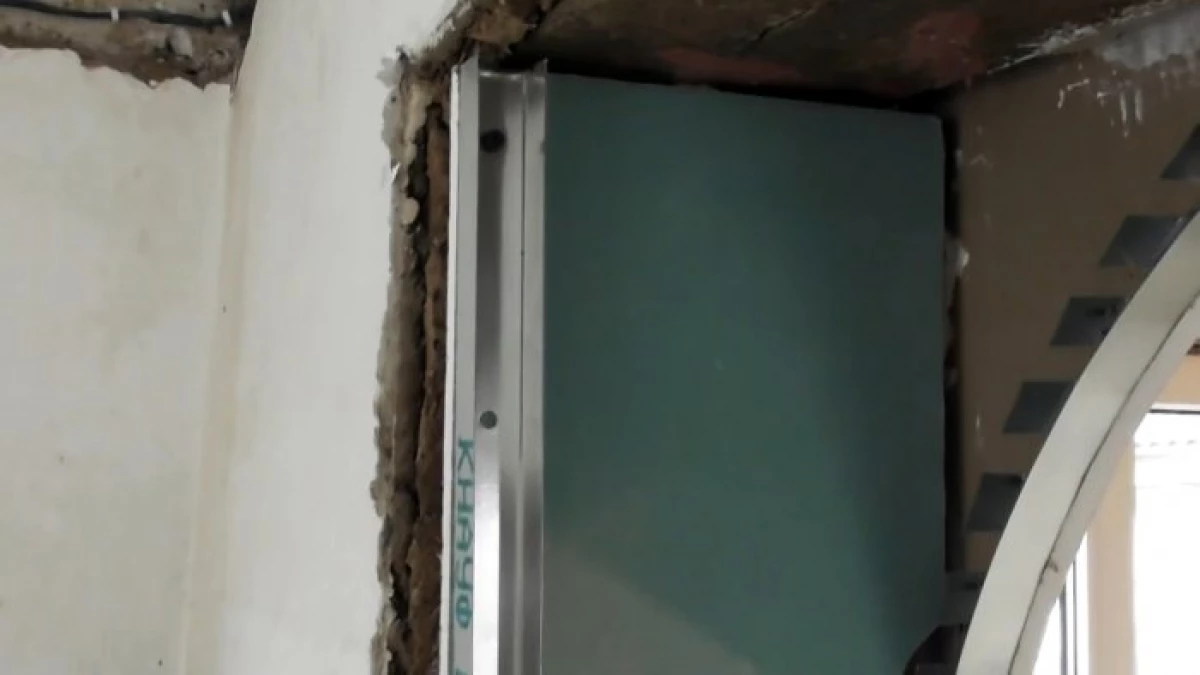
For the second wall of the arch screwed and swept UD profile.
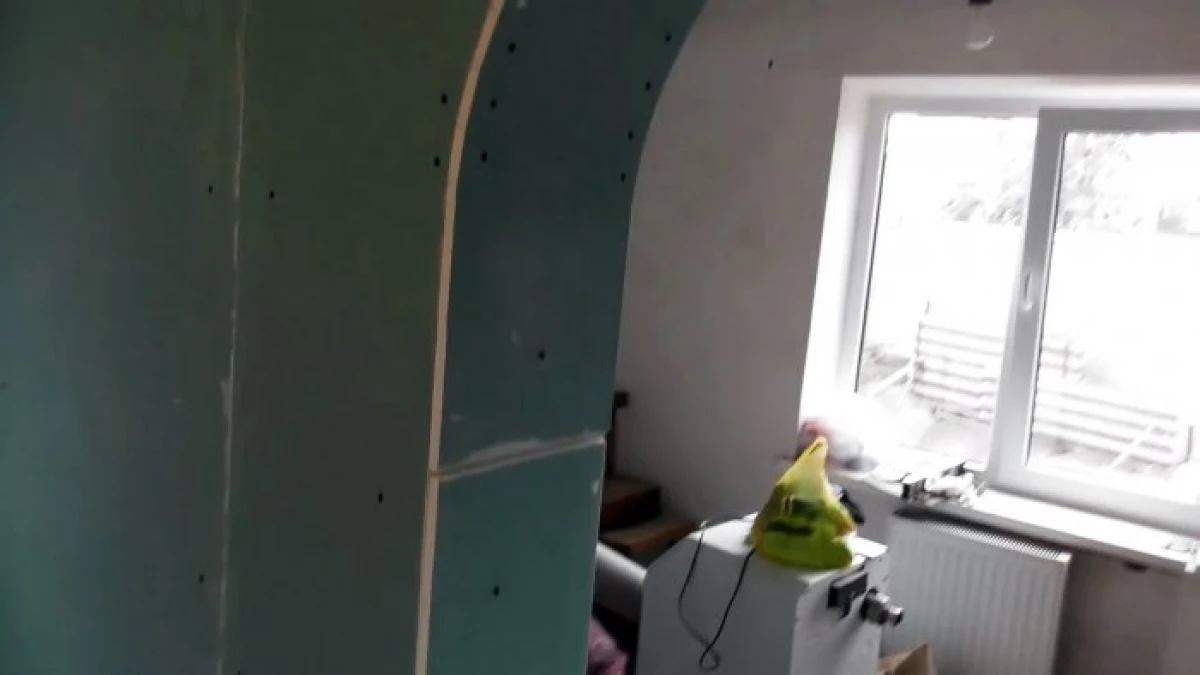
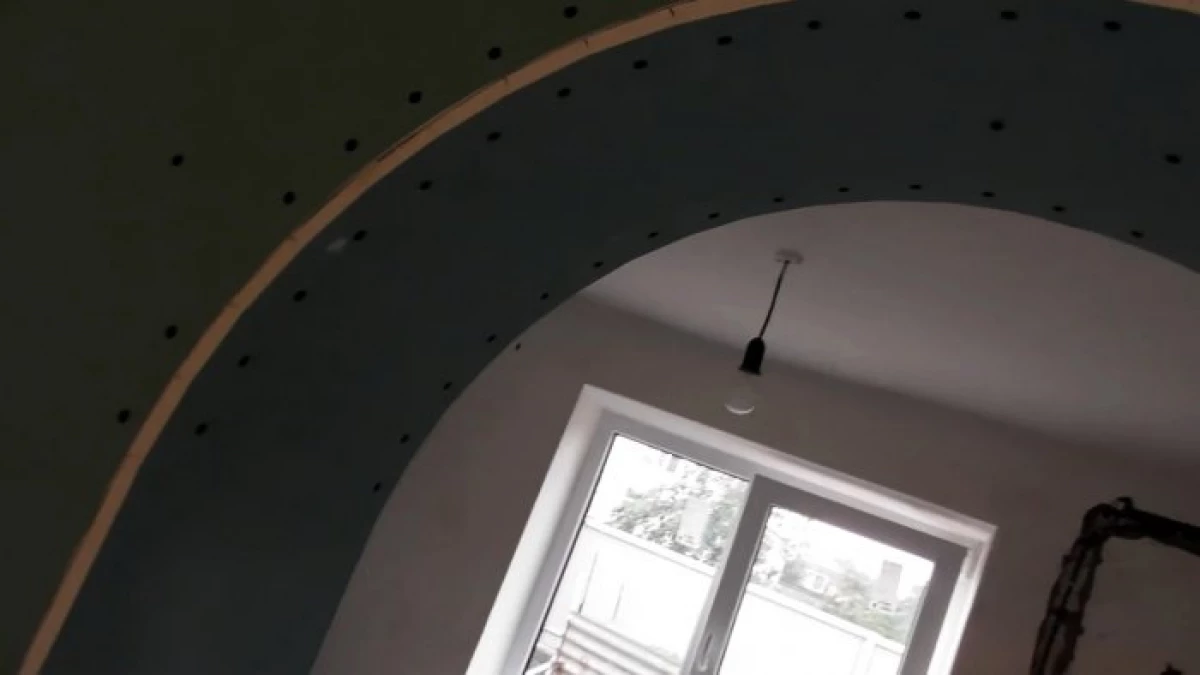
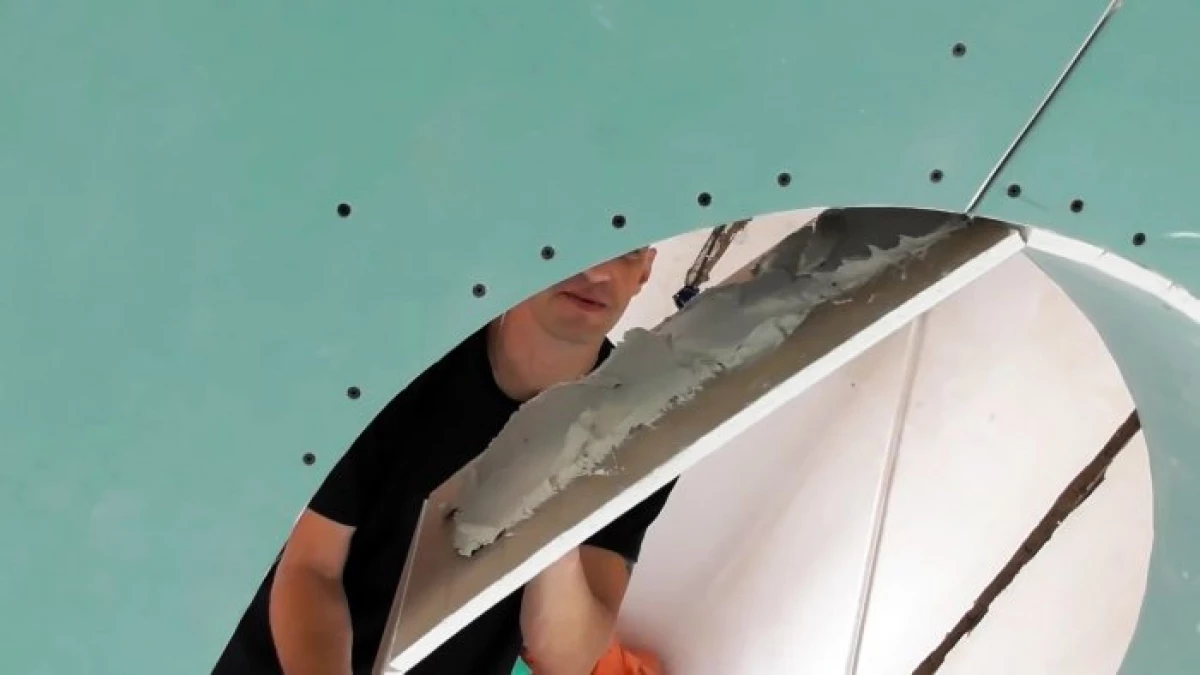
After that, it is necessary to cut the plasterboard strip to close the arches from the inside. On its turnover, transverse notes are made with a knife. You can also wash the sheet. Then it is screwed. In order for the arch does not thunder, it should be placed. It is required to tie a strip with a closed black opening.
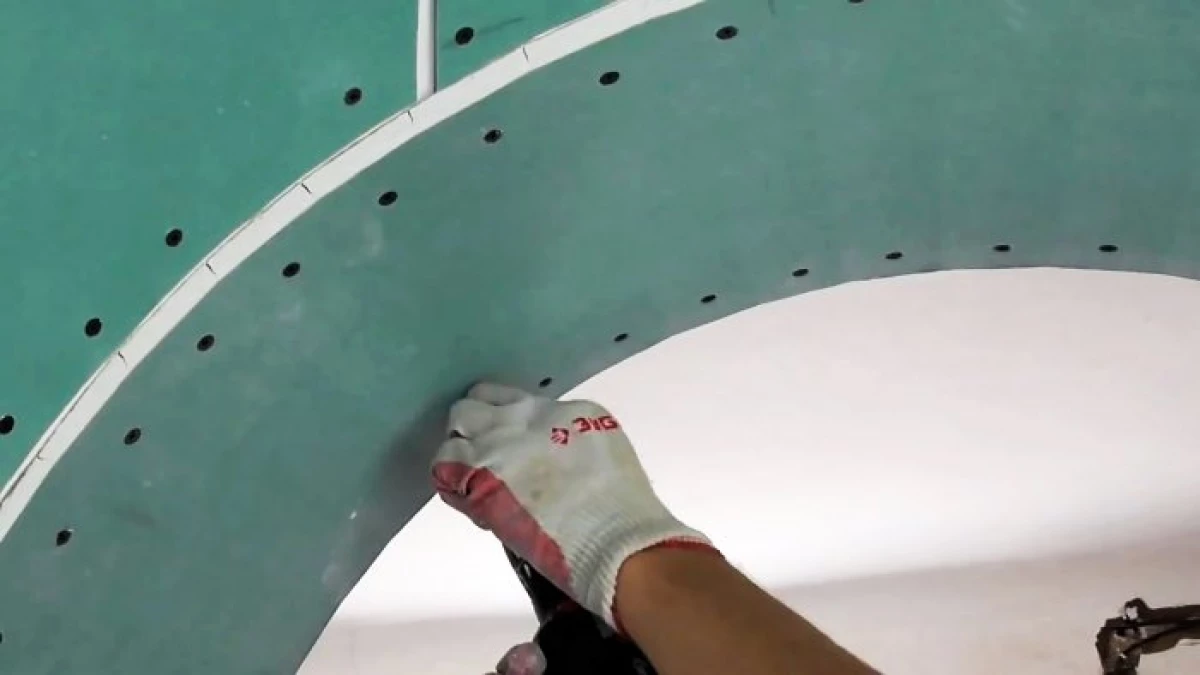
It is important when working not to regret the screws and twist them in a step in a pair of centimeter, then everything will be held securely. After mounting the joints of the drywall, they are reinforced and put off. A special bending plastic or aluminum corner for arches is installed on the outer corners.