
When working with the table, the numbering may be needed. It structures, allows you to quickly navigate and search for the necessary data. Initially, the program already has a numbering, but it is static and cannot be changed. It is envisaged to manually enter the numbering that is convenient, but not so reliable, it is difficult to use when working with large tables. Therefore, in this material we will look at three useful and easy-to-use table numbering methods in Excel.
Method 1: Numbering After filling the first rows
This method is the easiest and most used when working with small and medium tables. It takes a minimum of time and guarantees the exception of any errors in numbering. Step-by-step instructions they look like this:
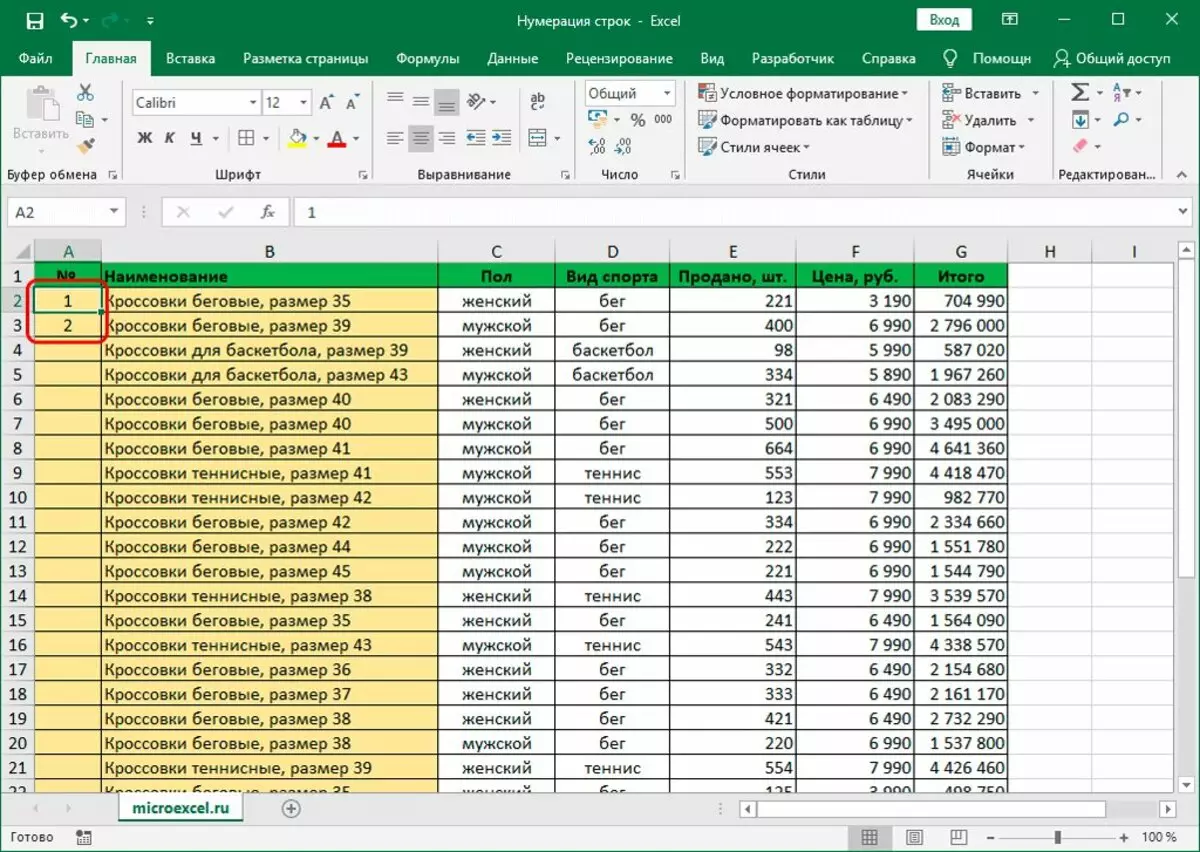
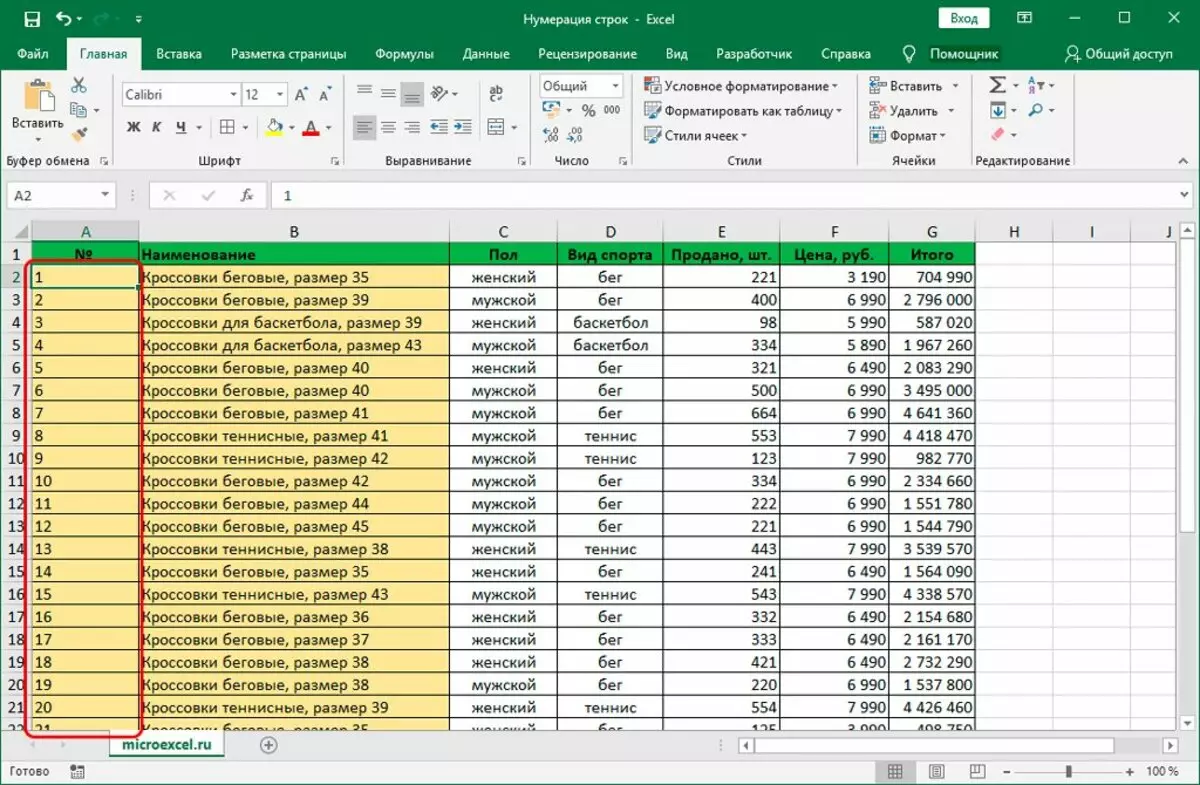
- First you want to create an optional column in the table that will be designed for further numbering.
- As soon as the column is created, in the first line, put the number 1 in the second, and in the second line, put the digit 2.
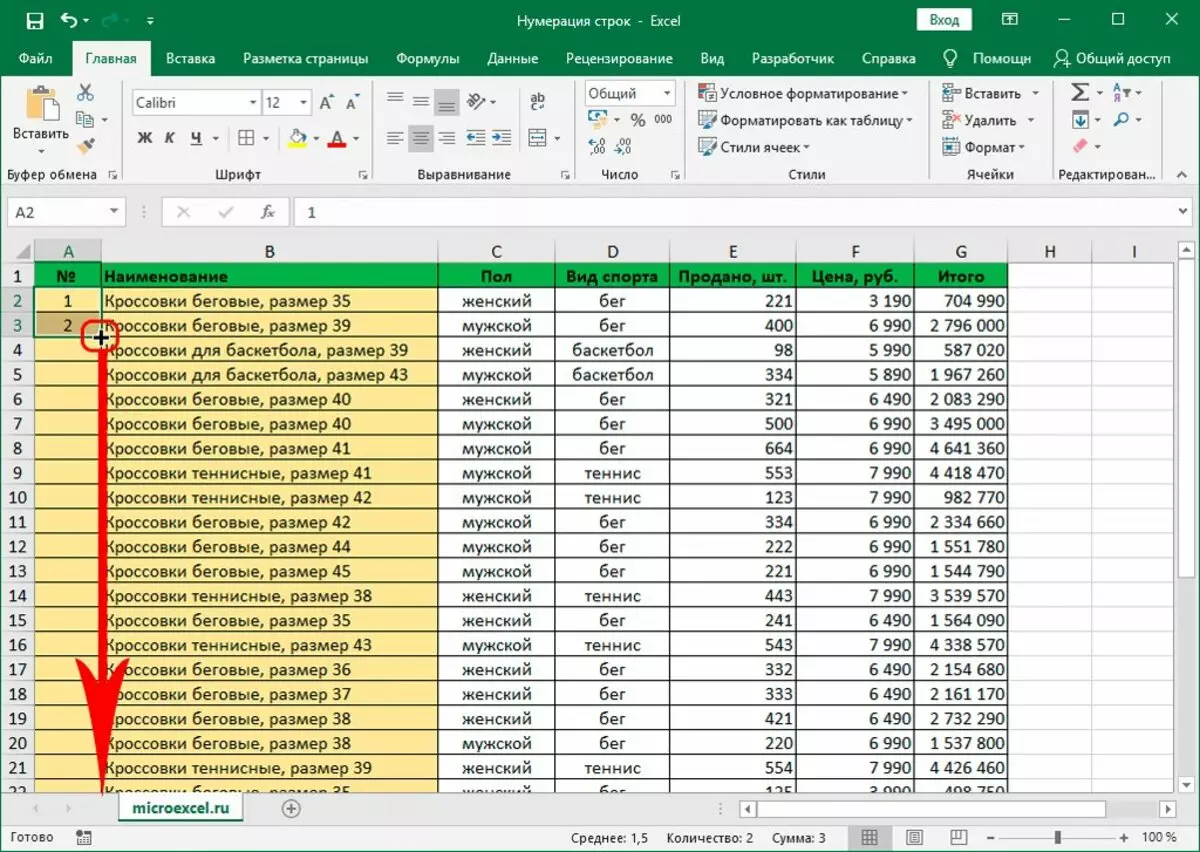
- Select the filled two cells and hover over the right lower corner of the selected area.
- As soon as the black cross icon appears, hold the LKM and stretch the area to the end of the table.
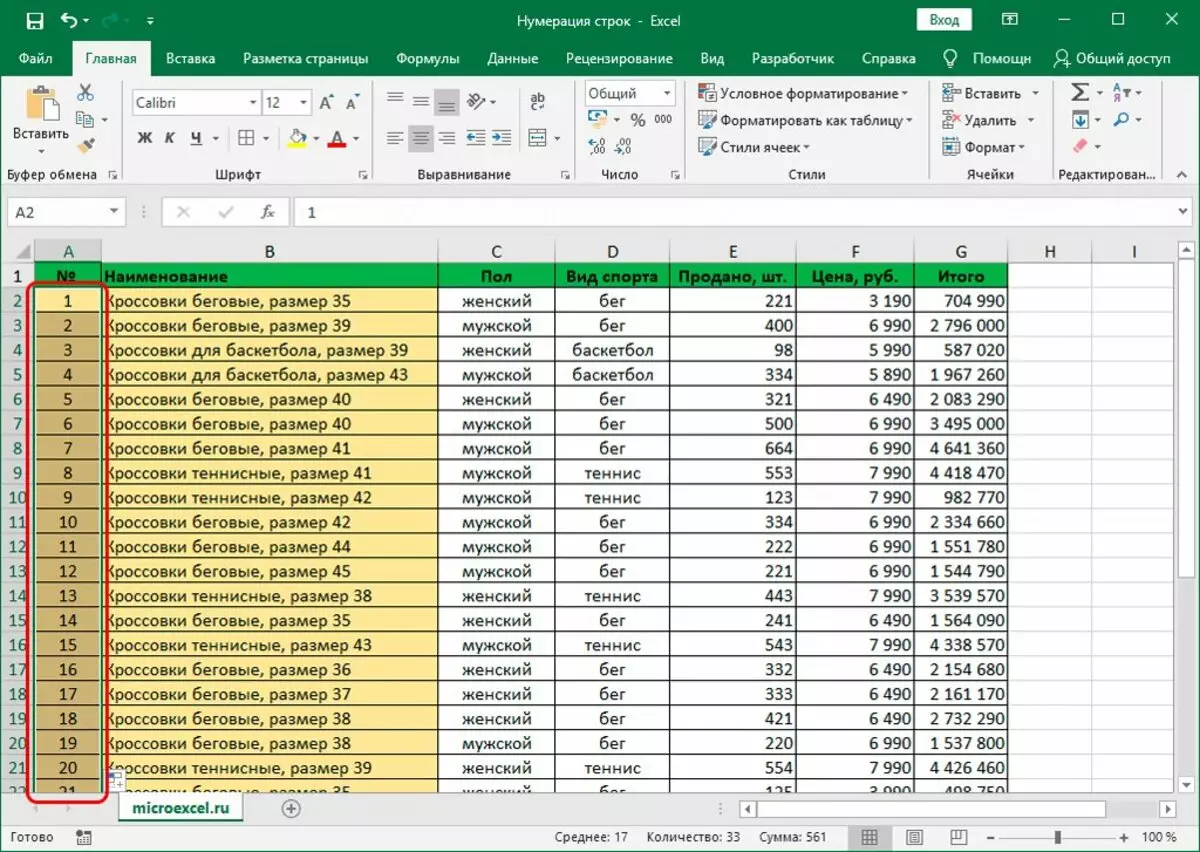
If everything is done correctly, the numbering column will be automatically filled. This will be enough to achieve the desired result.
Method 2: String Operator
Now we go to the next method of numbering, which implies the use of a special "string" function:
- First, you should create a column for the numbering, if there is no one.
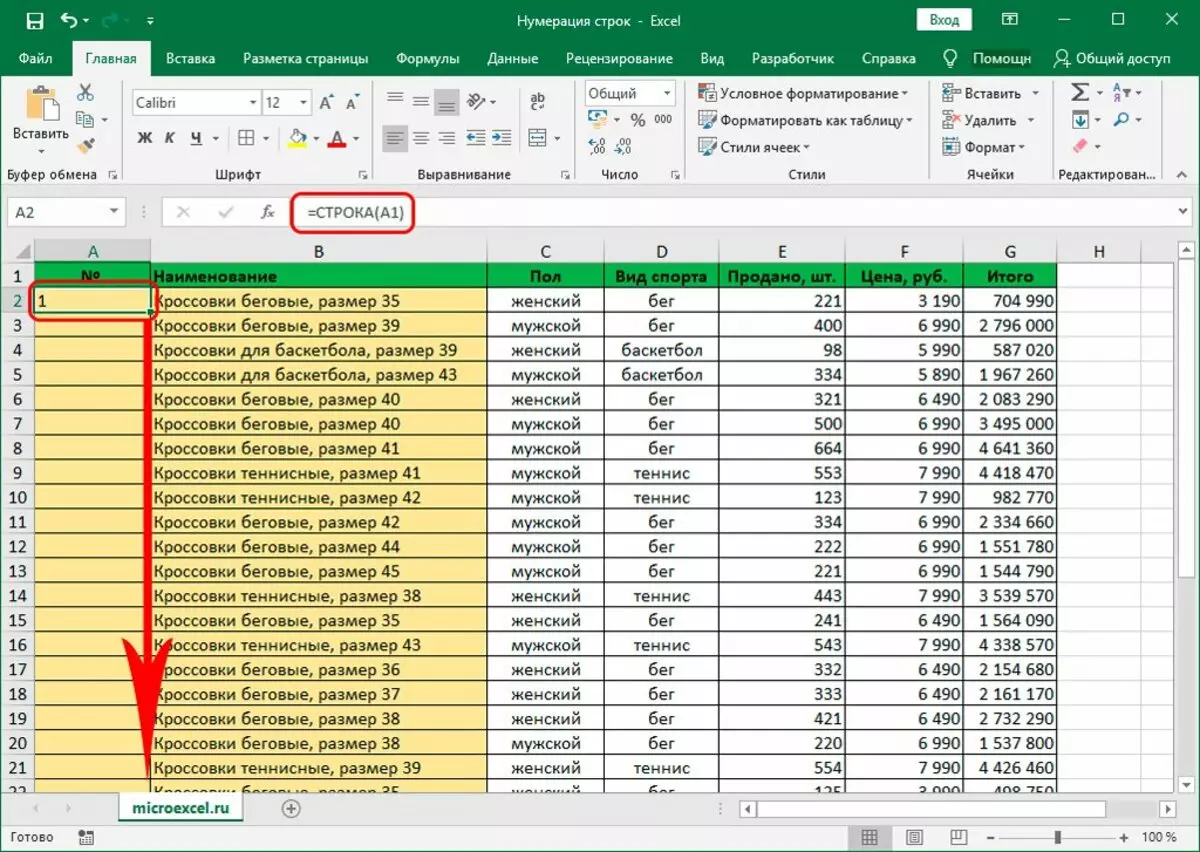
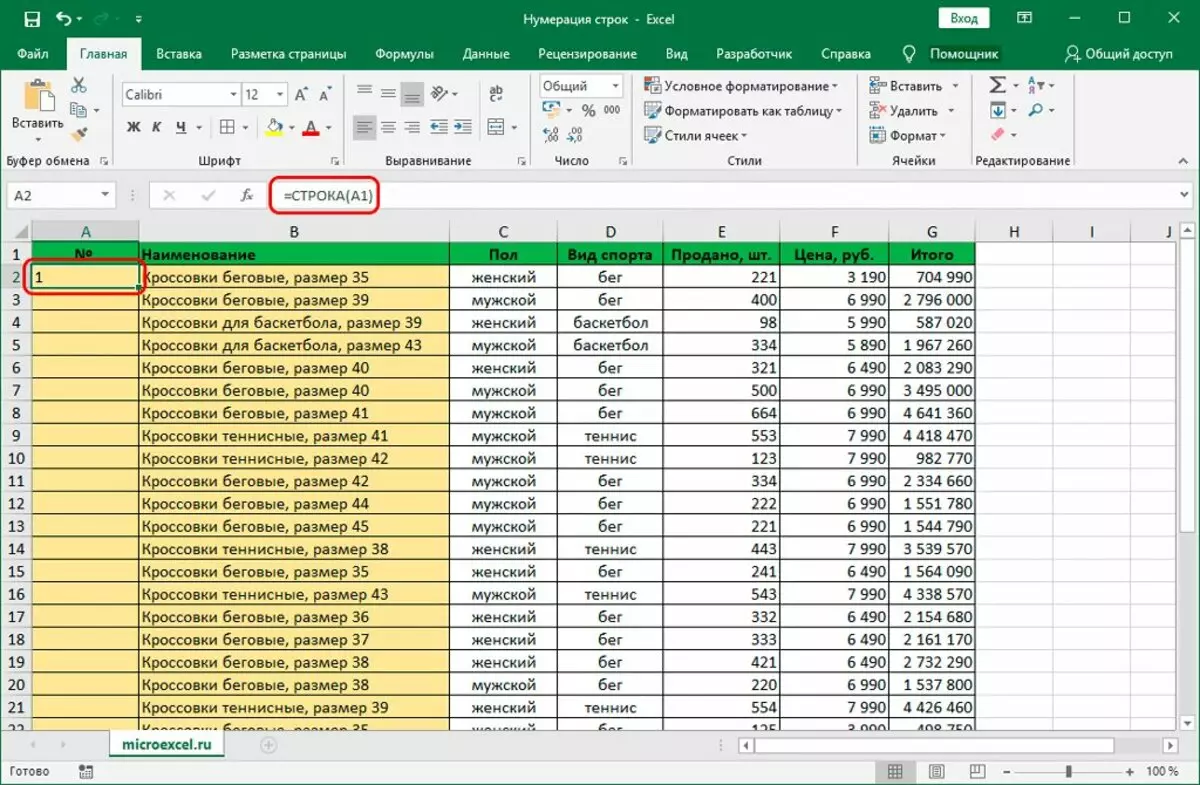
- In the first string of this column, enter the formula of the following content: = line (A1).
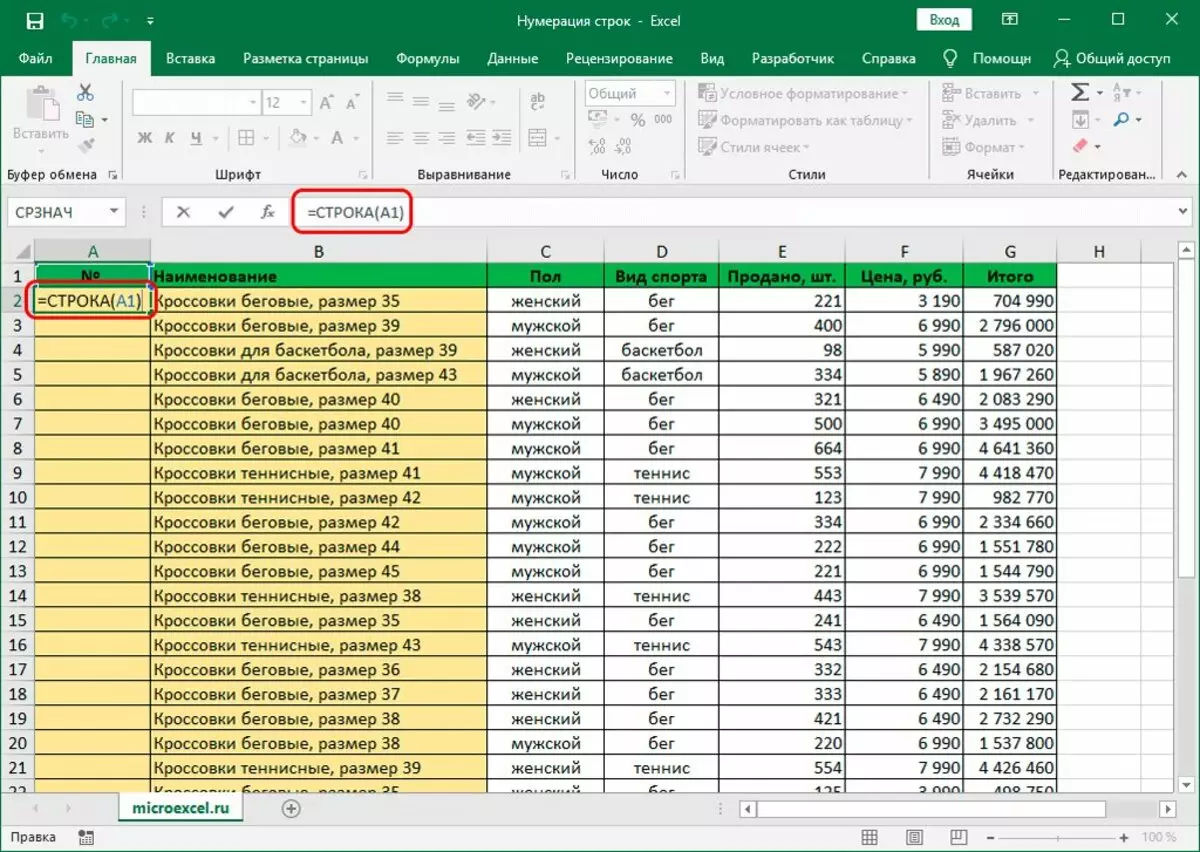
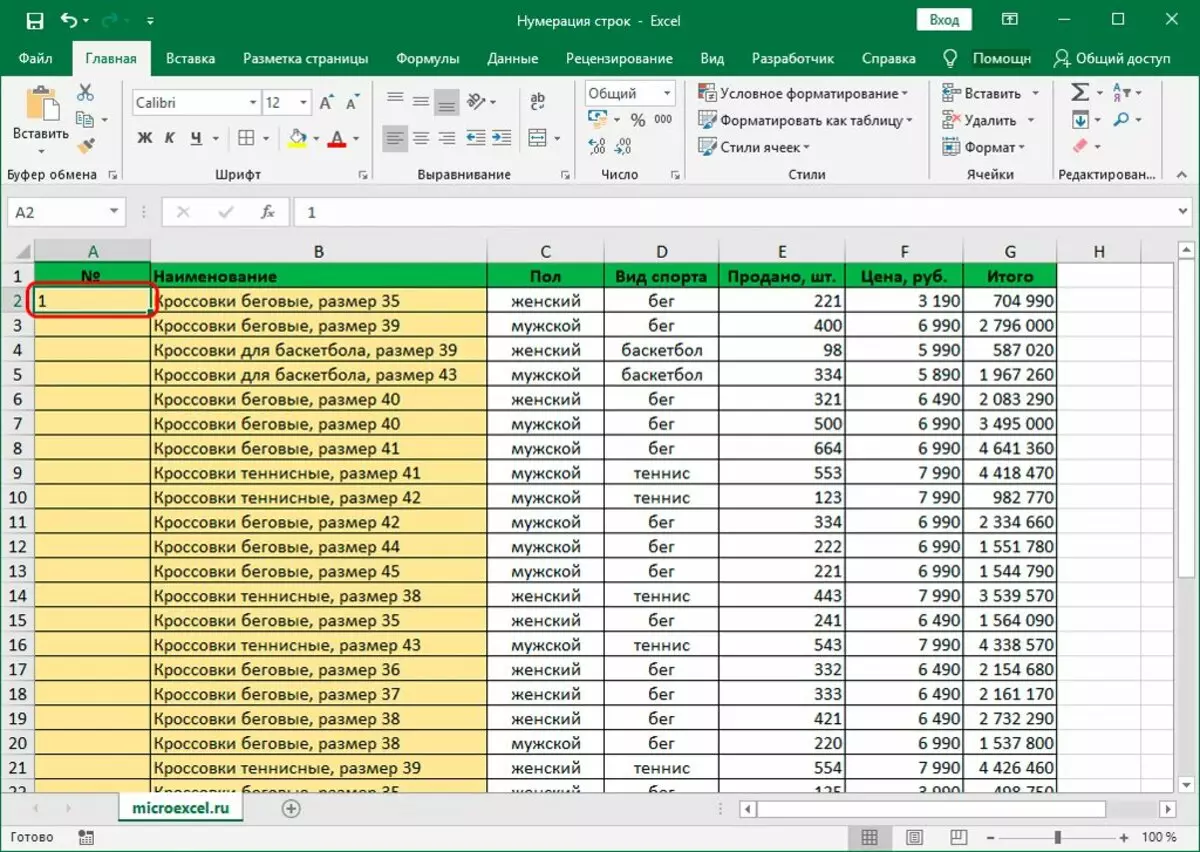
- After entering the formula, be sure to press the "Enter" key, which activates the function, and you will see the figure 1.
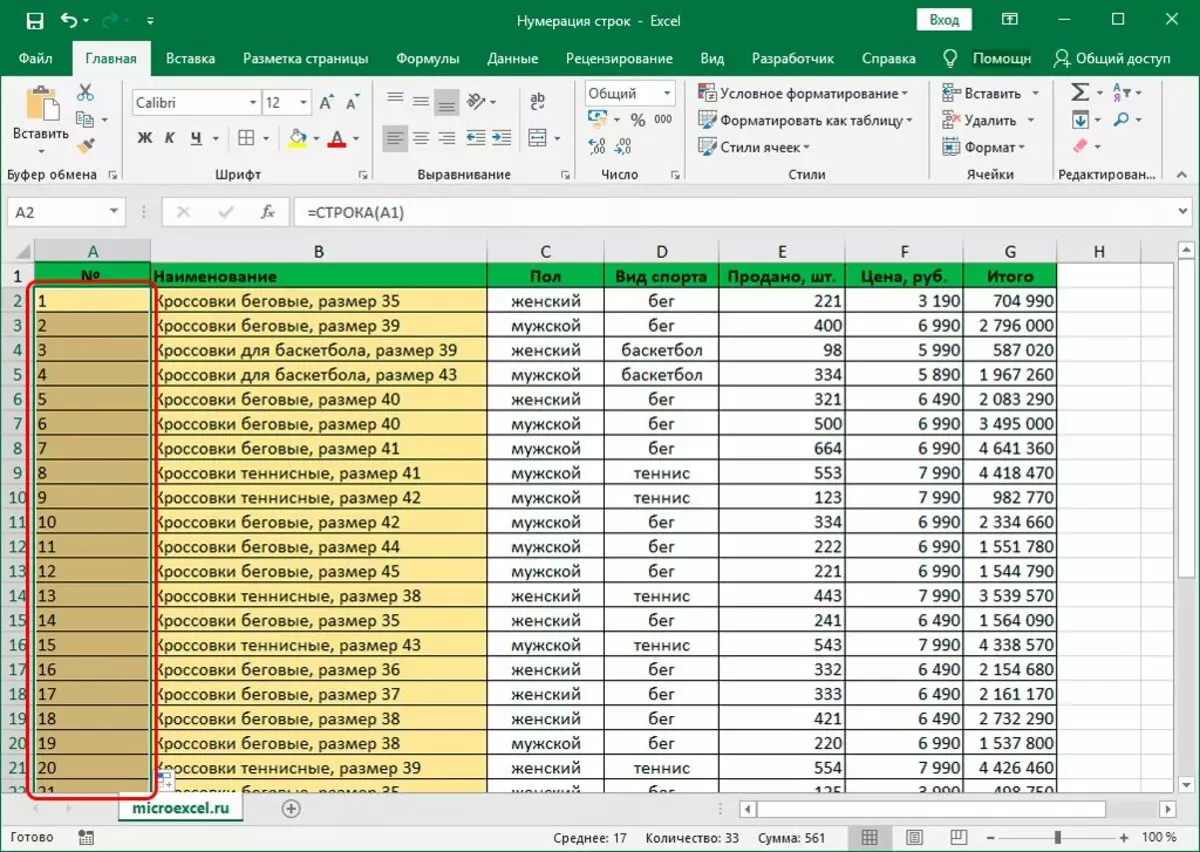
- Now it remains similar to the first method to bring the cursor to the right lower corner of the selected area, wait for the black cross and stretch the area to the end of your table.
- If everything is done correctly, the column will be filled with numbering and can be used to further search for information.
There is an alternative method, in addition to the specified method. True, it will be necessary to use the "Master Functions" module:
- Similarly, create a column for numbering.
- Click on the first cell of the first line.
- From above near the search string click on the "FX" icon.

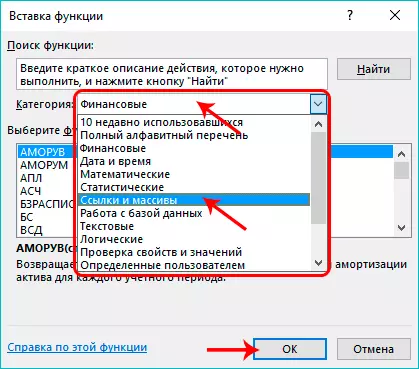
- The "Function Master" is activated, in which you need to click on the "Category" point and select "Links and arrays".
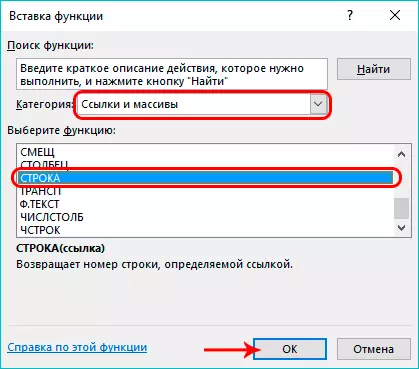
- From the proposed functions, you will select the "line" option.
- An additional window will appear for entering information. You need to put the cursor to the "Reference" item and in the Specify the address of the first cell of the numbering column (in our case it is A1).
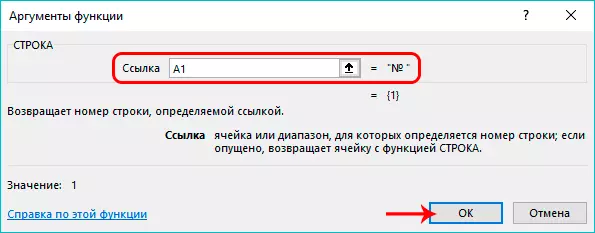
- Thanks to the actions performed in an empty first cell, a digit appears. 1. It remains again to use the lower right angle of the selected area to stretch to the entire table.
These actions will help get all the necessary numbering and will help not be distracted by such trifles while working with the table.
Method 3: Application of Progression
And this method is different from other things that eliminates users from the need to use the autofile marker. This question is extremely relevant, since its application is ineffective when working with huge tables.
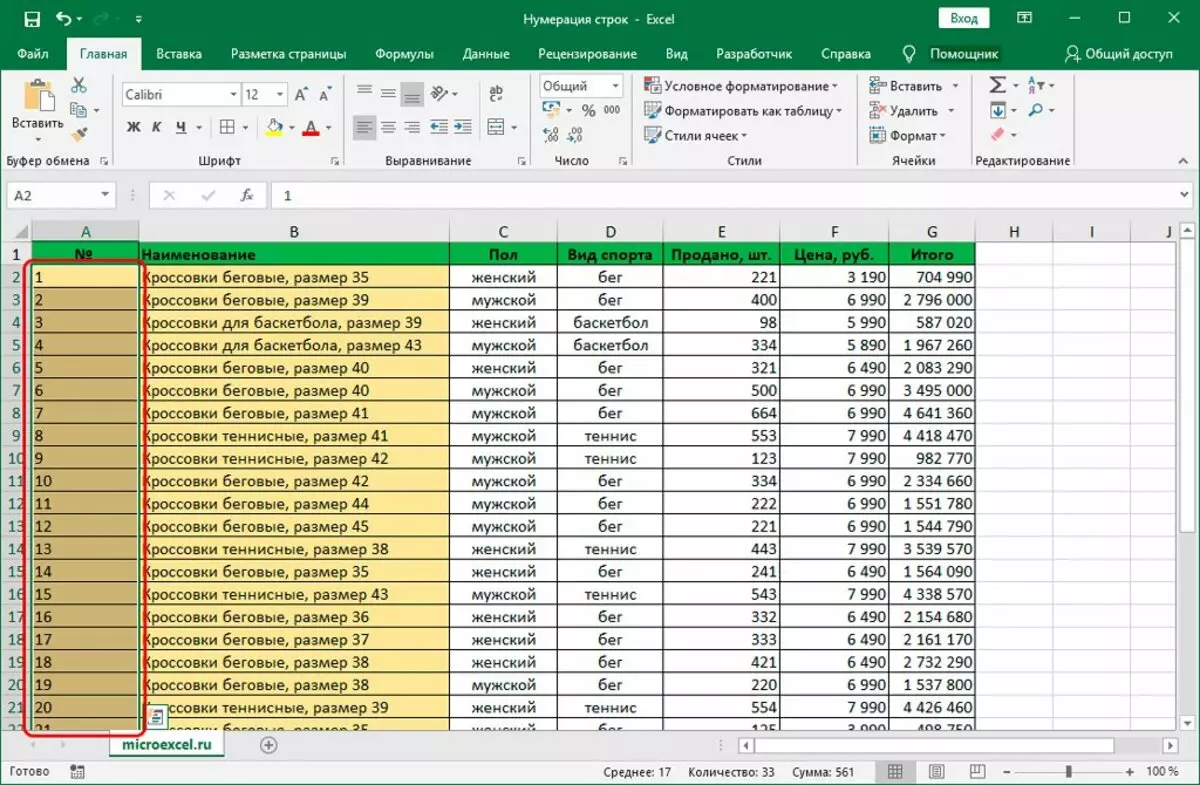
- Create a column for the numbering and note in the first cell number 1.
- Go to the toolbar and use the "Home" section, where we go to the "Editing" subsection and looking for an arrow icon down (when you hover it will give the name "Fill").

- In the drop-down menu you need to use the "Progression" function.
- In the window that appears, the following should be done:
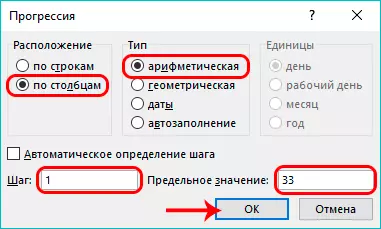
- If everything is done correctly, you will see the result of automatic numbering.
There is an alternative way to perform such a numbering that looks like this:
- We repeat the actions to create a column and a mark in the first cell.
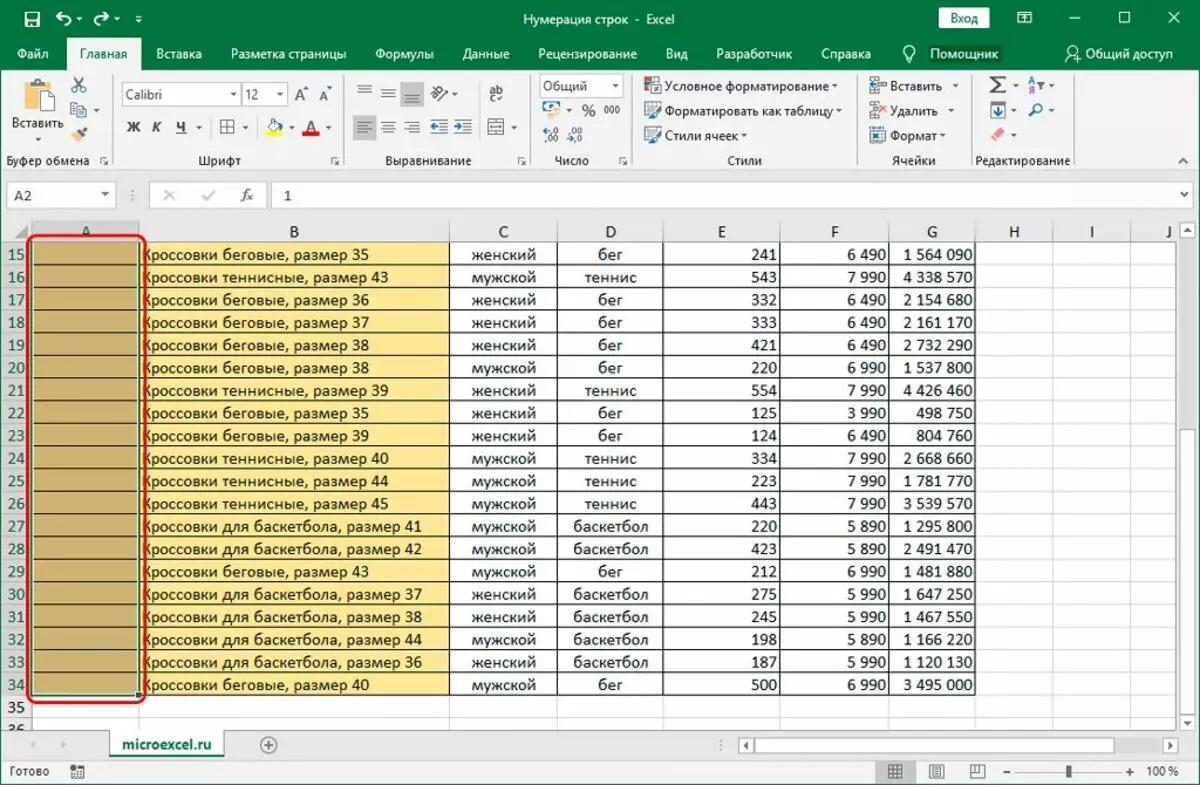
- We allocate the entire range of the table that you plan to numbered.
- Go to the "Home" section and choose the "Editing" subsection.
- We are looking for the item "Fill" and choose "Progression".
- In the window that appears, we note similar data, the truth is now not fill in the item "limit meaning".
- Click on "OK".
This option is more versatile, since it does not require a mandatory counting of rows that need numbering. True, in any case you will have to allocate the range that must be numbered.
Conclusion
Row numbering can simplify work with a table that requires constant updating or a search for the desired information. Due to the detailed instructions specified above, you can choose the most optimal solution for solving the task.
Message Automatic numbering of strings in Excel. 3 ways to configure automatic numbering strings in Excel appeared first on information technology.