
Replacing the front and rear
It may take after the accident, as a result of which the lower protection is not subject to repair. Work is performed without the use of the lift. From the tools you will need a set of TORX hexagon keys or the same bits that can be inserted into a precipitation wrench. Before starting work, it is advisable to remove the terminal from the battery. The number and type of fasteners may differ depending on the body of the car and the year of its production.
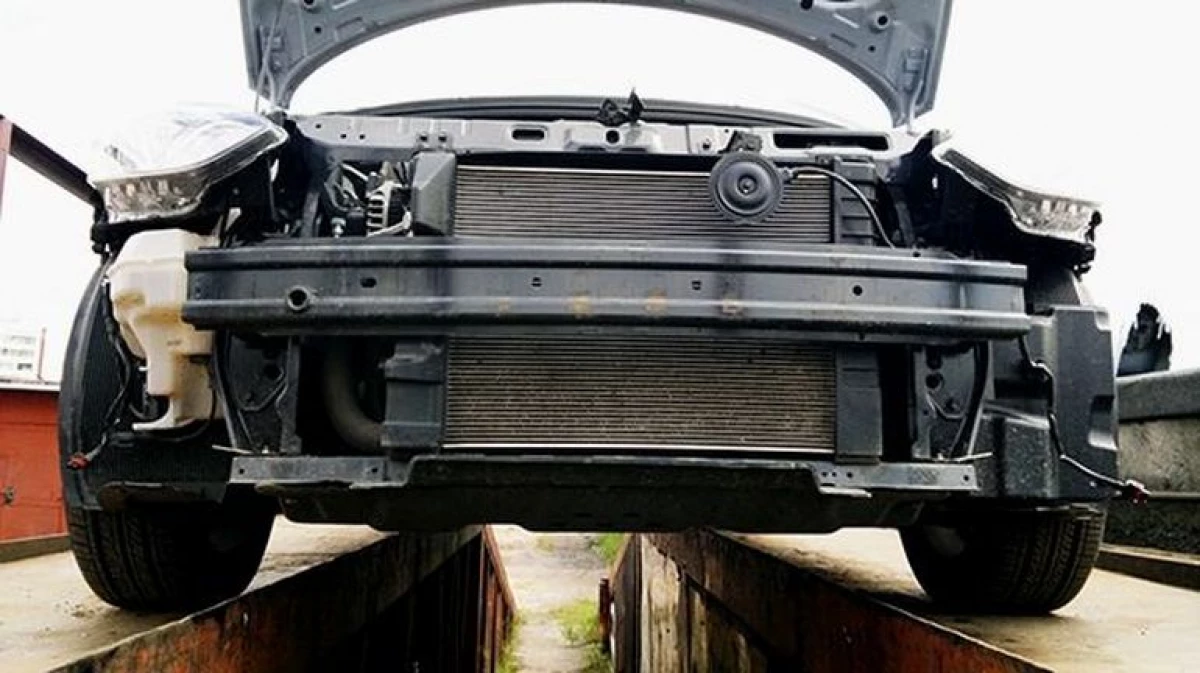
Installation and installation of the front bumper
To remove the front bumper on Hyundai Accent:
1. Open the hood.
2. Unscrew the 4 screws in the windscreen space. Two of them are on the left and right.
3. Remove the headlights.
4. Remove 8 pistons that hold the bumper from above.
5. In both recesses under the headlights, unscrew the bonding bumper and wing screws and nuts.
6. From the bottom of the bumper and the radiator grille to remove all the screws and pistons.
7. Release the sings. For convenience, you need to rotate the wheels in the appropriate side.
8. Withdrawing the sneakers, dismantle the screws that fix the bumper to the wings.
9. Carefully deduct the latches on the wings and slowly remove the bumper. Almost this operation is easier. When removing the bumper, disconnect the connector with fogs and hoses from the headlight washer.
The installation of new front protection should be carried out in reverse order.
Replacement of the rear bumper
The order of dismantling the rear bumper on Hyundai Accent consists of the following steps:
1. Open the trunk.
2. Remove the pistons that are fixing the rear and side trim.
3. Wave off the latch.
4. Unscrew the screws and nuts that are hidden behind the side cover on the right and left.
5. Before removing headlights, unscrew the 2 screws.
6. In the opening of headlights and in the luggage compartment, remove 6 screws.
7. Unscrew all the screws from the bottom of the bumper.
8. From both sides from both sides to remove 2 screws that fasten the parts amplifier with spars.
9. Release the liners on the left and on the right side, and dismantle 1 screw that hold the bumper together with the wings of the car.
10. Wave off the bumper latches and take it gently. You will make it easier to make it easier and safer.
11. In the presence of electrical equipment, disconnect the connectors.
Installation of the new bumper needs to be performed in the reverse order.