
In this article, I will try to tell you how to mount sockets (any) in my case it will be Schneider. I will show a sequence, and what errors may occur during the installation process.
So you decided to replace your old outlets. Why start?
The first thing to do is to see how your opposition is arranged and in what condition it is. There are cases, especially in old apartments, where the repair did not make tens of years, the peavern was divided and fix the socket there is problematic.
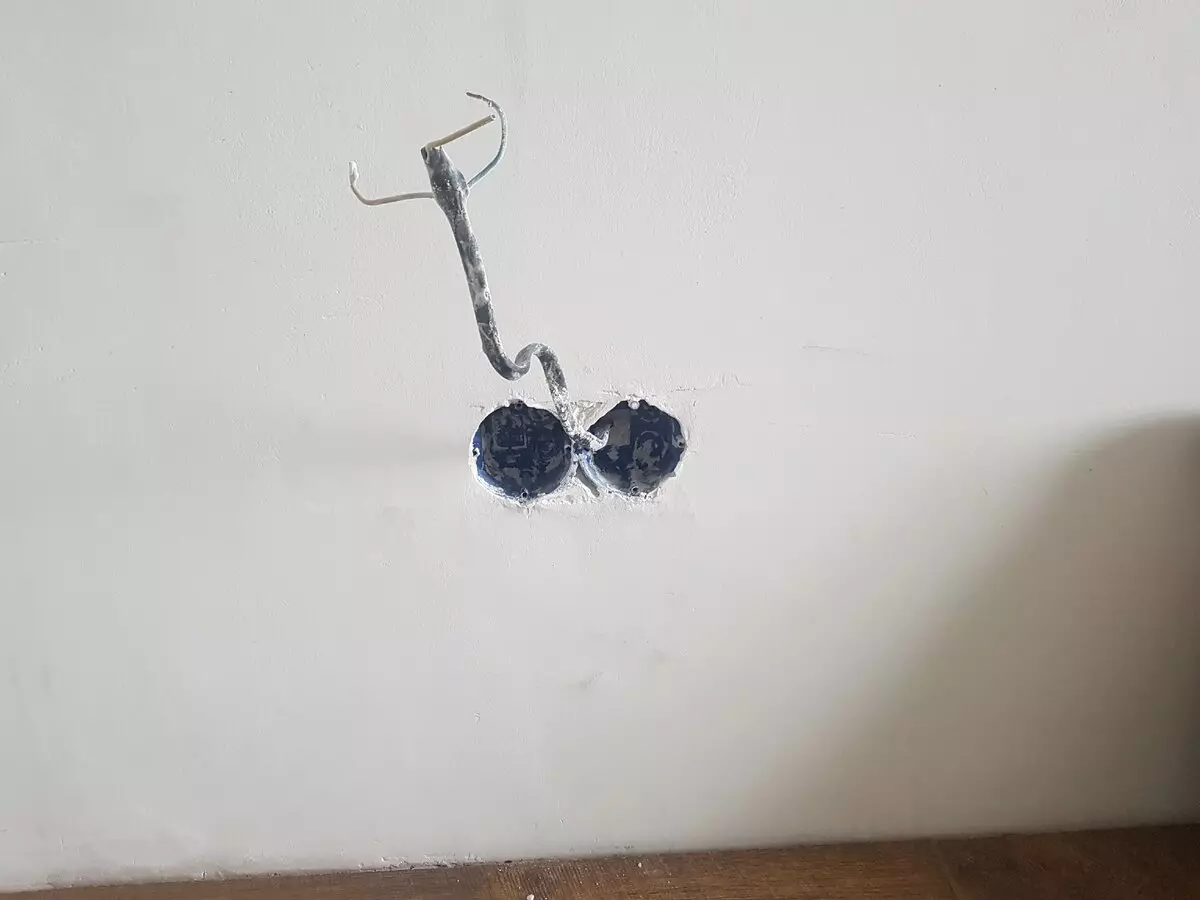
The second one to do is to decide which type of sockets will use: overhead or built-in. The main difference in the degree of filling from the wall and installation method. Built-in sockets are mounted in the opposite, and the overheads can be screwed without peavering straight to the wall!
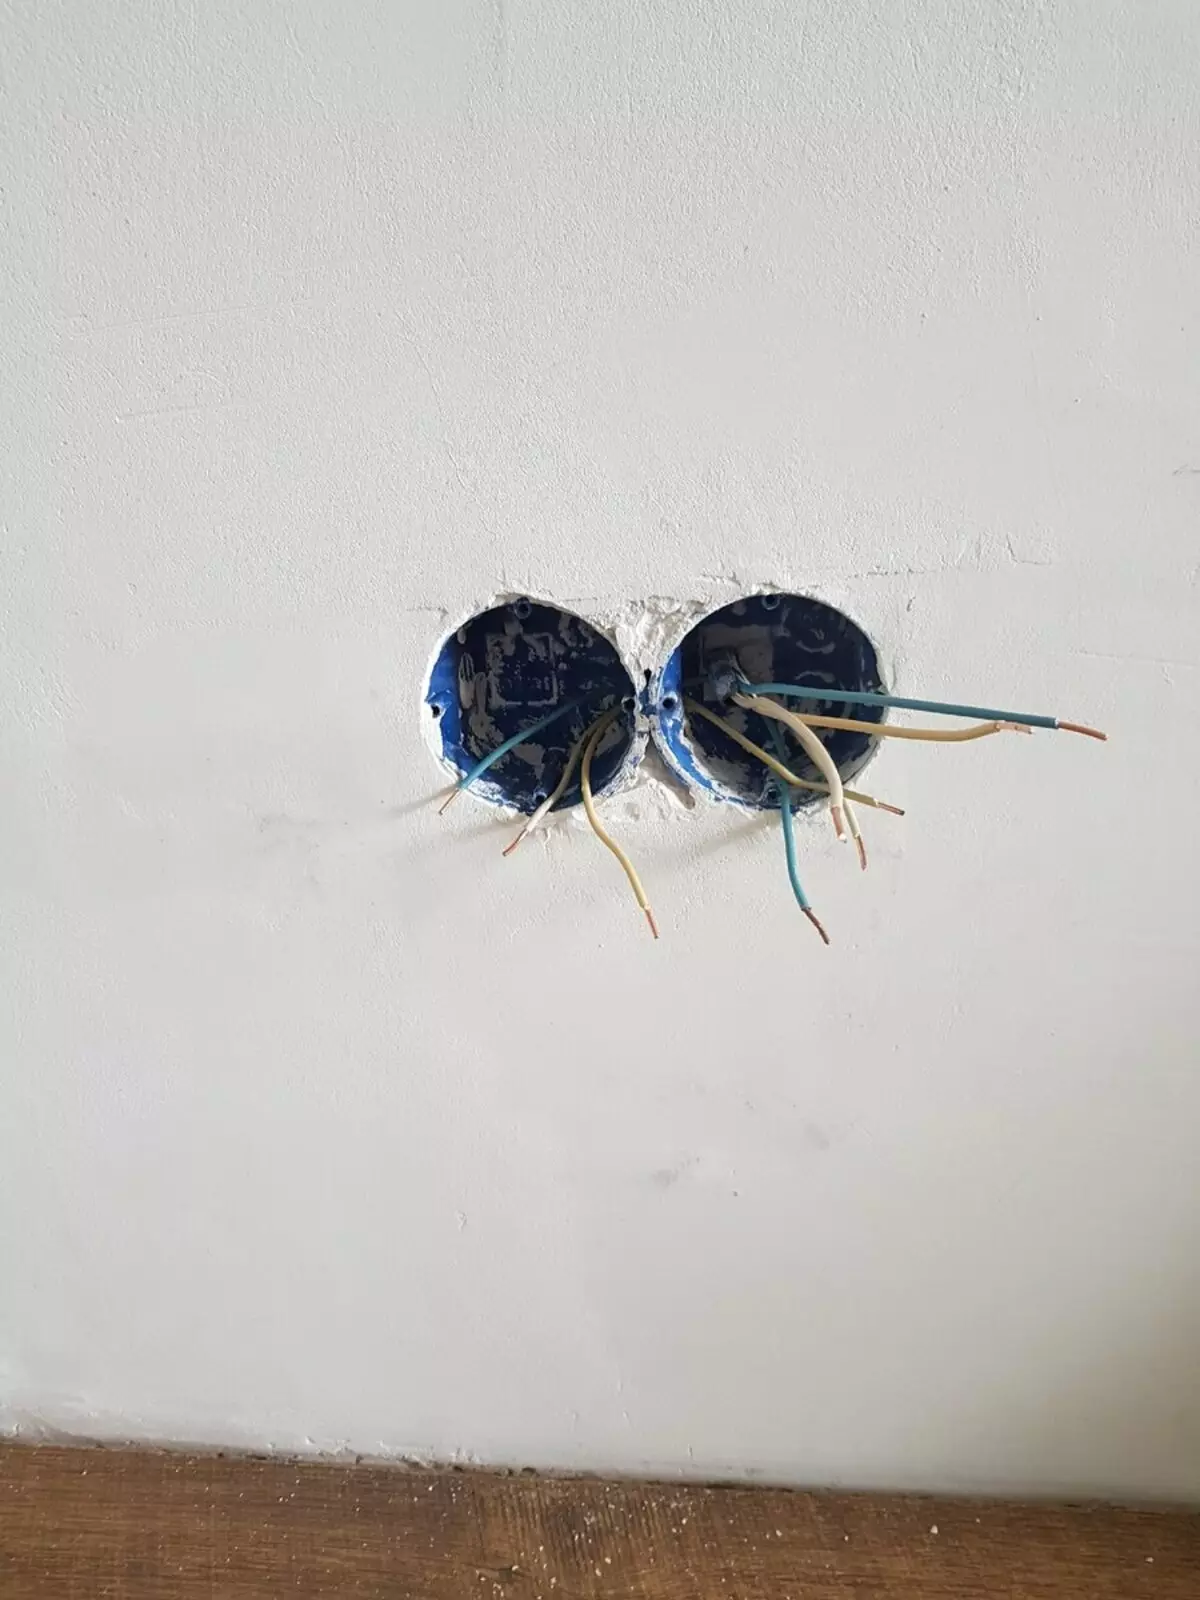
I have everything quite standard. The repair is only made and the installation boxes are empty. Use I will be built-in sockets.
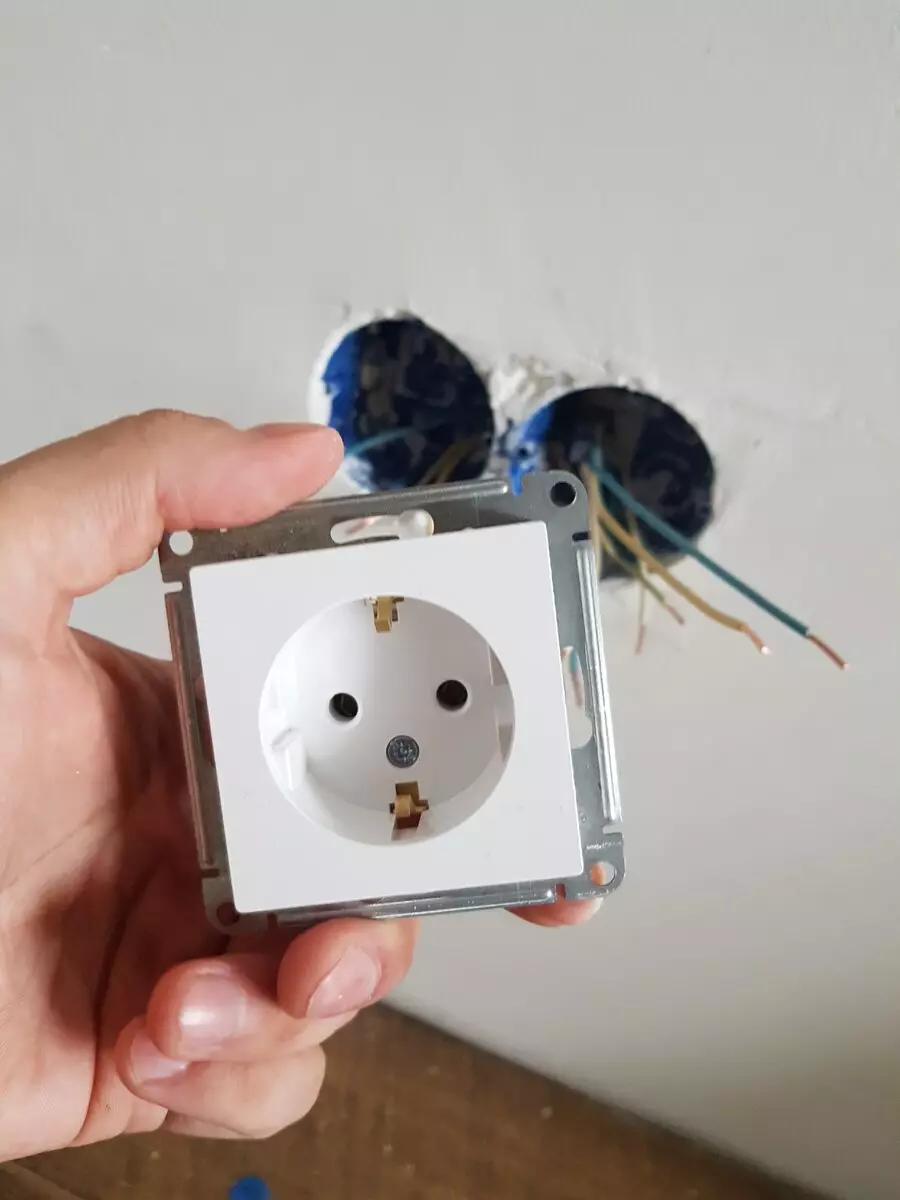
In order to set the socket, you must unscrew the mounts that are in each installation box. Then unwind the socket itself (remove the plastic plug).
Then clean the tips of the wires. I clean up approximately 1.5 cm. This is enough to insert into the hole.
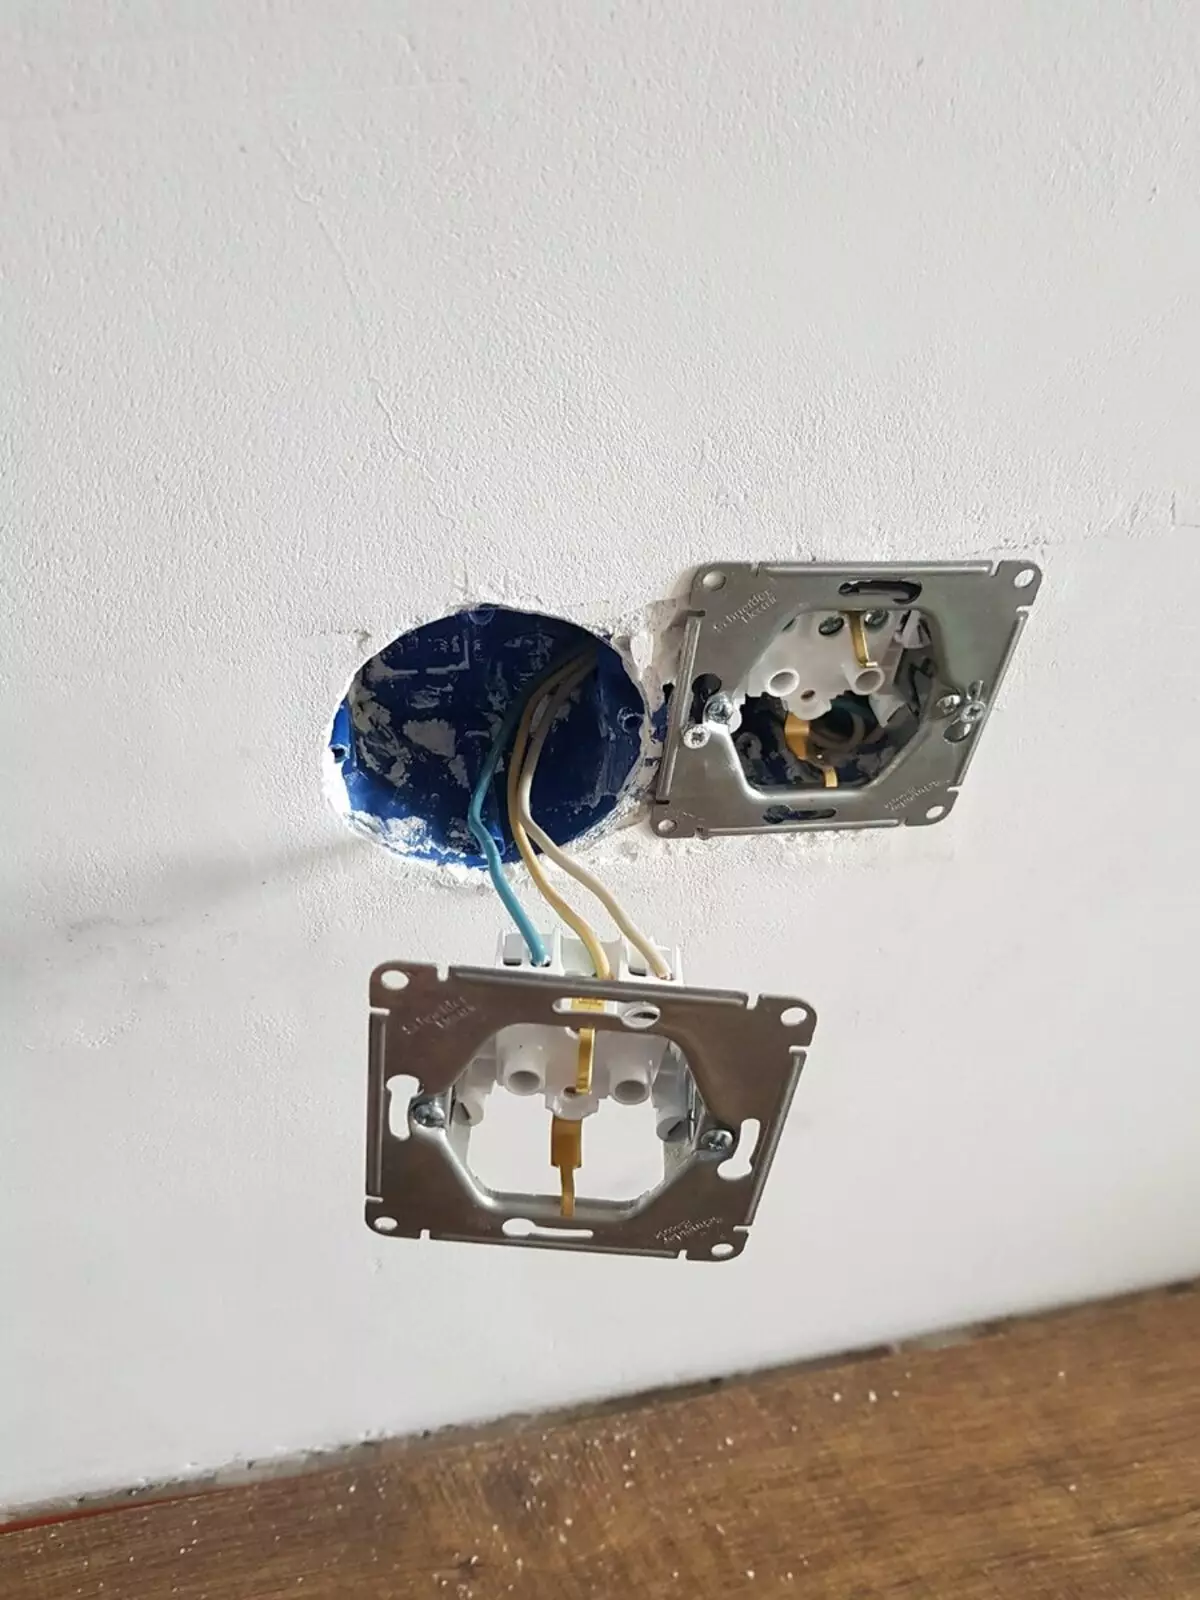
Important! To the grounding wire, you must join the ground, which will be used in another socket. No need to "break".
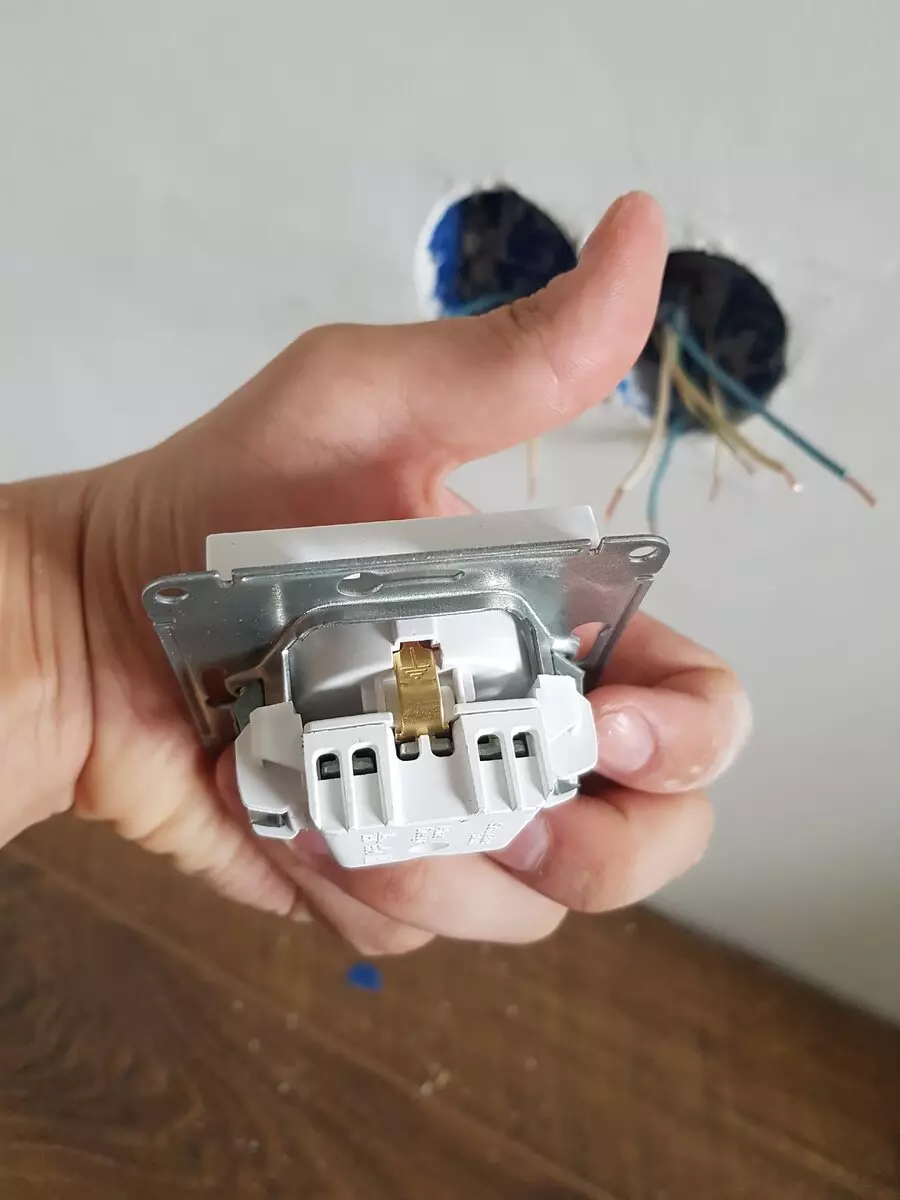
Insert the wires respectively in each outlet to not be confused. Usually there are 6 holes, input-output to each wire. And immediately fix the screw that will not allow to jump out the wire when manipulating with a socket.
The most difficult stage has come. Installation and screwing outlets by level. The most problematic to set horizontally, as the wires are cored and do not get up exactly the outlet. And if you have a block of sockets, as in this case, you will have to try twice as much.
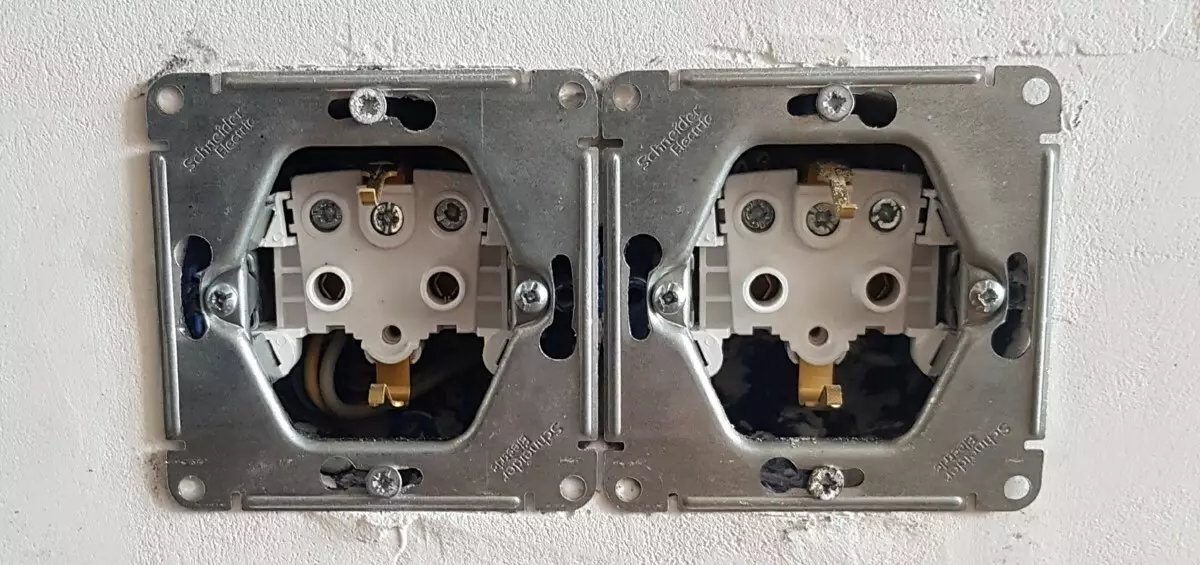
When the outlets are installed, note that the grooves on the metal base are symmetrically to each other.
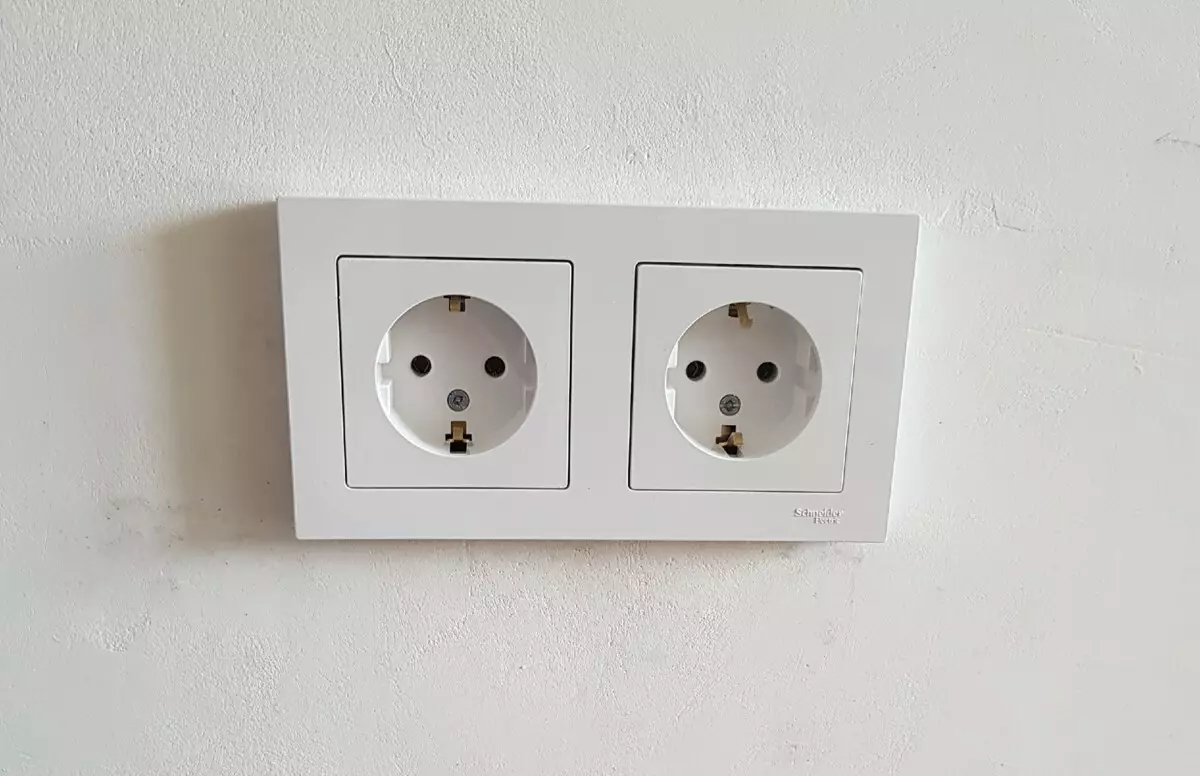
The last and easier action, insert the frame at first, and then press it to the wall with plastic lining.
Dear readers, if you liked the article, put like and share your opinion in the comments.