Postcard by February 23 can be a good addition to the main gift or an independent mark of attention. Make it with your own hands will not be much difficulty. After all, some schemes are so simple that you can easily handle even with the child.
"Take and do" will tell how to make a postcard for the Day of Defender of the Fatherland.
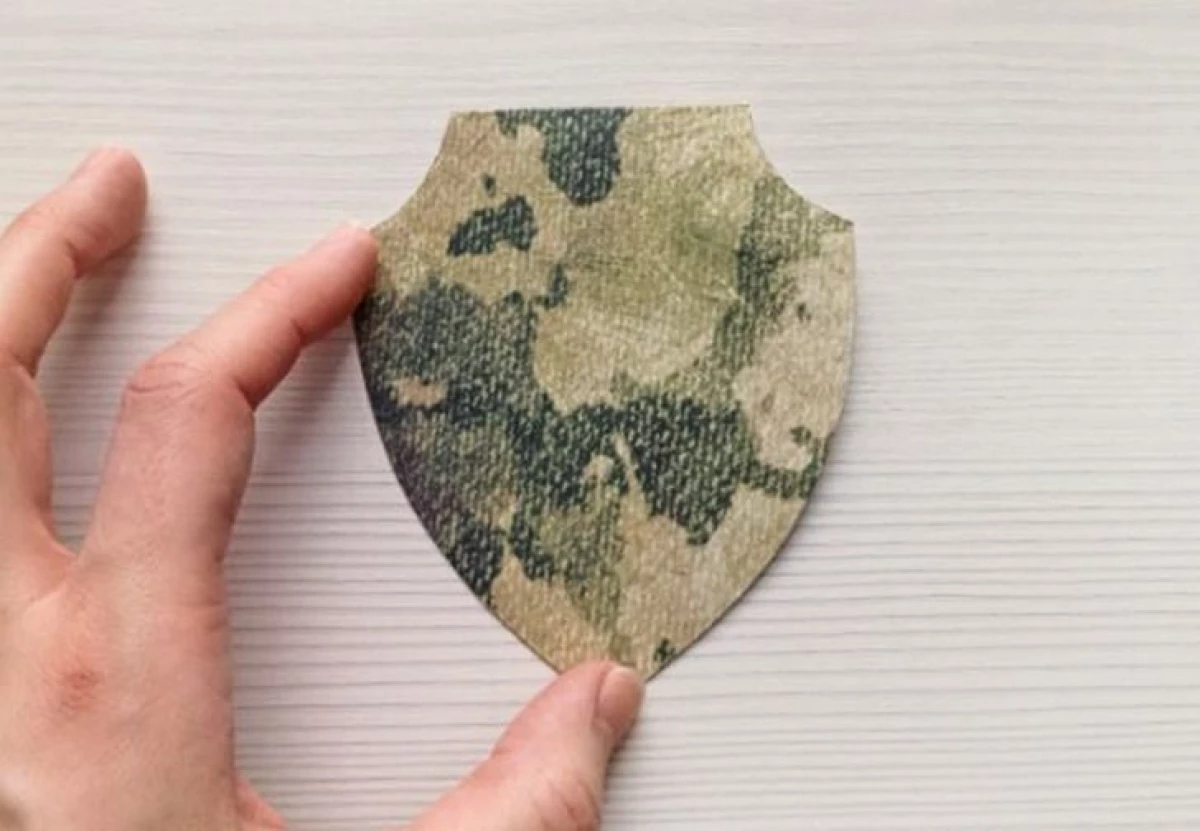
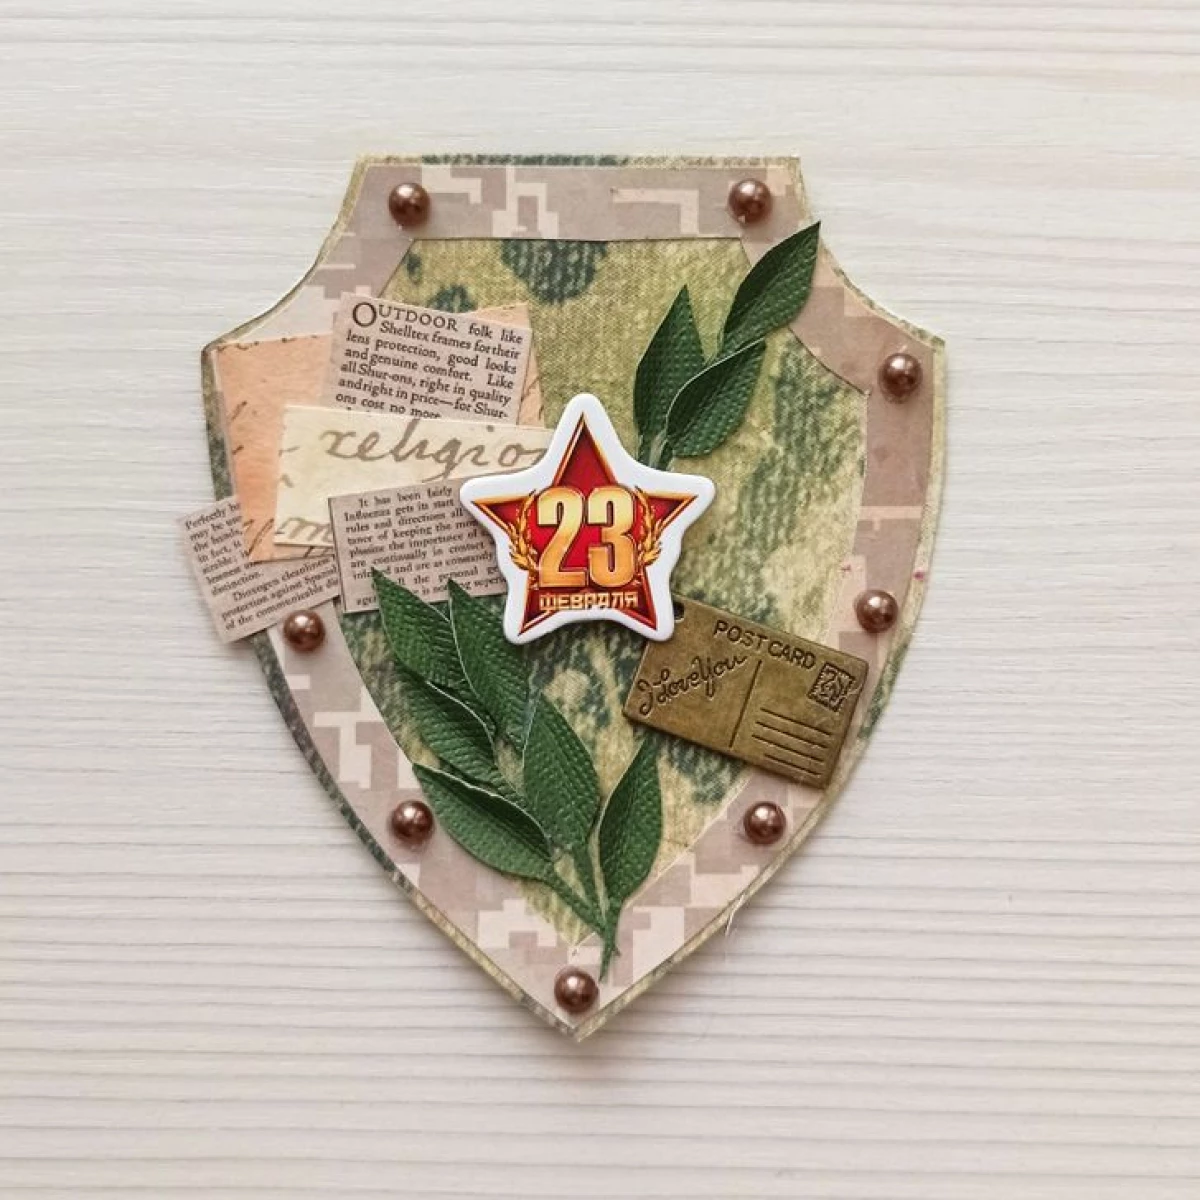
Shield form card
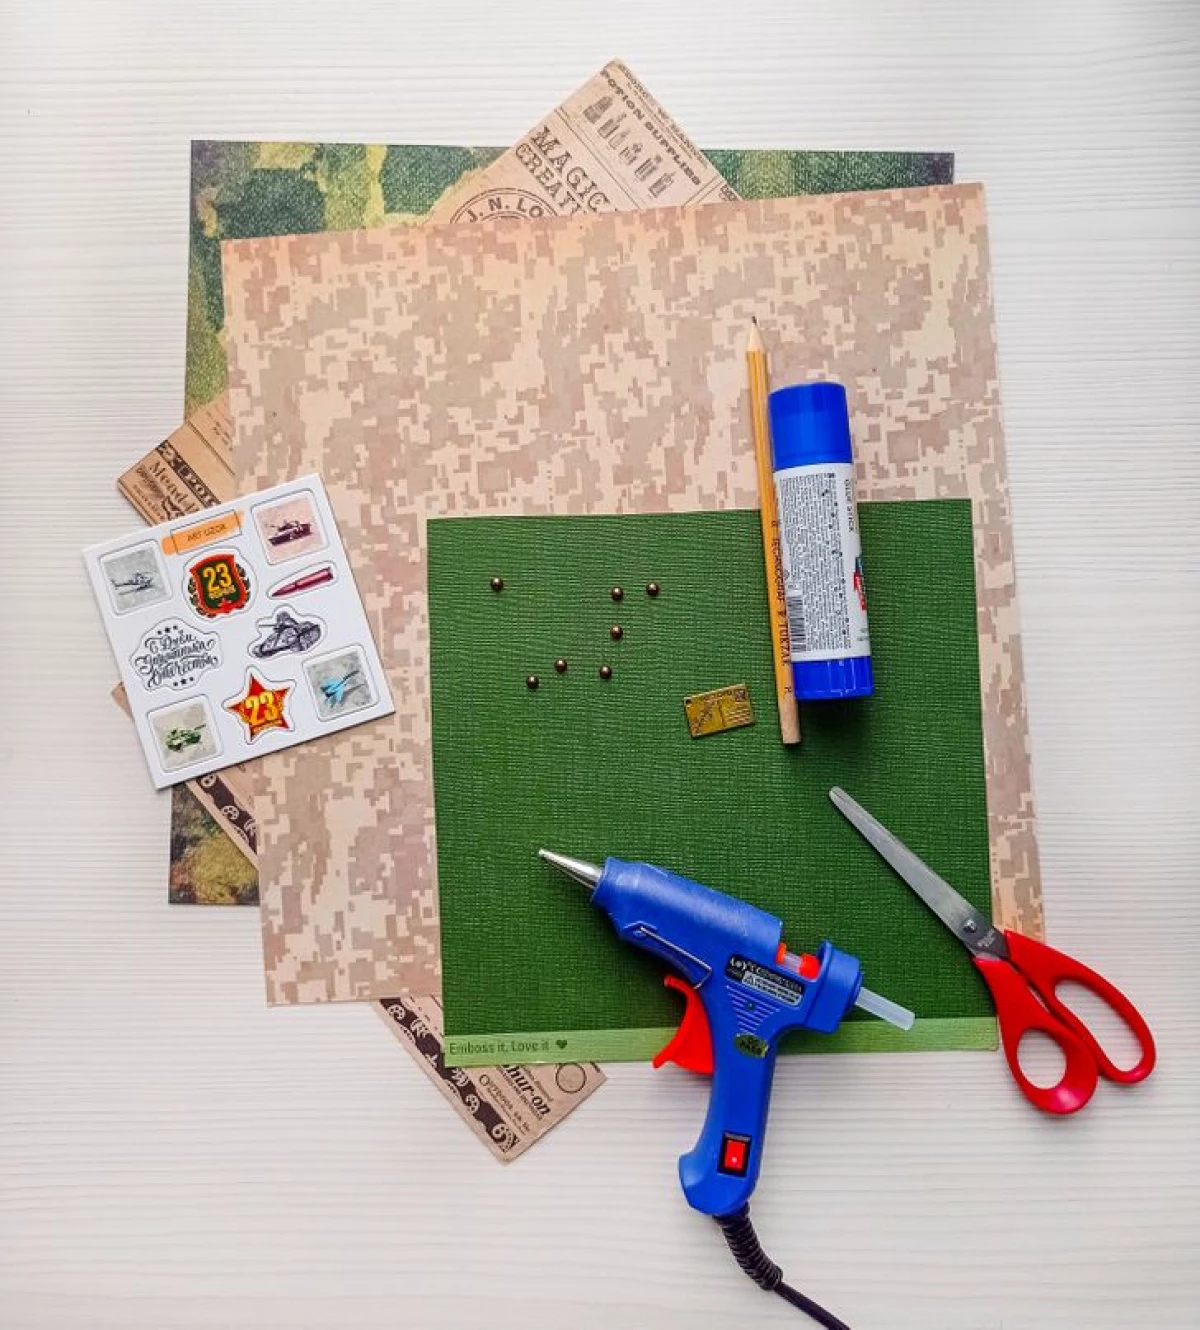
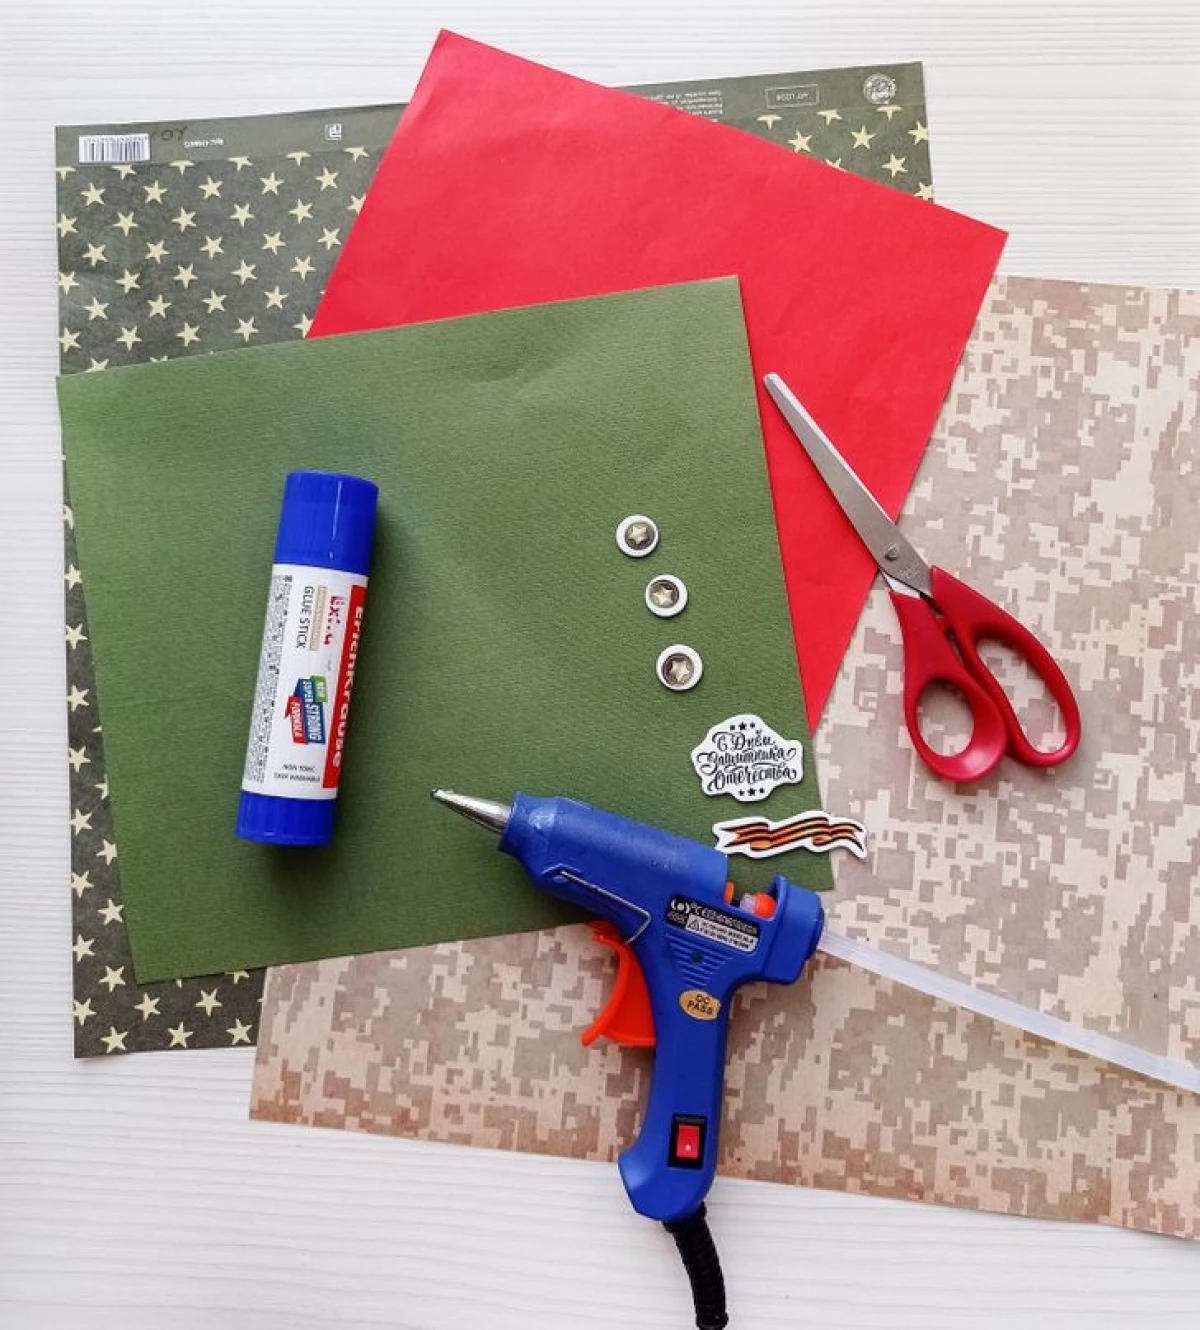
You will need:
- 2 types of paper for scrapbooking (well, if it is green and brown shades paper)
- 1 sheet of thick paper dark green or fine cardboard
- 1 sheet of paper for scrapbooking with inscriptions
- glue stick
- Adhesive Pistol
- scissors
- Cutting pictures for scrapbooking
- Simple pencil
- Dark beads or semi-graysins, another decor at your discretion
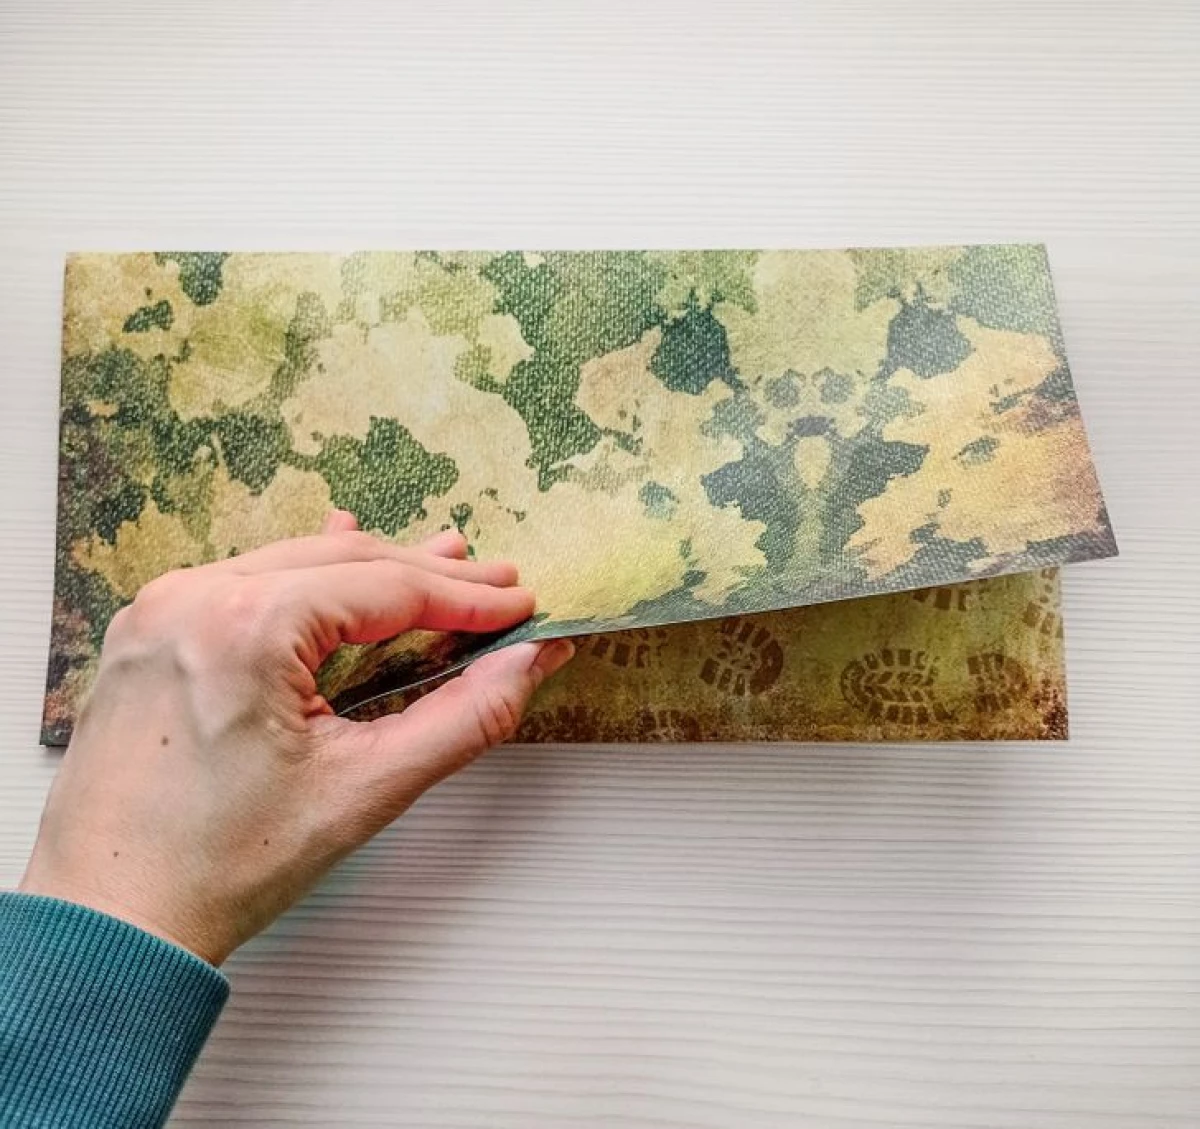
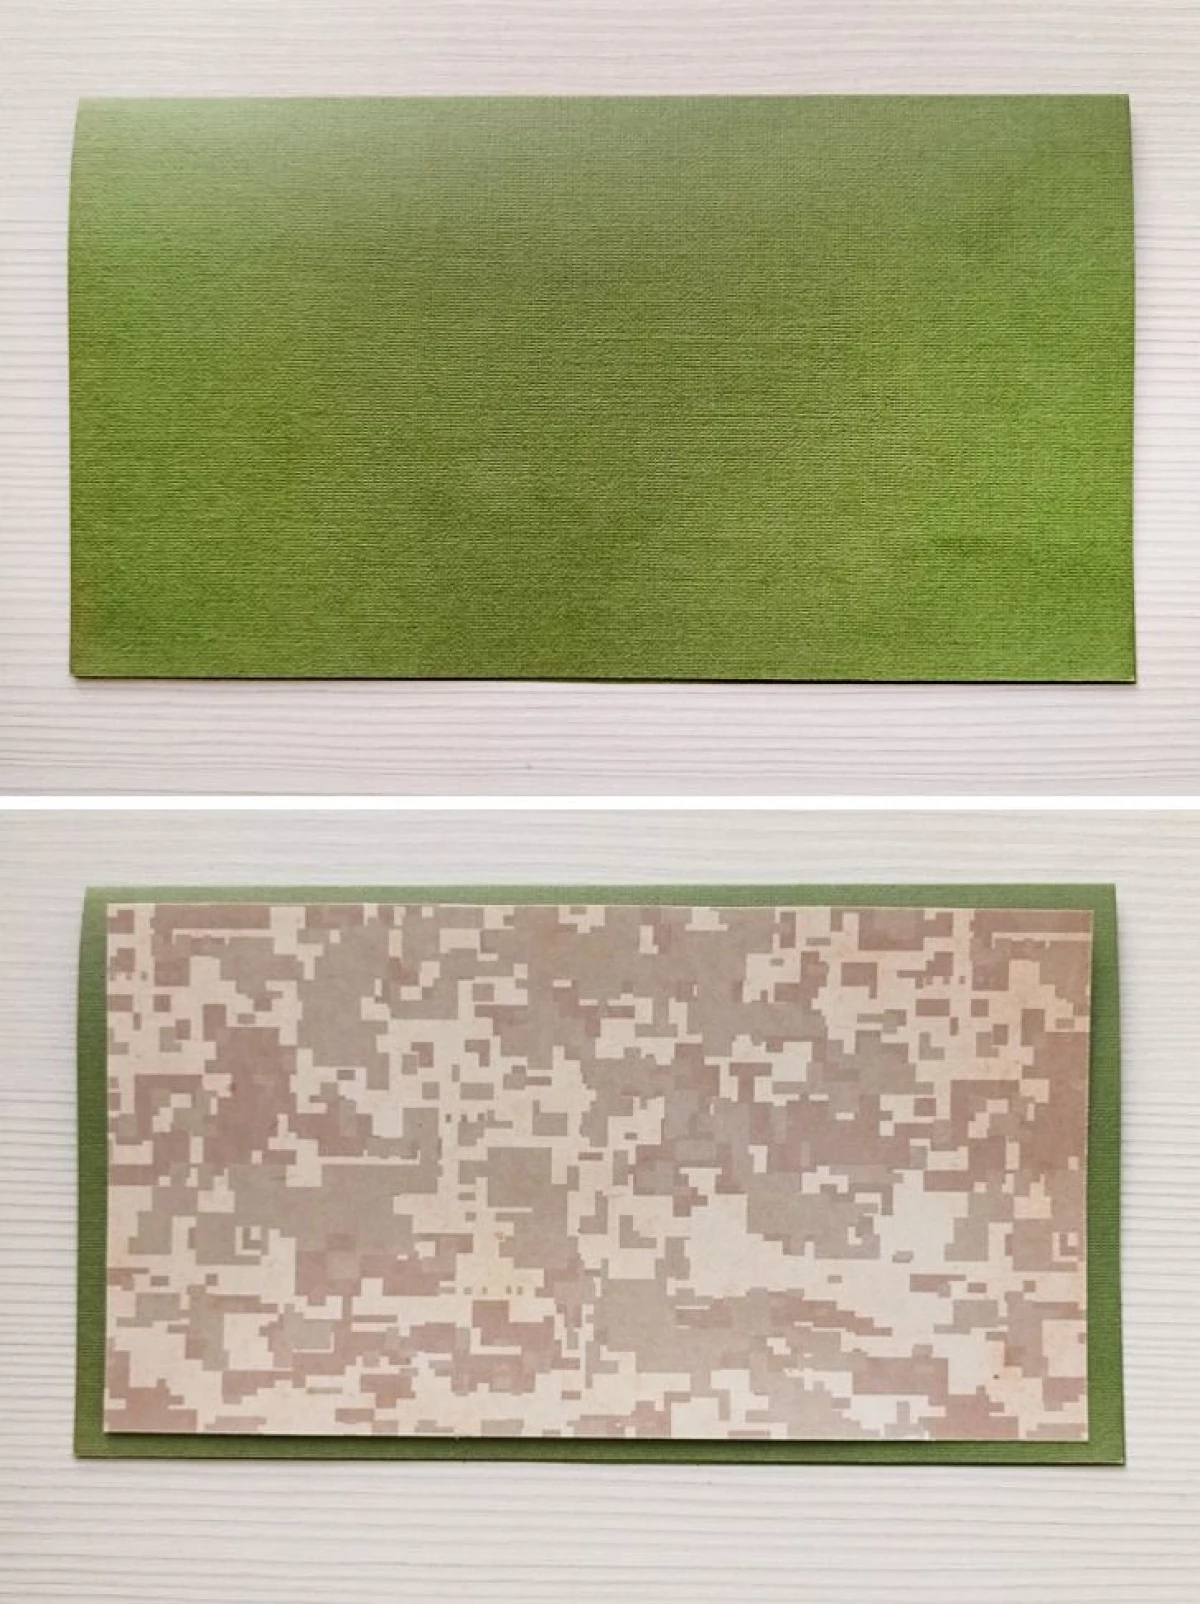
Progress: 1. Fold a rectangle from the scrap paper sheet and turn it up.
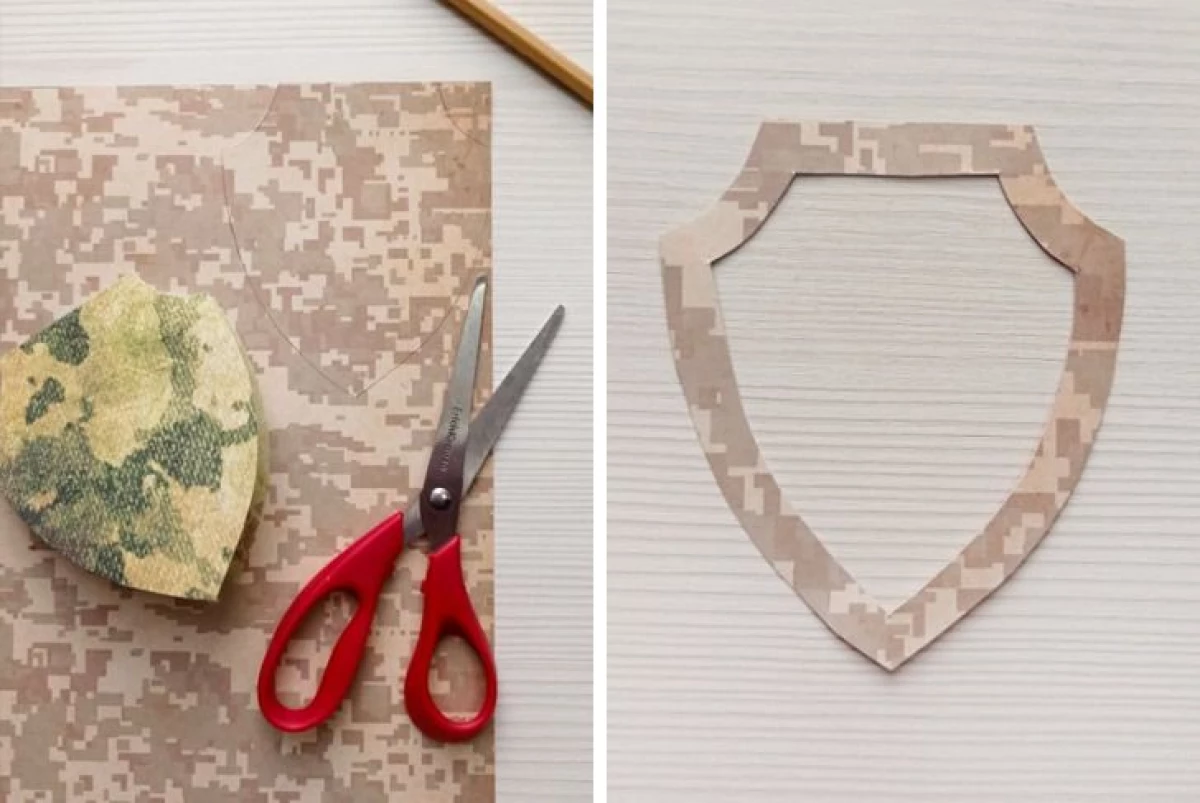
2. Draw on the rectangle outline of the shield so that its upper part turns out to be exactly on bending. Lifehak: You can use our stencil in order to draw your card outline.
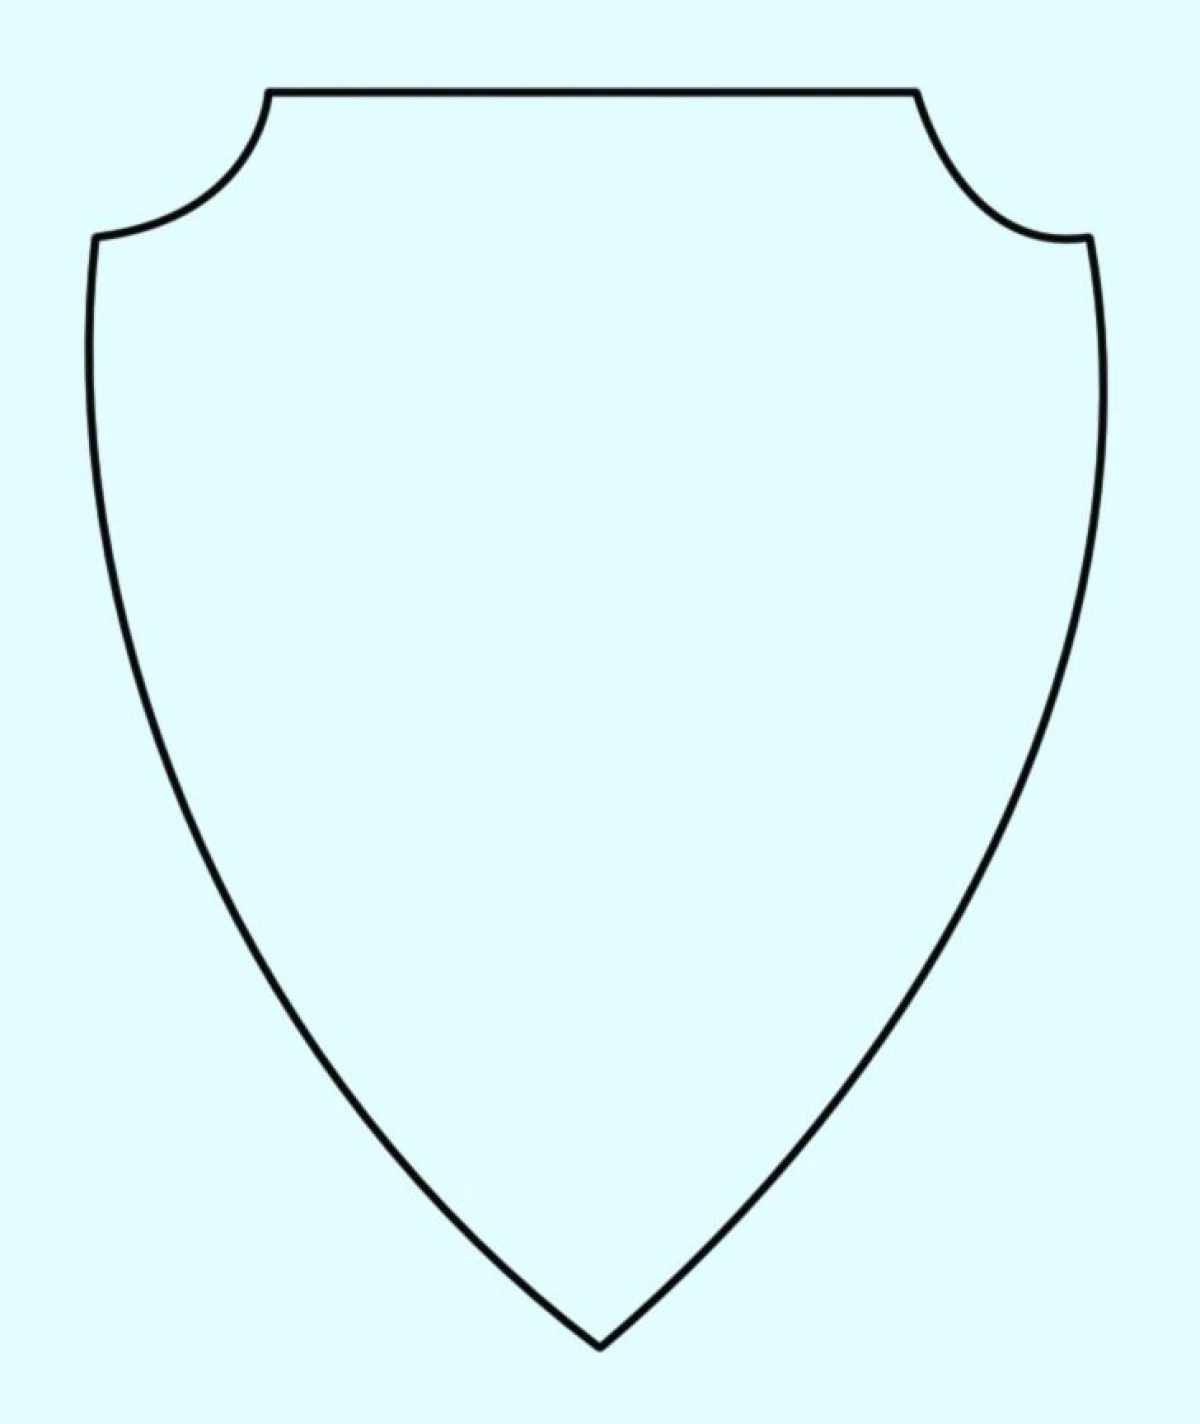
3. Cut the shield along the contour. Please note that it is not necessary to cut a fold. This will be the basis of the postcard.
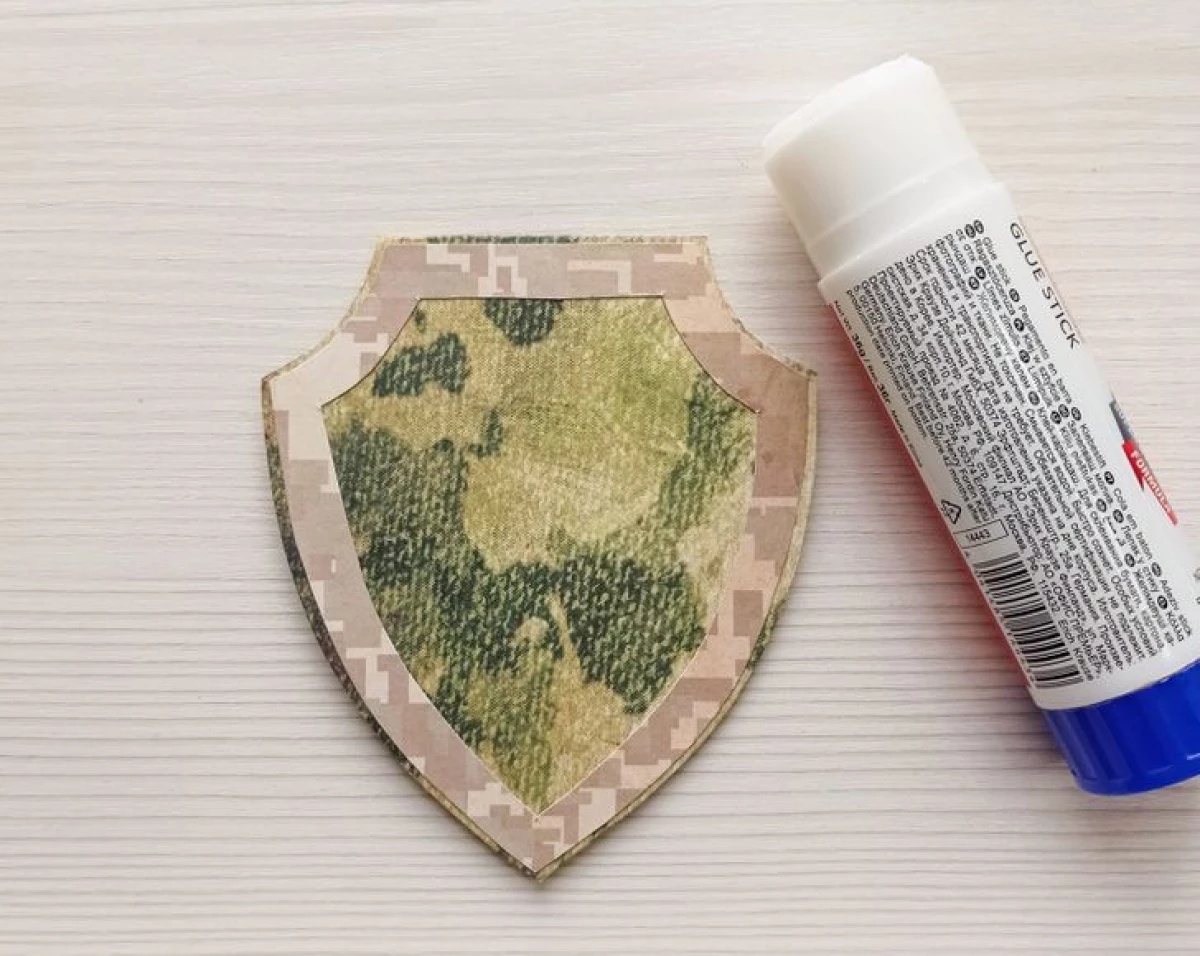
4. From the paper of another shade, also cut out the contour of the shield. Measure a couple of millimeters from the outer edge and slightly reduce the size of the workpiece. 5. Remove about 1 cm on each side inside this workpiece, read the pencil line. Cut the shield center, leaving only a 1 cm thick frame.
6. Stick the frame to the basis of the postcard. If you are all done correctly, the base will look out from under it for a couple of millimeters.
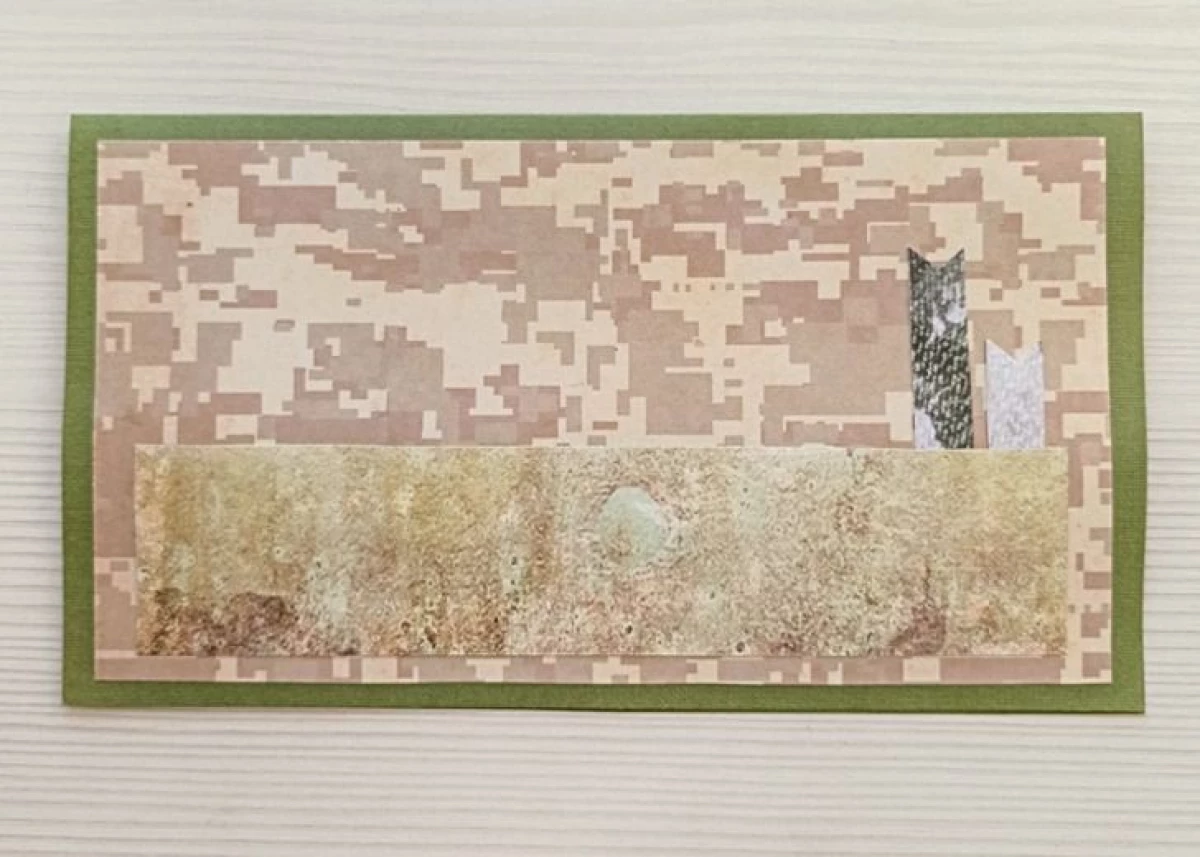
7. With the help of adhesive guns, glue the perimeter of the globusin shield. 8. Cut out several small rectangles with inscriptions and grouped them on the basis. Enclose rectangles with postcard inscriptions. Lifehak: Instead of paper with inscriptions, you can use pages of unnecessary yellowed books or old records.
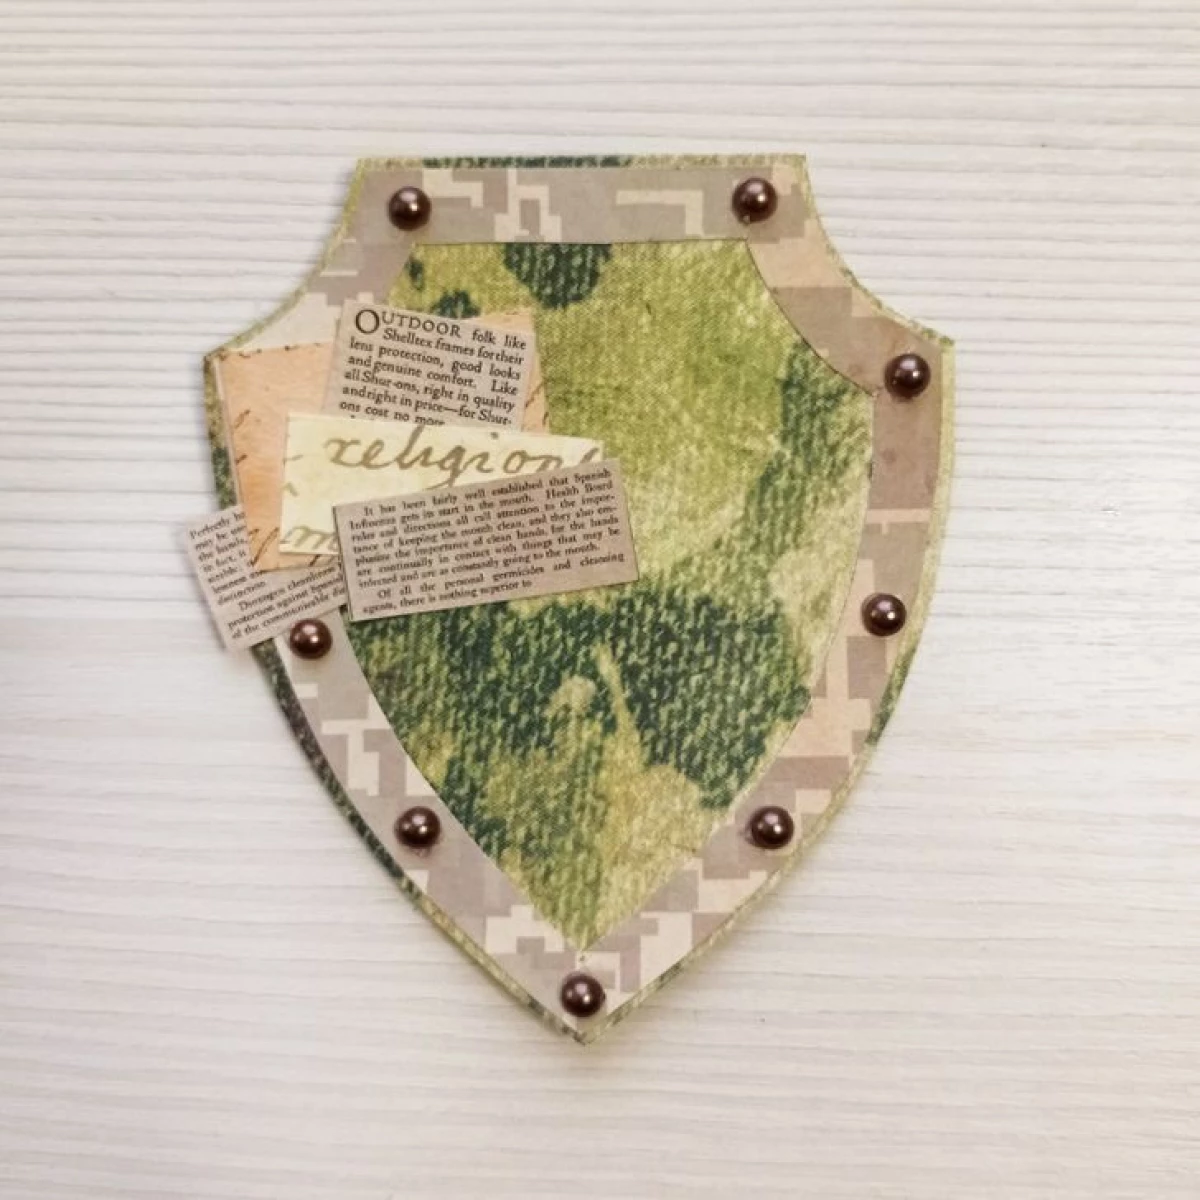
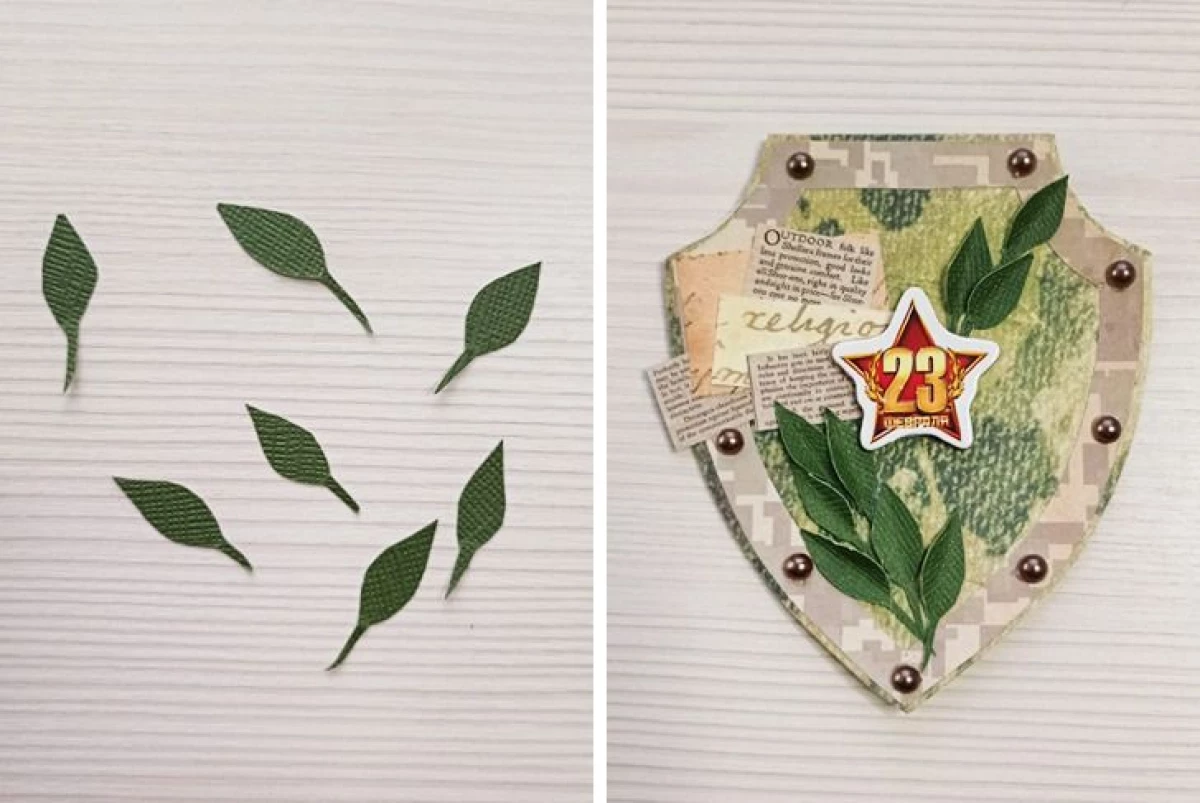
9. Place the cutting or decor with congratulations to the center of the postcard. 10. Cut out several small leaflets from dark green paper. So that they turn out to be quite the same and smooth, you can pre-draw them on the back of the paper, and then cut. 11. Carefully bend each leaf in half along. It will help to give the decor volume. 12. Place the leaves on the postcard so that they formed the branches. Stick leaves to a postcard.
13. Add an additional decor to the postcard as desired. It can be metal elements, ribbons and laces in a postcard, chips and brids for scrapbooking and much more.
Postcard-Mundir
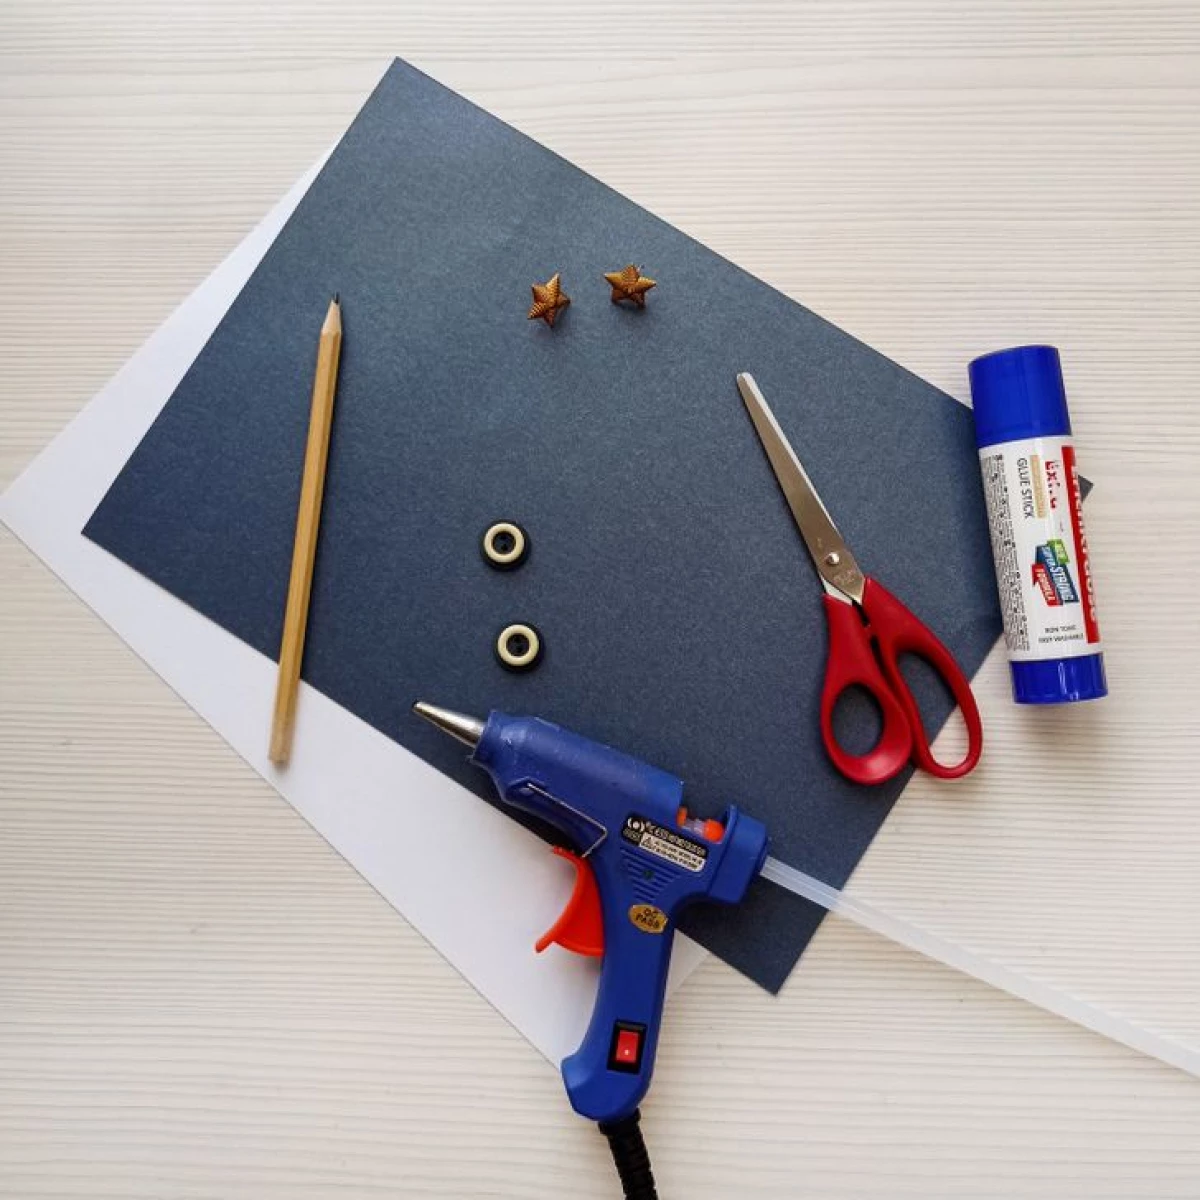
You will need:
- 1 sheet of navy blue or dark green thin cardboard
- 1 sheet of white thin cardboard
- scissors
- glue stick
- Adhesive Pistol
- Simple pencil
- 2 Small buttons of black or brown
- 2 Metal stars
- Rule
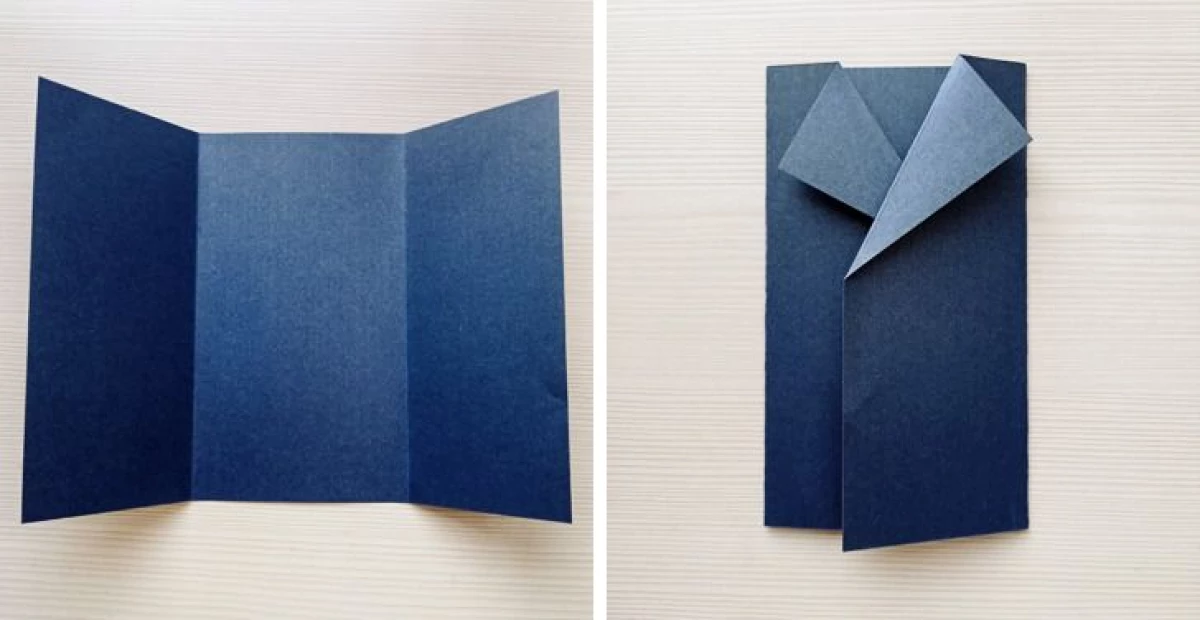
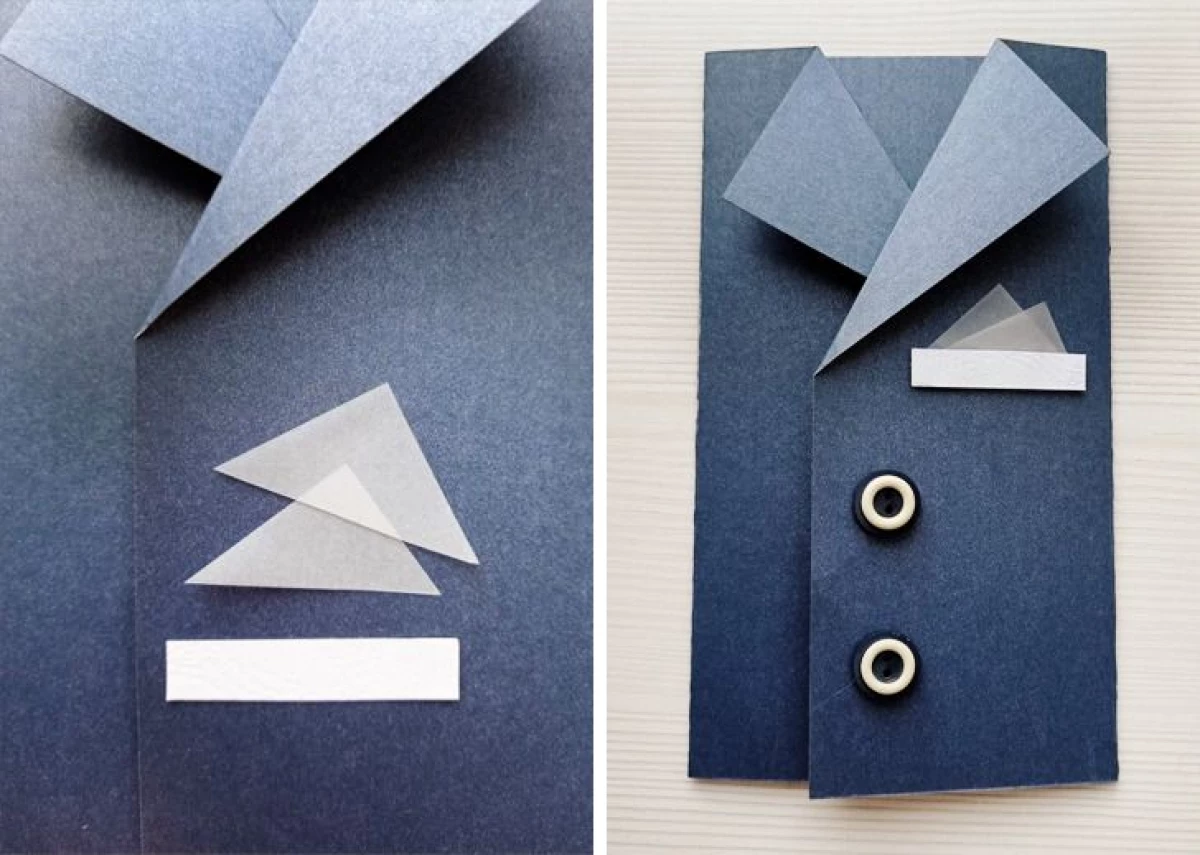
Work move: 1. Sheet of paper or cardboard. Place horizontally. Fold it into 3 parts so that the central part is wider than the side by about 2.5-3 cm. 2. Remove the upper corners of the side parts from the center to the side bends. Follow the folds.
2. From white paper cut out a small strip of approximately 1-1.5 cm high and 4-5 cm long. 3. Also from white paper cut 2 small triangles. Please note that they should not be longer cut earlier strips. 4. Place the triangles behind the white stripe so that they look closely from above because of it. Stick strip and triangles to the right post card, placing them slightly below the edge. 5. Using the adhesive gun, add buttons to the postcard. To do this, on the right sash, the postcards back from the edge of about 1 cm and place the buttons at a short distance one under the other.
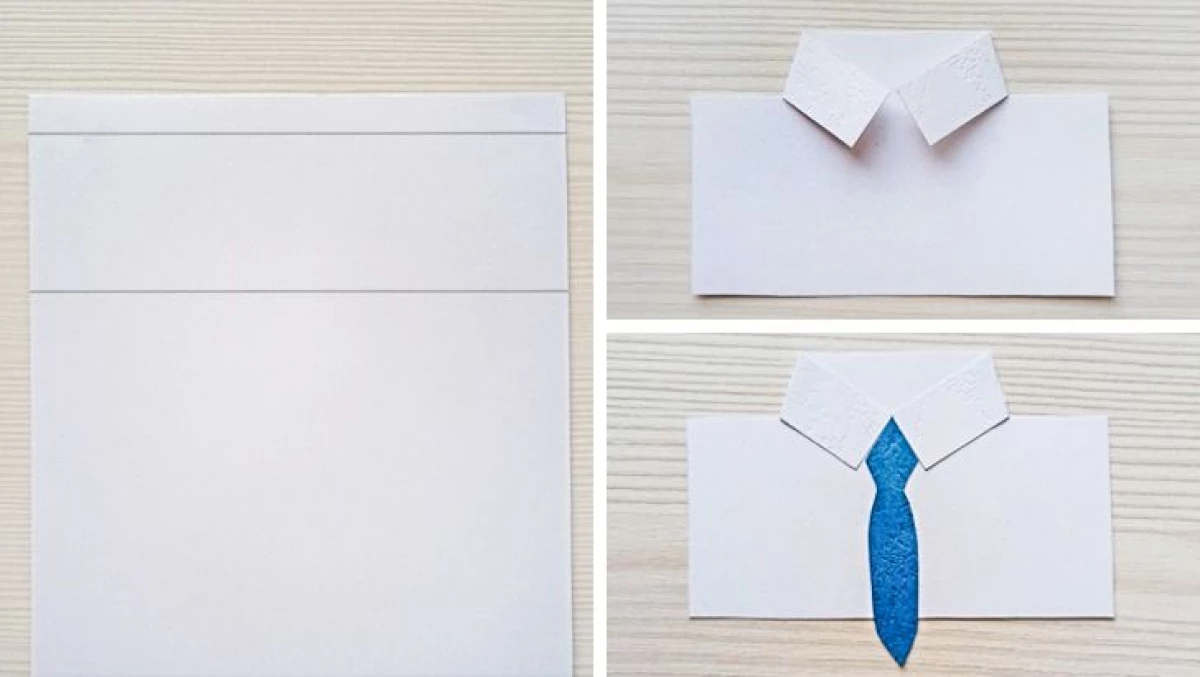
6. On white paper, draw a small rectangle. In length, it should be slightly less than the central part of the postcard. 7. Place the rectangle horizontally and fueled the line at a distance of about 1.5 cm from the top edge. On the line on both sides, make a small incision (the length of the outbreak is about 2 cm). Cut the main rectangle from the paper sheet. 8. Gently maintain the edges of the resulting white strip inside so that they are located at a slight angle to each other. Fold the folds and glue the resulting "collar" to the base. 9. From paper of the same color as the blank of the postcard, cut out a small tie and stick it to the collar of the resulting shirt.
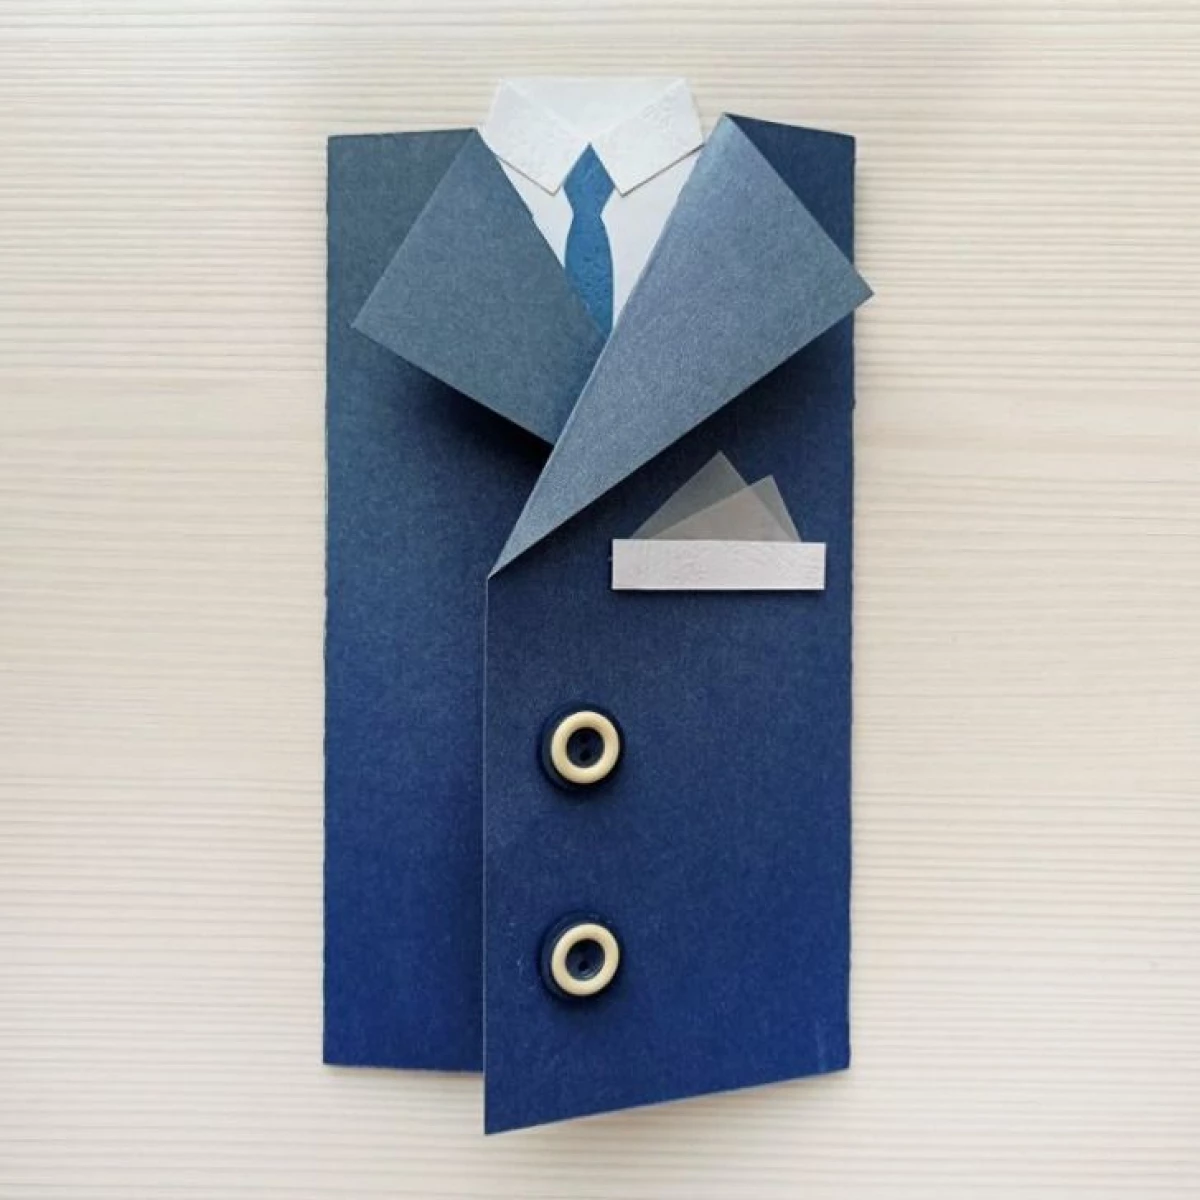
10. Insert the shirt into the postcard and stick it to the central part of the workpiece.
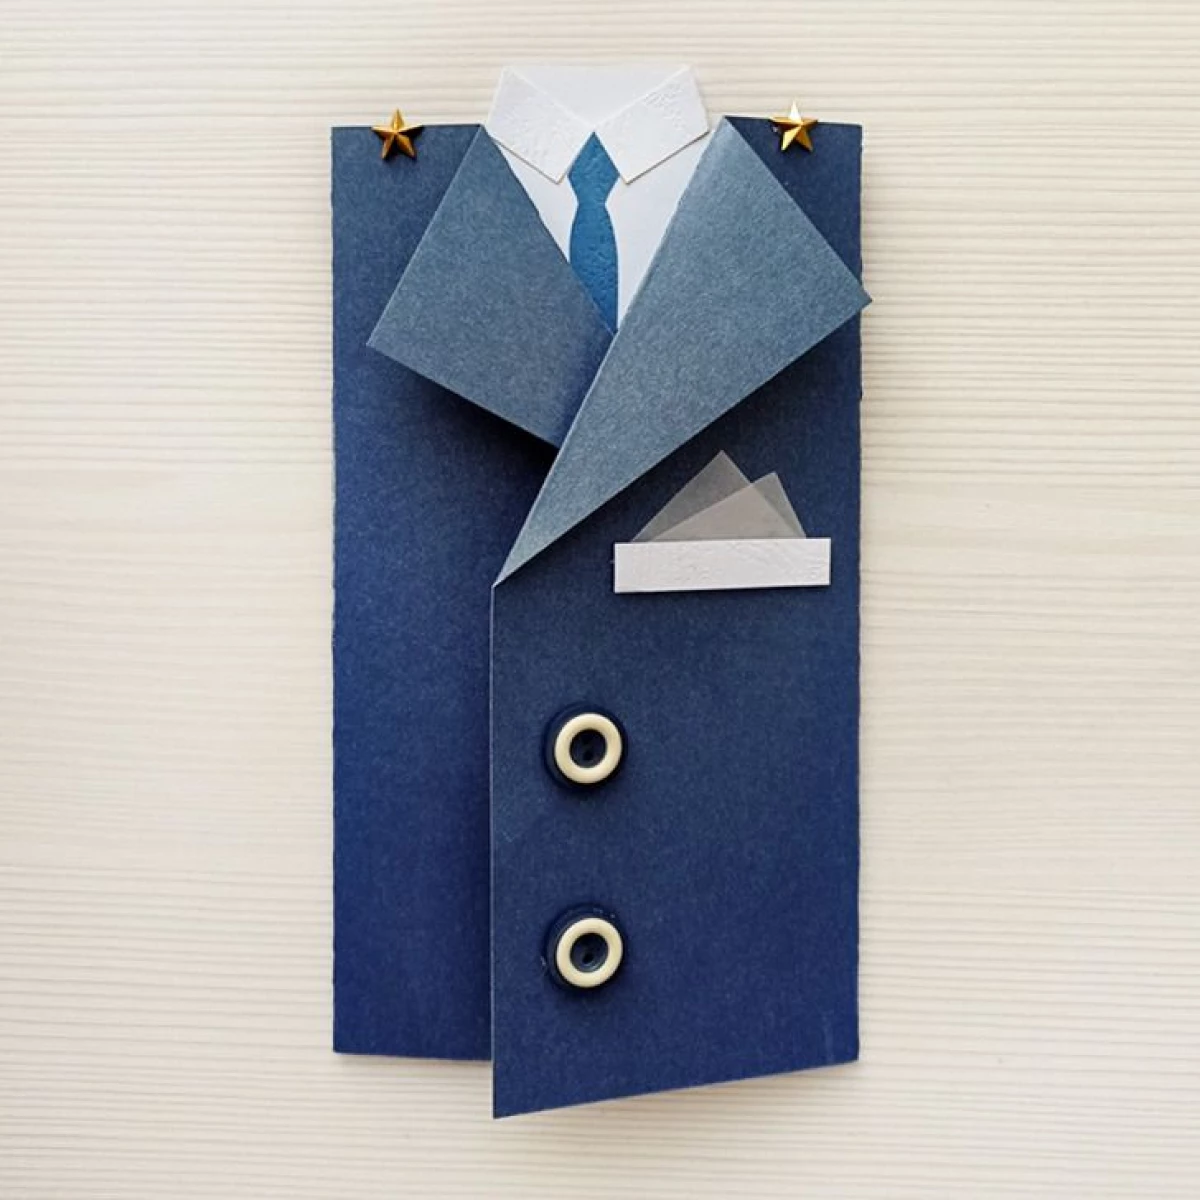
11. Add small stars to the top of the postcard on both sides of the shirt. You can use ready-made metal stars or cut them out of thick paper.
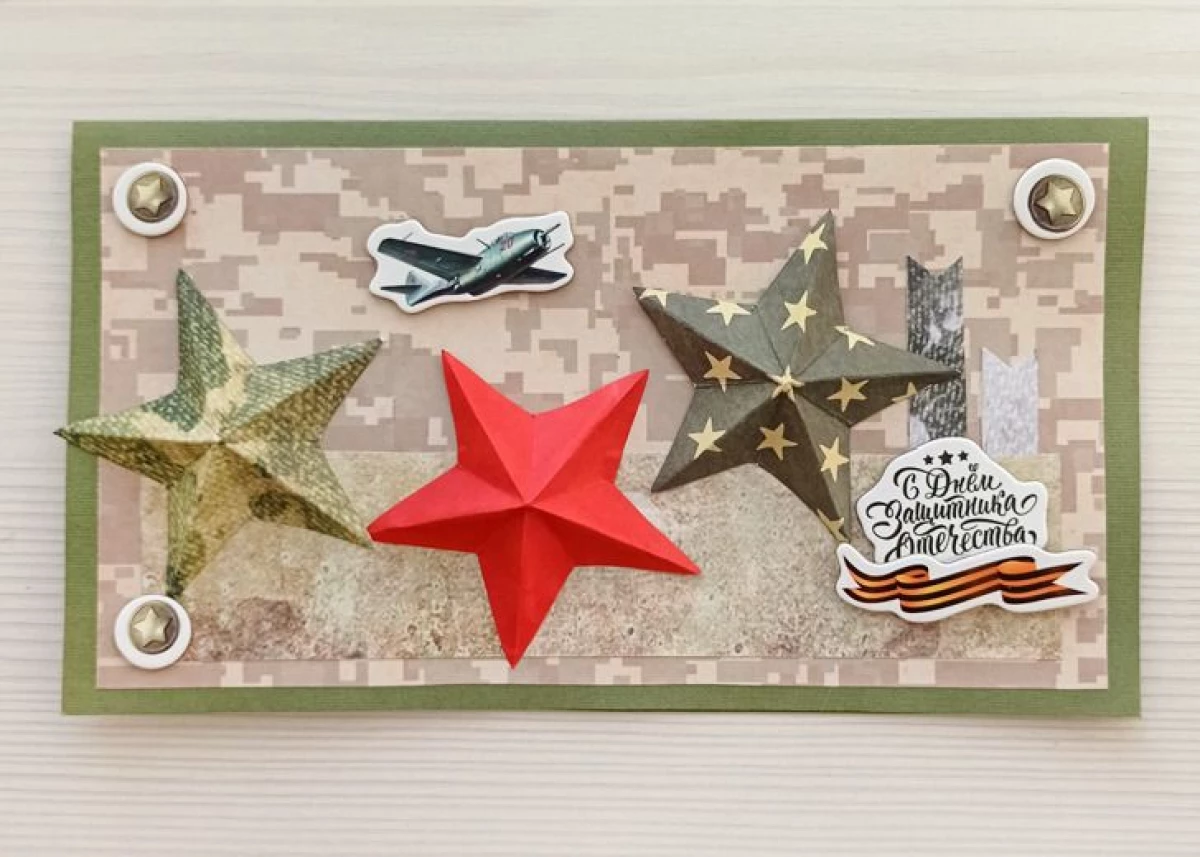
Postcard with stars
You will need:
- 3-4 sheet of paper for scrapbooking or dense colored paper
- glue stick
- Adhesive Pistol
- scissors
- Cardboard cuts for scrapbooking
- Rule
Proceedings: 1. Select the paper that will be the basis for your postcard. Put the sheet in front of yourself and fold a small rectangle from it. Cut unnecessary and place the folding blank fold up. 2. From paper of another color, measure the rectangle that will be less than the previous one by 5-10 mm on each side. Stick it over the main billet.
3. Cut out of the paper of other colors several rectangles and place them on the workpiece. You can also make broadbands or flags from them. This will help create in the postcard the effect of multi-layered and volume.
4. Take advantage of the stencil. Draw and cut out of paper several stars.
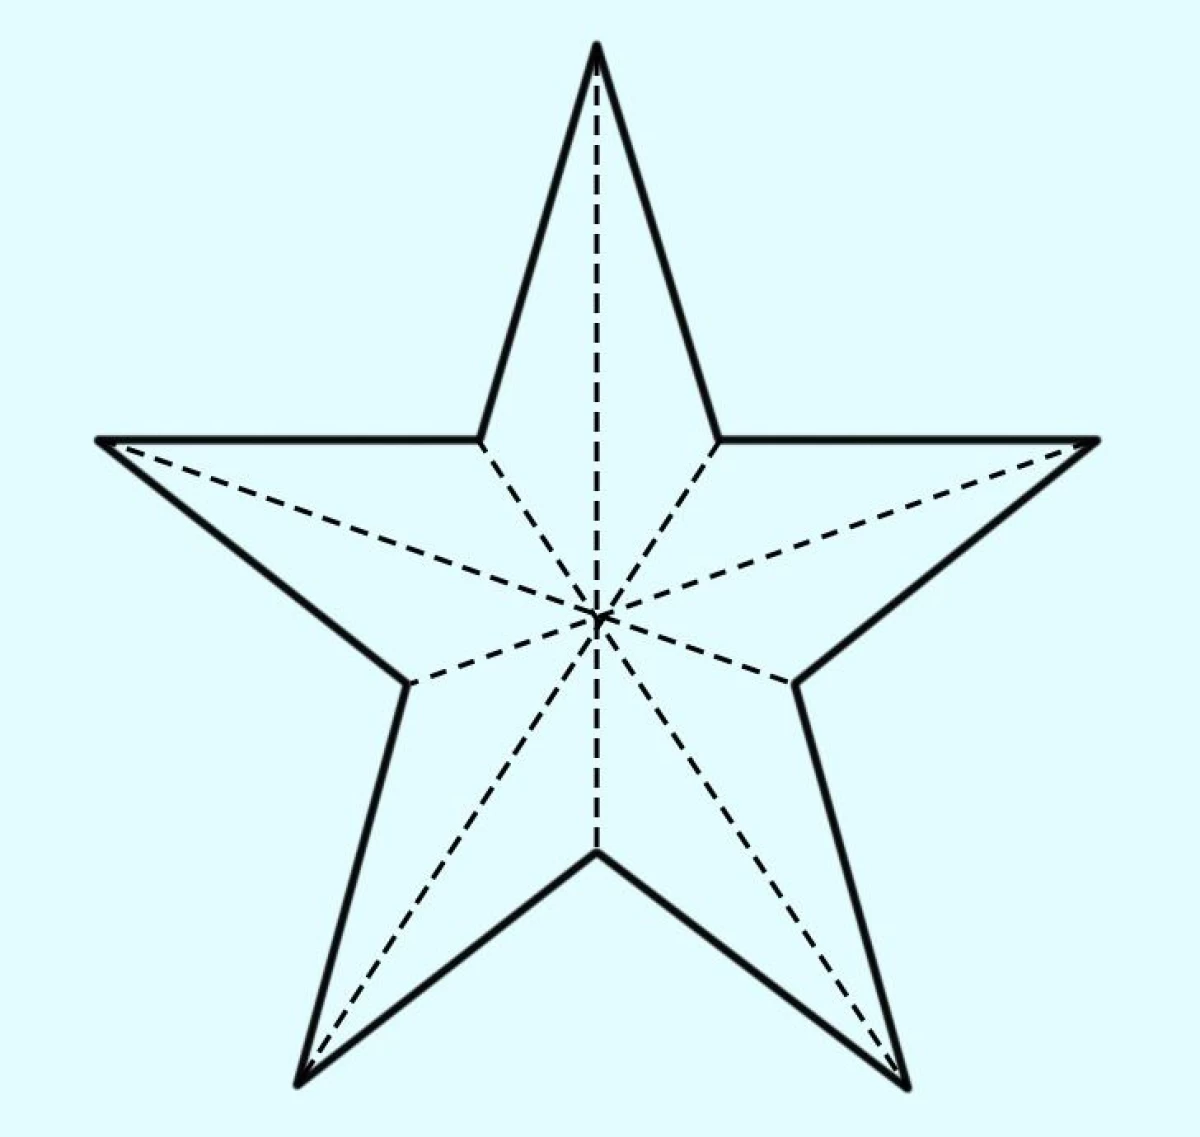
5. From each beam of the star, make a fold passing through the center to the opposite side (on the stencil it is designated by the dotted line). Give the stars volume, sobrive the folds on the rays to the center.
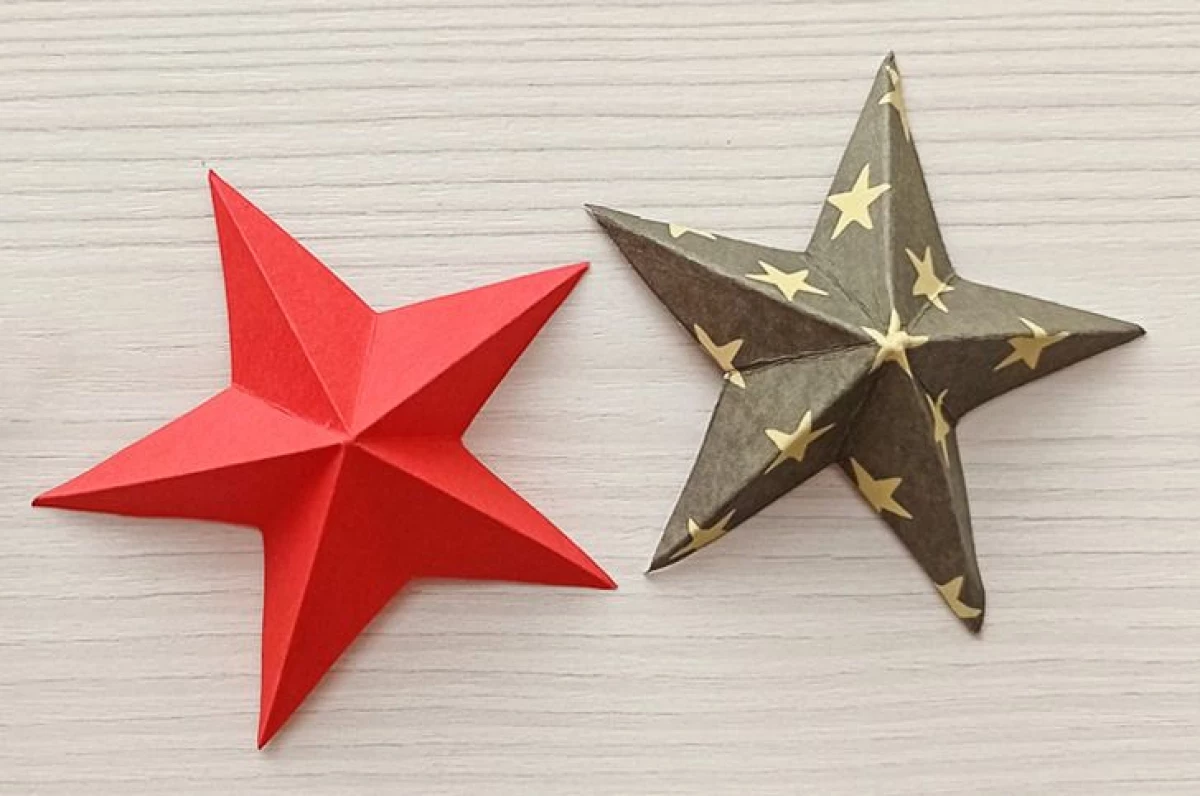
6. Stick the stars on the postcard workpiece. To do this, it is better to use a glue gun. To the star turned out to be volumetric, you need to miss it along the contour and, slightly pressing, glued to the postcard. 7. Add cardboard cuttings to complete the composition.