
Good morning, dear readers! Today, the topic is relevant for everyone who wants to make a pleasant one or your loved ones - how to make a photo frame with your own hands. And do not be afraid, creative talents are not the main thing here.
Creation
The first question that will necessarily arise from the average man when looking at all these adhesives, cardboard and beads - why? The stores seemed to provide a huge number of frames of any beauty, quality, price and size. But it turns out, "as if".
In stores a limited set of frames. These are usually white paper standards: A6, A5, A4, A3. A couple of squares of different size and curly. Who at least once tried to find a frame A2, or a non-standard format - knows this pain. They are either no at all or a completely limited choice.
"Need white? Go to the Baget, buy a black one or do not distract sellers at all! " Do I need to say that the prices of the Baget workshop are hardly suitable in order to simply give a photo. This is one of the reasons, here you will not have a choice at all, or make a frame yourself or choose a more standard option.
The second option - you just want. You want to make a nice gift made by your own hands. Or did not find the design that would come to your unique photo or picture. Or maybe you want to make a joint craft with a child, and this frame will be happy to delight you on the shelf.
What do you need?
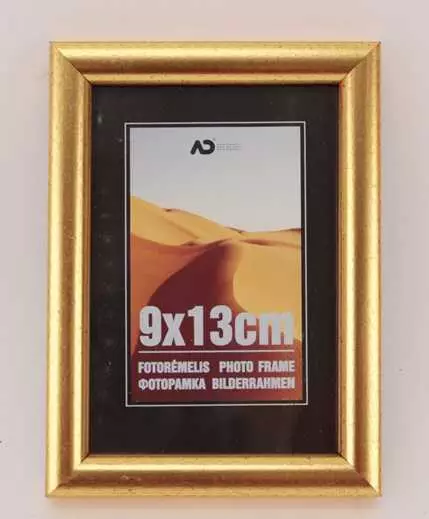
Here, you decided to make a picture. For example, such:
What might need? The photo frame consists of the basics, glass and scenery. Let's wonder everything.
The foundationThe most classic frame as the basis has a rear panel, frame and stand. It looks like this:
A durable cardboard, plastic, wood is suitable as the material. The tree may be in the form of sticks and I would attribute it to the decor, and the basis is still better to make cardboard. And maybe in the form of associates, from which you can collect the frame like the one that is sold in stores.
But it will require the ability to work with wood, additional materials ... In this article, I tell a little more landed and light things. For the standard size photo frame, you can generally buy a regular frame from the store and simply to decorate it.
GlassPhotos, and drawn pictures are more damaged from dust, sun, humidity and even air. Time forces even the pictures of great artists to lose their former beauty. Extend the life of your picture will help glass or its analogue. What can be done?
If you have a standard size photo frame, then buy the most ordinary frame in the store and remove the glass from it. Or use the entire frame only by adding decorations.
Maybe you have familiar glass cutters? Or do you know how? Then you can cut a suitable form of larger glass. Remember that the glass must be more base frames to not fall out.
An easier option is a plastic screen. Find a plastic transparent box of suitable size and boldly cut into your frame.
If you do not plan to leave your creation on the century, you can easily do without glass. The photo will withstand the environment at least 5 years, and maybe lucky, and for longer periods.
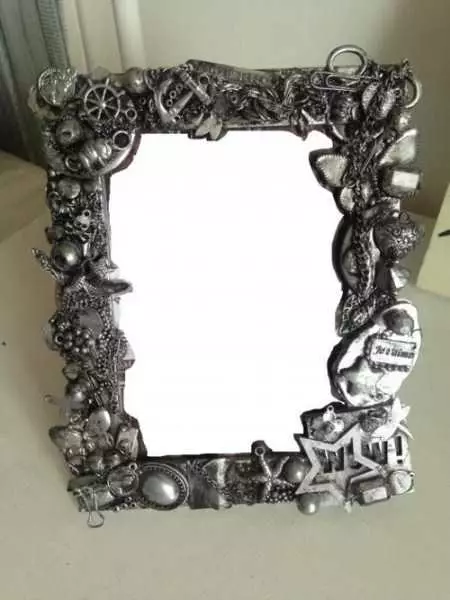
DecorFor the decor you can use any non-resistant products. The most difficult thing to determine the design is true. And then the flight of fantasy and a drop of glue.
You can use food: pasta, cereals, eggshell, seeds and nuts. All products that differ in a long storage period are not subject to mold. Separate elements can even be made of salt dough coated.
Natural materials are also suitable. Cones, leaves, sticks, acorns, chestnuts shells, pebbles. All that is in the park. But it is important from the street from the street to handle boiling water from parasites and dried very well. A drop of moisture - and your creation will cover mold, which cannot be allowed.
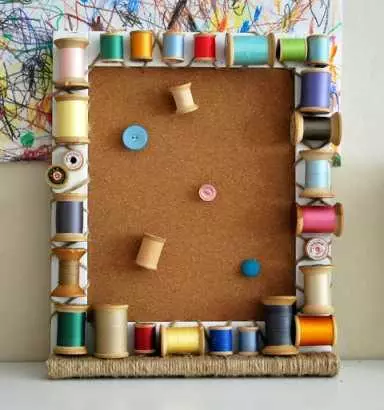
Houseware. For example, buttons, zippers, ropes and threads, bobs, toys from kinder surprise, plasticine or plastic. Gift patterns well decorate the motility of threads and a needle, a gift to grandmother - a little toy sewn. And dad - real nails. Why not?
Creative accessories. Why scam macaroni if everything is already sold? Hobbies Supermarkets provide templates, patterned paper, stencils, separate decor elements. Decorative buttons, beads, chains, shells.
Workplace
Presented, what photo frame do you want? Let's now create a convenient workplace so that you don't have to go regularly for scissors, then behind climbs.InstrumentsWhat do you want exactly?
- Material for frame, glass, scenery;
- Glue. PVA or glue-pencil is well suited for paper. Remember that the paper is better kept on the PVA, but turns. Need to be careful;
- Glue for decor. You do not glue the shell on PVA, this is a fact. There are two options: a glue gun or moment (and analogs). The moment it smells unpleasantly, it is terribly washed away from the hands and surfaces, often opaque and does not give the rights to an error. Therefore, I like the thermoclay more. The pistol truth will have to buy separately, but also from the minuses it only hot temperatures - at the time of application it is important to be careful.
- Paints and accessories to them if you plan to paint. These are paints, brushes, unpolivatives, palettes. If your decor leaves the cutters, then the best cardboard is painted in color, harmonizing with accessories, or neutrally white.
- Scissors, bug knife, stationery clamps, workplace with a lamp, rags for wiping excess glue and other things you think will help you.
Tools ask you comfort while working. So that the glue does not pack your fingers, and its surplus was easily cleaned, the scissors did not let down, and the plasticine was not suddenly brick. Do not ignore this item if you really want to enjoy the process.
TableIt is more convenient to work at the table, you can even kitchen. You can even on the floor, if there are no pets and you do not sit on the aisle. The key to smooth craft is the rigid plane on which it is done. On the sofa and the frame will be a sofa.
Then, we save our eyes. The lighting should be sufficient, bright, nothing to let your eyes. If you are right-handed - put the lamp on the left, if Left -sha is right. Warm light, more sparing for the eyes, in moderate form does not distort color. Too yellow or blue lamps will cause eye overvoltage and strongly distort colors. Like white balance in the photo. Everything should be in moderation.
Do not hope for your perfect accuracy - linakes on the tip and tablecloth. Feed furniture from shots glue, paints and cuts from the stationery knife. And finally, arrange all the items so that you can use them comfortably.
Let's go to the process!
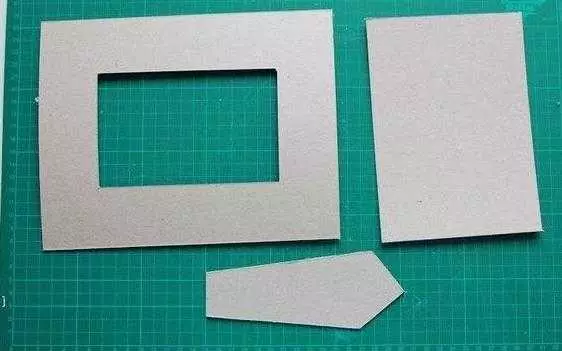
Let's go. First draw the basis. Cardboard must be thick, not very bent. For example, from shoe box. Or any box of household appliances. The inner edge of the frame should be slightly smaller photos and glass. And the rear wall, on the contrary, should cover the frame at least until the middle.
If you have real glass, then make two frames. In the second inner edge in the size of the glass. And get the plafhmy on the first frame. Now the rear wall will not interfere with the glass. For a plastic plate, this is not required - usually they are thin.
Decor options
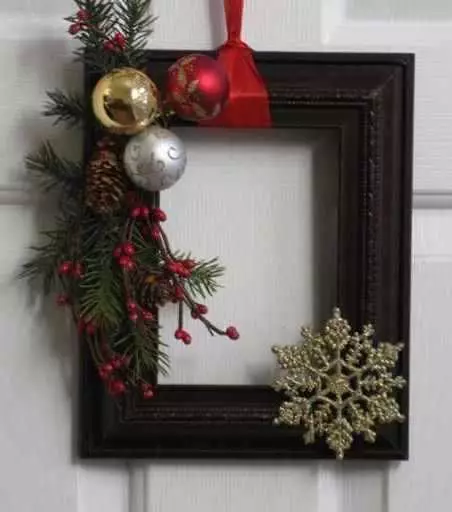
Cut the frame and went to decorate it. I will bring just beautiful examples, inspire and try to repeat. For holidays and for different materials.
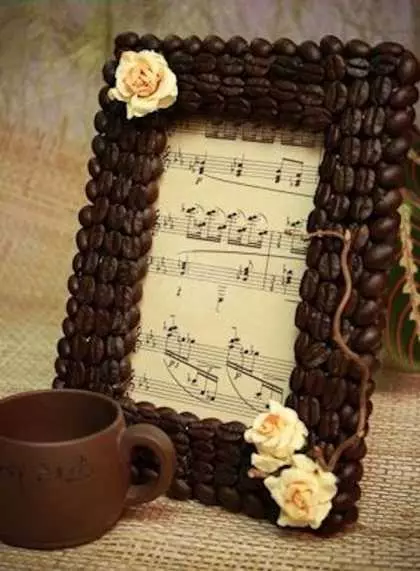
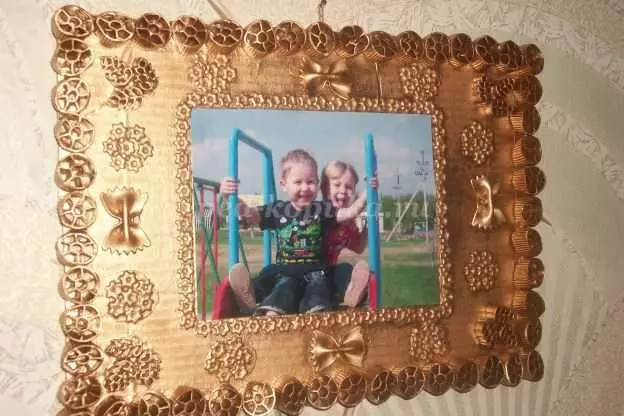
Food productsRecognize pasta and peas? Or maybe here coffee? Well, write your options, which products used here. Just add paint from above - and this is not pasta! By the way, it is more convenient to use paint from the spray to the accessories on top of the accessories.
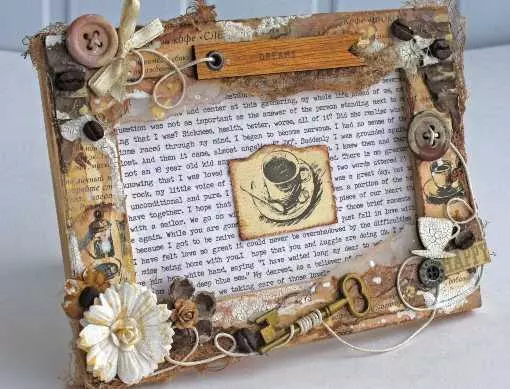
And here is a laconic symphony of coffee. It will fill the room with smells, for a couple of months.
And pasta.
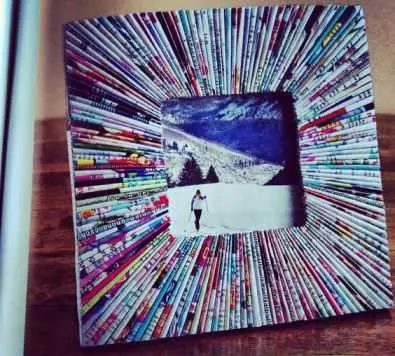
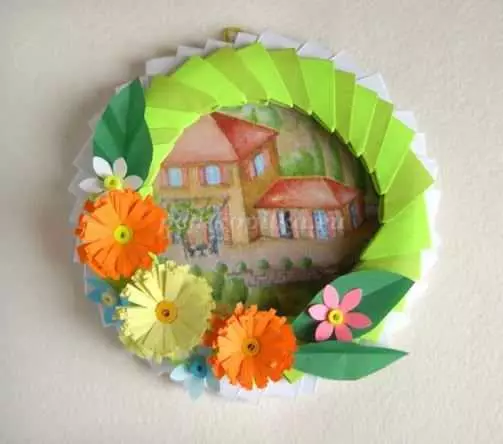
What can be done just from paper? Let's see! Here they took a glossy magazine, and neat tubes were cut out from his page.
Quilling - option for more advanced needlework. From strips of colored paper, real works of art are collapsed. And for a beginner - just mugs and leaves.

But the option that can be done with the child is enough to find stencils on the Internet. Or come up with them yourself.

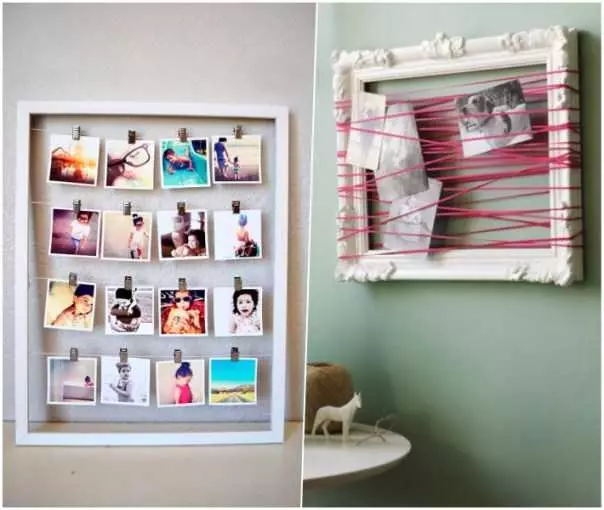
Fabrics and threads give birth to infinite opportunities for fantasy. After all, even just a stitched frame will look fresh and unusual. Here, by the way, how to sew:
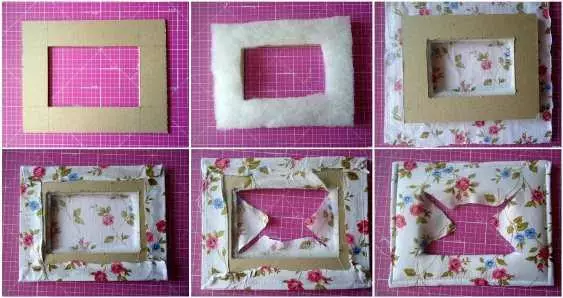
And option design.
And you can simply wrap with a beep or thread. Do not forget to glue every turn.
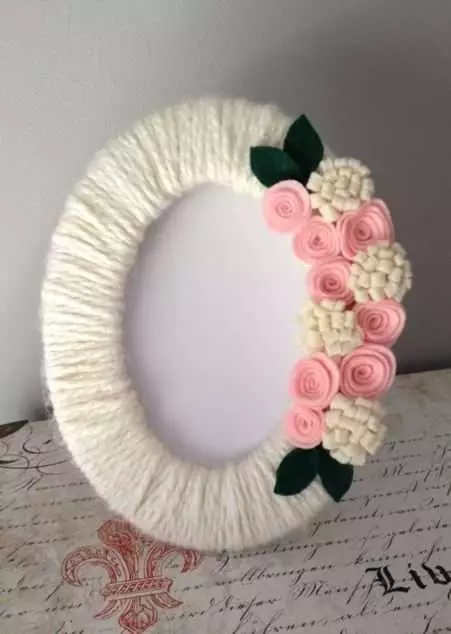
Or not to wipe, but just glue.
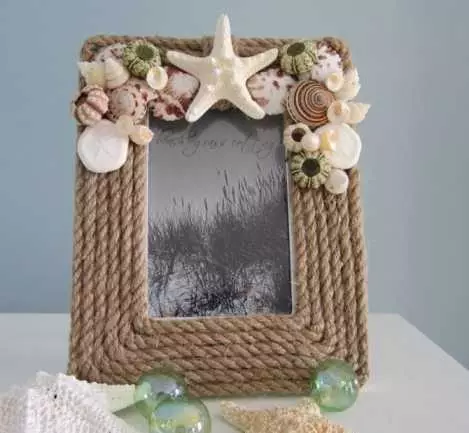
Here are the simplest options for design with natural materials. Shells.
Pebbles.

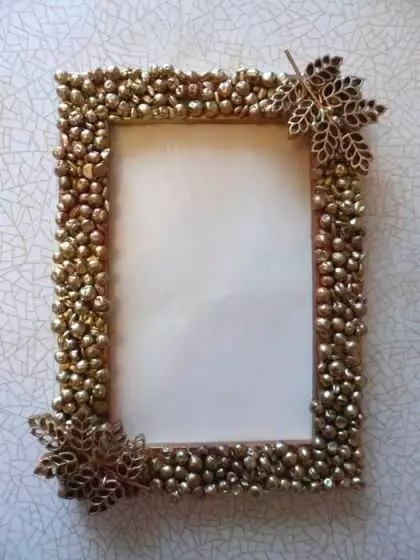
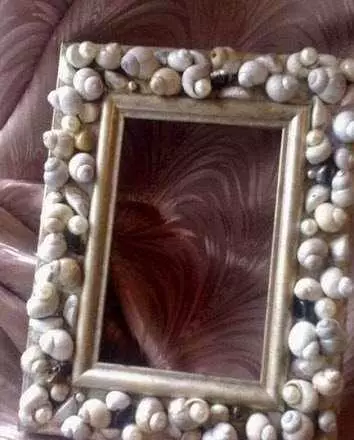
And complex options with natural objects. Splits.
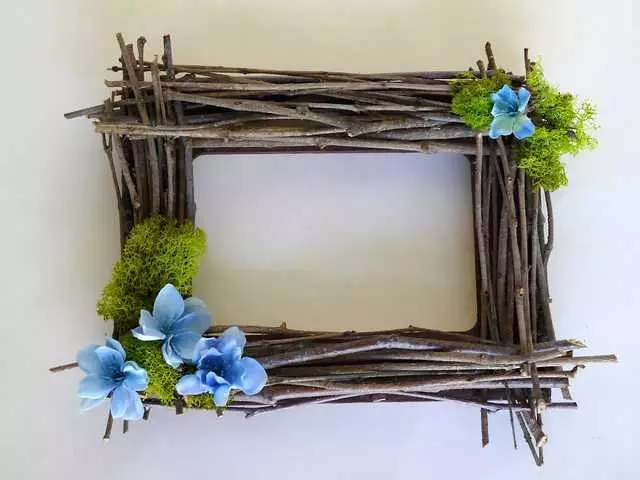
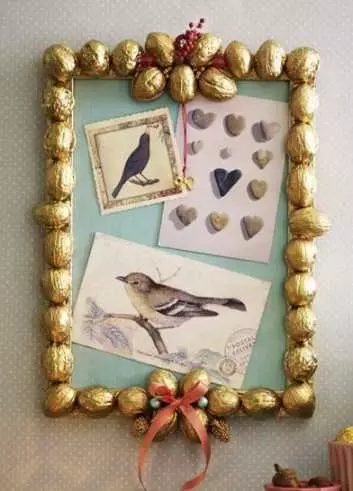
Walnut Shell
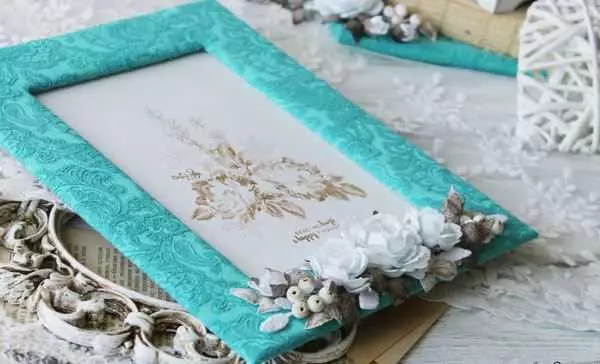
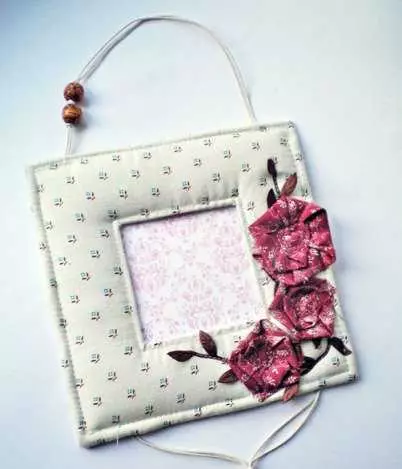
Dry flowers and everything that was in the drawer of the needlewoman.
Choose
Here you have how many design ideas. I recommend any decoration to cover with varnish: they will be less dust, it looks more beautiful and lasts longer. The most ordinary acrylic varnish from the Hobby Store is suitable. By the way, how to hang pictures on the wall, read here. And today everything, share your work. And be sure to try a new one.
With you was Alla - the Creator and the thinker from the kitchen and to the frame.