Probably, say: easier simple - click the frames of the digital camera or on the phone, download them to the computer, select the desired pictures, process the Photoshop program, throw off the flash drive to the USB flash drive and attribute to the photoabeel, where they are processed and printed. Everything is simple now, but only 25 years ago it was a time-consuming process shrouded in a mystery. There was some romance, action.
Lover typing photos had appropriate equipment. We had even books on the photo.
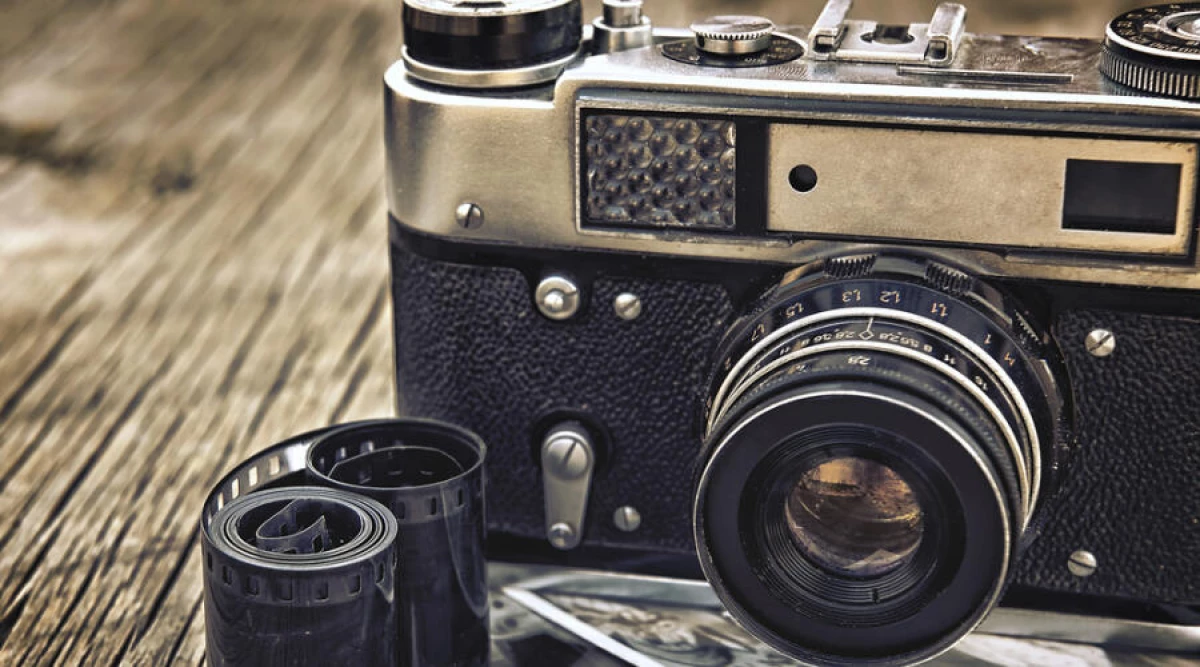
The seal of black and white photographs was easier and cheaper than color and therefore was more common. In our family, the camera appeared in 1957 - Dad bought Zorky-2C. Last photos on our equipment were printed by my younger brother in 1986.
Dad bought a film and stuck with a mysterious species in the storage room - after all, the film was refueling into the camera in the dark, otherwise it could be inadvertently to light up and then she became useless. In the film there were 36 frames, but the first frame could light up. Before clicking, it was necessary to choose a convenient place, successful lighting, configure the camera. To correctly adjust the camera, an exposure meter was used to determine the lighting conditions.
Pretty film? Now you need to remove it from the camera necessarily in the dark. Next, the film was shown. For this procedure, chemical reagents and a tank were needed.
The film is manifested - it should be dried. To do this, on the rope with the help of a clothespin, the film was fixed for the very first corrupted frame.
Wet film with your fingers? You spoiled some personnel. It is necessary very careful for the edges of the film. Finally, the film dried and everyone is trying to see themselves in the negatives. Again you need to remind: do not touch your fingers to the personnel. If there are footage on the film, worthy of further costs, then you can proceed to the printing process.
The printing process of photographs is a sacred. You must have: photo ending, time relay, laboratory lantern, cropping frame, glossyer, baths for photographs and tweezers to get a photo from the bath. We also bought a photo paper and chemical reagents: developer, fixing (fixer) and reagents for toning (optional).
Printed photos at night when the kids slept. The movement in the house was stopped, the window was driven by a blanket, the light turned off everywhere, and who did not sleep - walked on tiptoe. With the photo paper and film for the black and white photography, you can only work with a red light, so the entire printing process occurred when the laboratory lantern light with a red light.
The developer and the fixer are prepared and spilled on the baths, there are two baths with clean water. The photovoller is ready for work. The cropping frame is installed. Photographic paper and tweezers at hand. To make a tinted photo - brown or green, a special solution was prepared and poured into a separate bath. Turn on the lantern lantern and quit light!
The film is scrolled, and a frame is visible on simple white paper. If he is excellent quality, then you can make a big photo. If the sharpness is bad, then you can try to make a little photo.
The photo paper is matte, glossy and embossed different sizes: from small - 6 × 9 cm, to large - 30 × 40 cm. If there was a large photo paper, and you need to print small photos, then the large sheet has been cut with a special photographic knife with a red light . The paper immediately hidden in the package to accidentally not light up - the photo paper is sensitive to light, like not a manifest film.
One sheet got out of the package, stacked under the photo transfector. Included photovoltaper and time relay - if there is no relay, then you count to ten. Having left the right time, the photo ending and relay turned off, the sheet went to the developer. In the developer, the leaf remained the right time - a picture was gradually manifested. An experienced photographer knew how much it should be kept in the developer: if you redistribute, then the photo was dark, if unworn - bright. With the help of tweezers, the paper got from the developer. To toned photos, the sheet lowered into the desired bath. Next, the sheet went into clean water - wash the developer and after that - to the fixer (fix).
Then paper was washed in the bath with clean water. And dry. Photos put on the newspaper to water glass with paper. We did not have a glossy, dad used a big glass so that the photos would be glossy: wet prints with a rubber roller were glued to the peeled surface of the glass - the front side on the glass where they were dried. By the end of the printing process, all the glass was saved with pictures. Usually in the morning photographs easily moved away from the glass.
With a glossy, dried photos was easier: the pictures were put on the mirror surface of the glossyer and turned on the device. The glossyer was heated to 50-70 ° C at a process time of 6-10 minutes - dry photos disappeared.
From the early morning, the homemade was crowded by the table, snatching freshly printed photos from each other. They had their own special smell.
The quality of the photos depended on the configuration of the camera, the quality of the manifest film, the time of manifestation / fixation.
Getting a good black and white photography is an art!
I remembered one funny case - lovers of all Soviet coap. Once the eldest of my brothers - then a high school student, disassembled a camera. And when I collected, some details were "superfluous" - he did not know where to give them. I decided the problem simply: I wrapped in a purw paper, I thought to do it later. Removing the room, I decided that this garbage and that mint paper was thrown. You will laugh, but the quality of photos has not suffered.
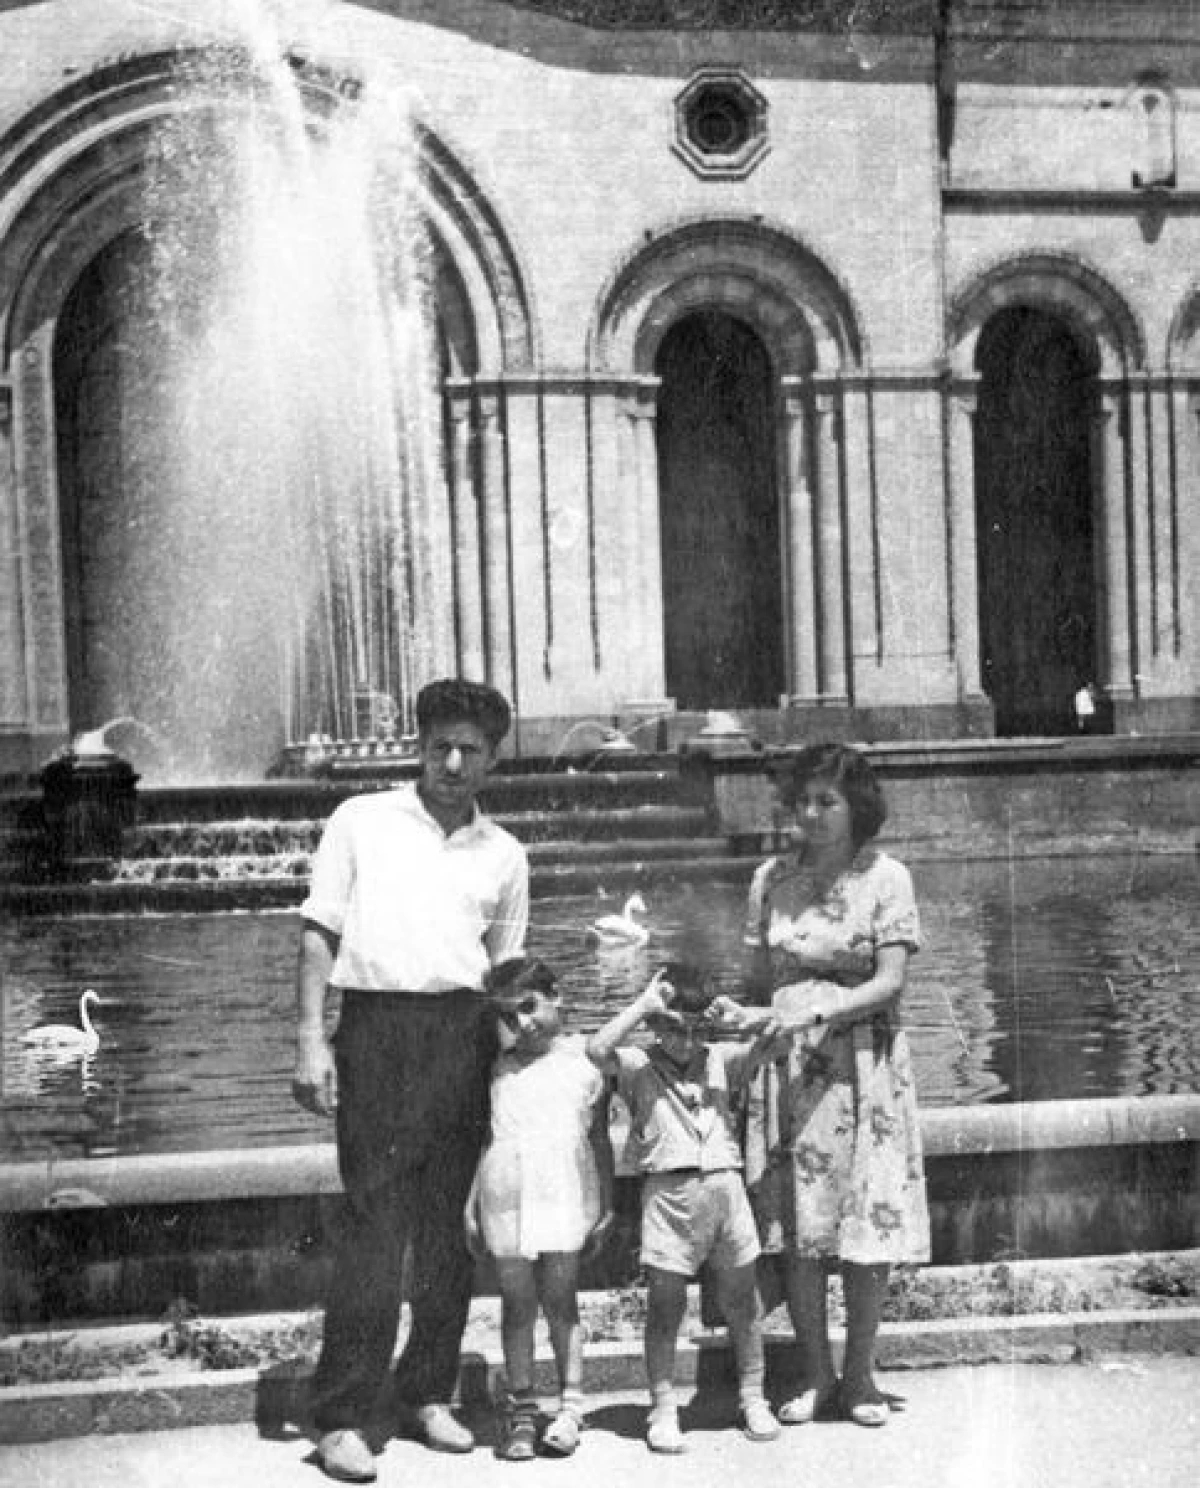
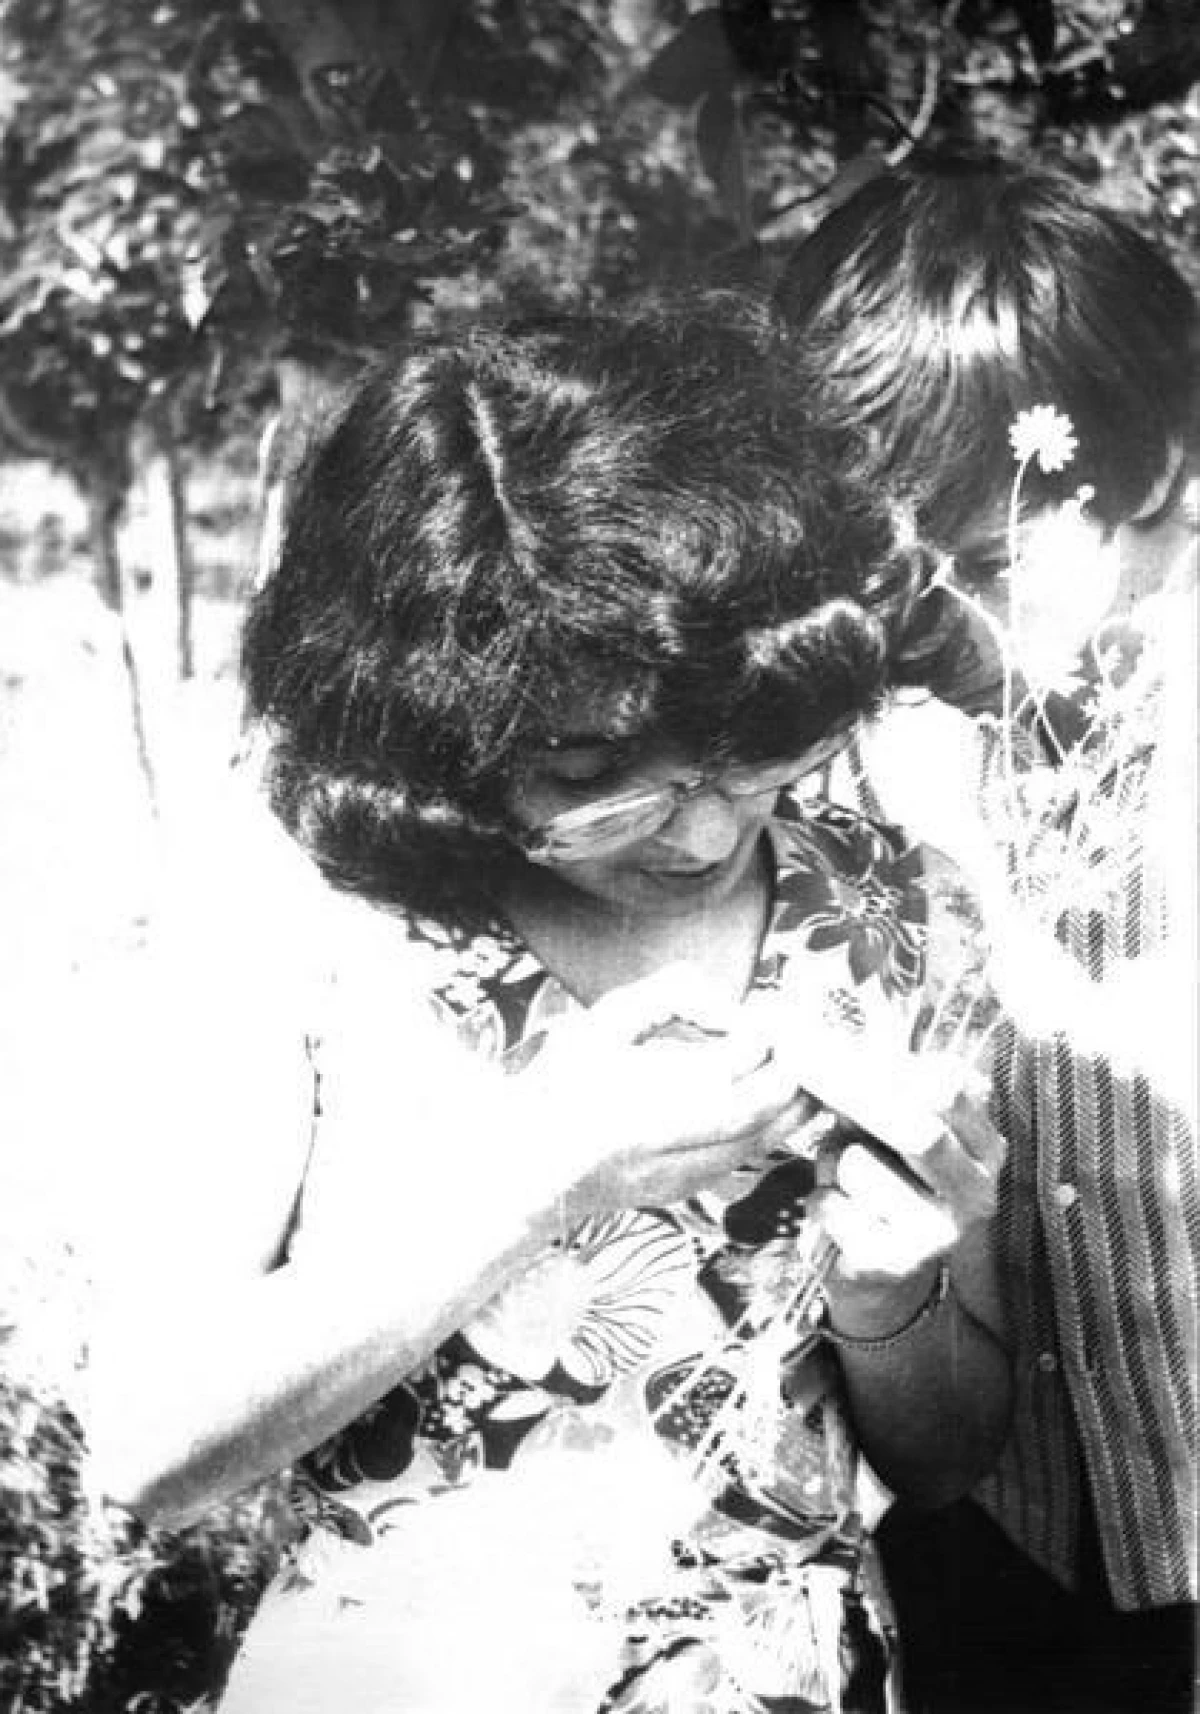
Amateur photos are not better quality, but this is not just a picture of a moment, but a story, a small episode of life. Photos are small joys from memories of childhood, where I am a child, and next to young dad and mom.
Author - Karin Andreas
Source - Springzhizni.ru.