
Some works performed in the Table Excel Table Processor require adding a variety of drawings and photos to tabular data. The program has a number of tools that allow you to insert the picture. In the article, we will analyze several methods for implementing this procedure in detail: through the protection of the working sheet, the developer mode and add notes to the work sheet.
Features inserting pictures
To correctly add a picture to the working sheet of a tabular processor, it is necessary that the image itself is located on the hard disk of the PC or on the removable media connected to it.
Insert images on a sheetTo begin with, we define how the insertion procedure is on the workspace, and then find out how to add a picture into a certain cell. Step-by-step guide looks like this:
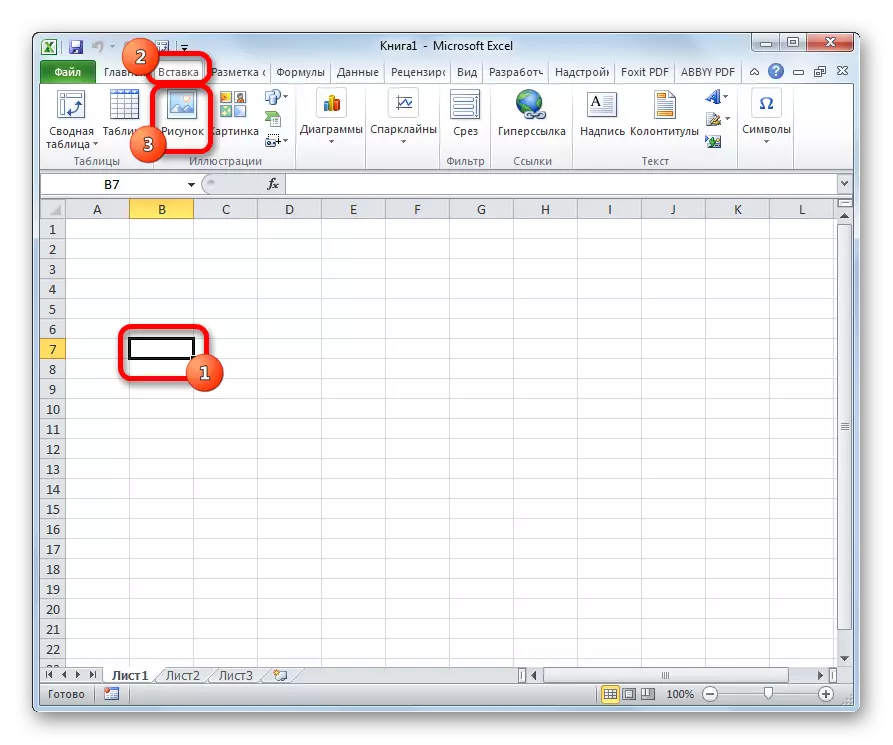
- We produce the selection of the cell in which we plan to locate the drawing. We move to the section called "Insert", which is located at the top of the table processor. We find a block of commands "Illustration" and click the element "Figure".
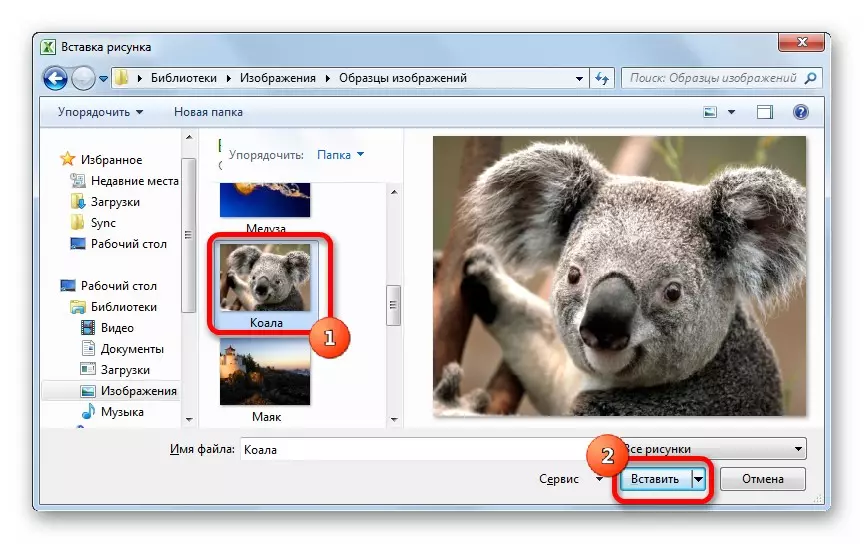
- The window displays the window called "Insertion Insertion". Standard it is always displayed in the Image folder. It is possible to transfer in advance to this folder then the image we plan to insert on the working sheet of the tabular processor. Alternative option - staying in the same window, go to another folder of the personal computer and the connected removable media. Upon completion of all manipulations, on the selection of the image, click on the "Paste" button.
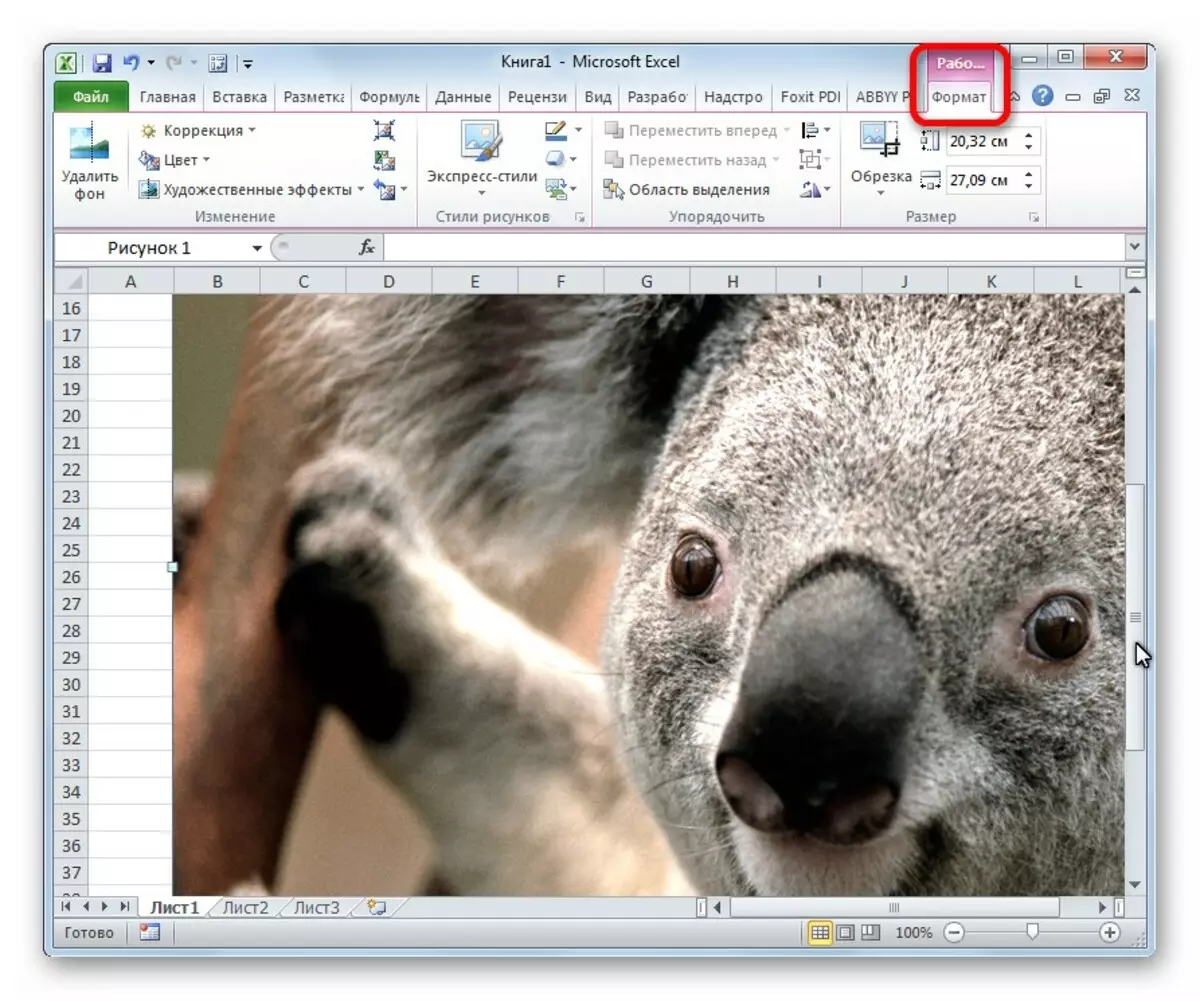
- Ready! The desired image appeared on the work sheet of the tabular processor. It is worth noting that the drawing is currently not attached to any cell of the document. We will talk about the reference process a little later.

Let's talk about how to change the inserted image so that it has suitable dimensions, harmoniously looking at the working sheet of the tabular processor. Step-by-step guide looks like this:
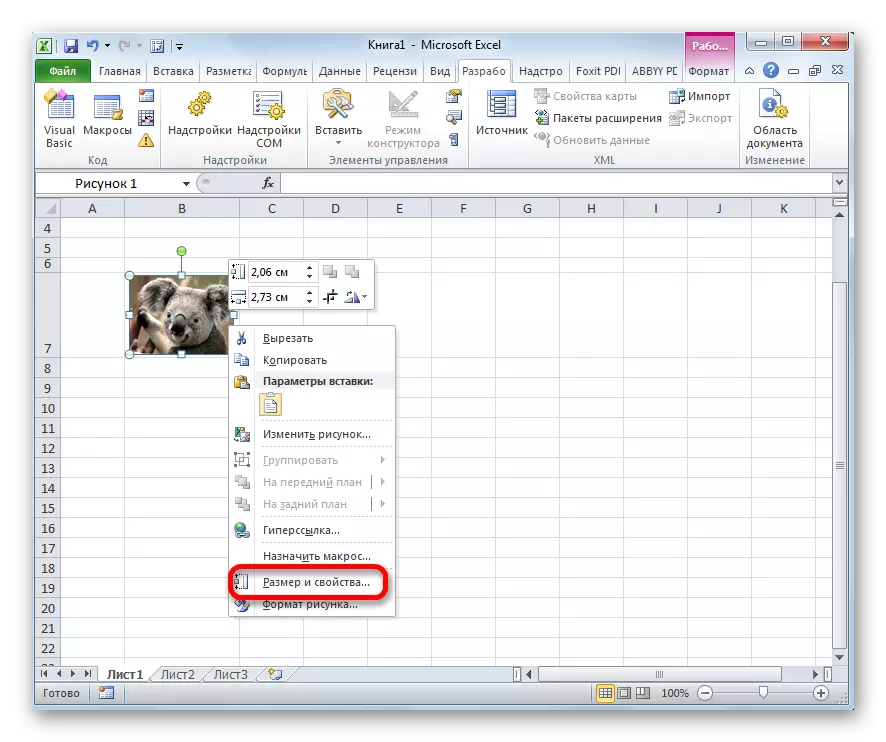
- Click on the inserted PKM picture. The screen displays a context menu, which allows you to change one or another image parameter. Select an item called "Size and Properties".

- A small window called "Figure Format" appeared on the display. Here is a huge number of variable parameters that allow you to edit the properties of the image. Basic settings: size, shade, trimming, a variety of effects and so on. A large number of settings are created to ensure that the user can edit the inserted picture for the most different tasks.
- If there is no need for detailed editing the inserted picture, then we will not need a window "sizes and properties". Alternative image change option - Go to the additional section "Working with drawings", located at the top of the table processor interface.
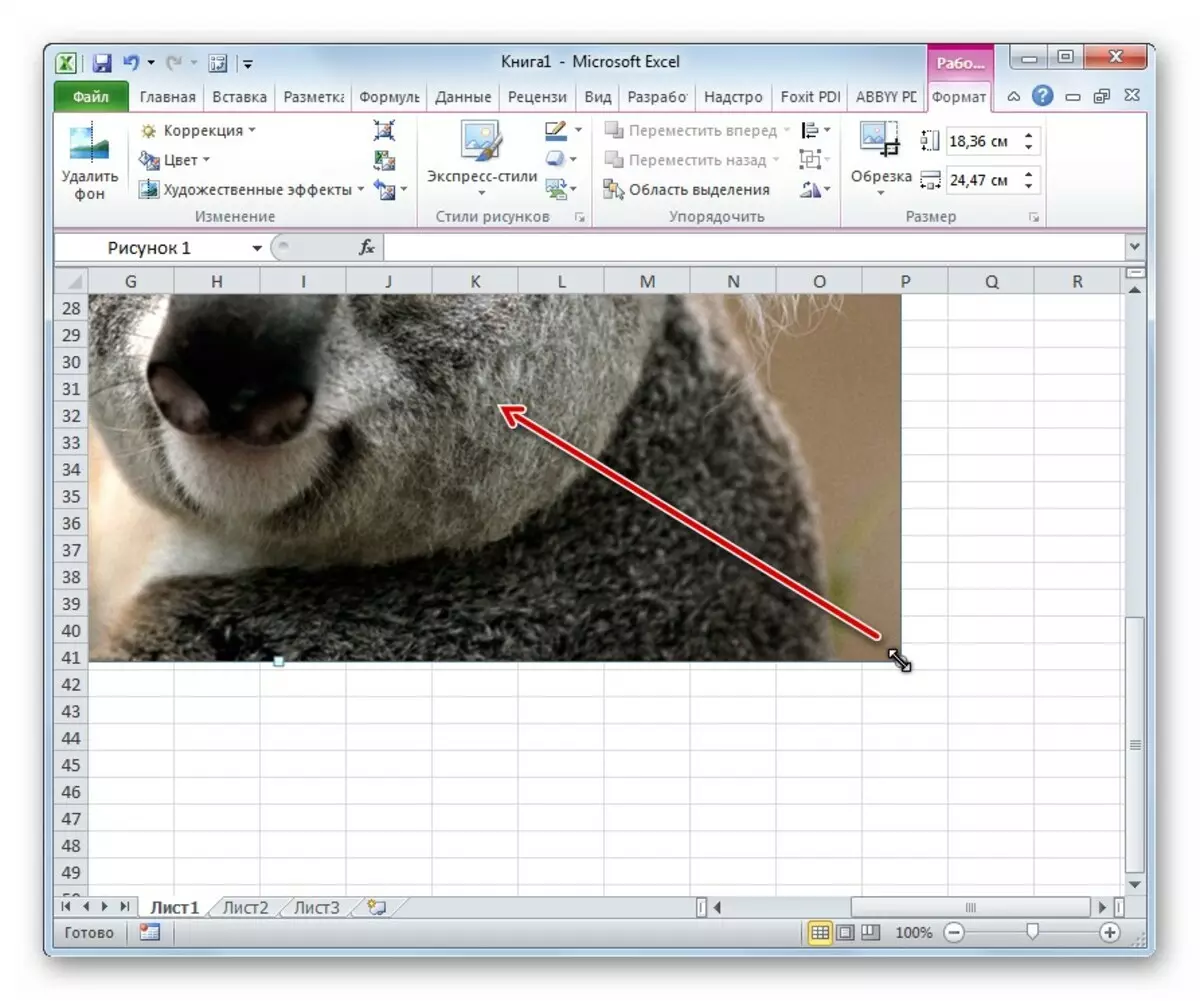
- If we wish to insert pictures into a cell, then you need to edit the image so that its dimensions coincide with the size of the cell itself. The size editing is carried out by the following methods: through the "Sizes and Properties" window; Moving the boundaries of the drawing using LKM; Using tape tools, as well as a context menu.
Attaching pictures
After carrying out all the manipulations described above, the inserted picture in any case remained intact to the cell. For example, if the user applies the sorting of data on the work sheet, the cells will change their places, and the image will still be in the same place in which it was inserted. In the tabular processor there are several methods that allow you to attach the image to the selected document cell. Let's talk about this in more detail.
Method 1: Sheet ProtectionProtecting the working sheet of a document from various editing is one of the methods for attaching a picture to a cell. Step-by-step guide looks like this:
- We implement a faction of the image size under the size of the cell and carry out the insertion of the methods described above.
- Click on the inserted picture. A small context menu appears. Click on the "Size and Property" element.
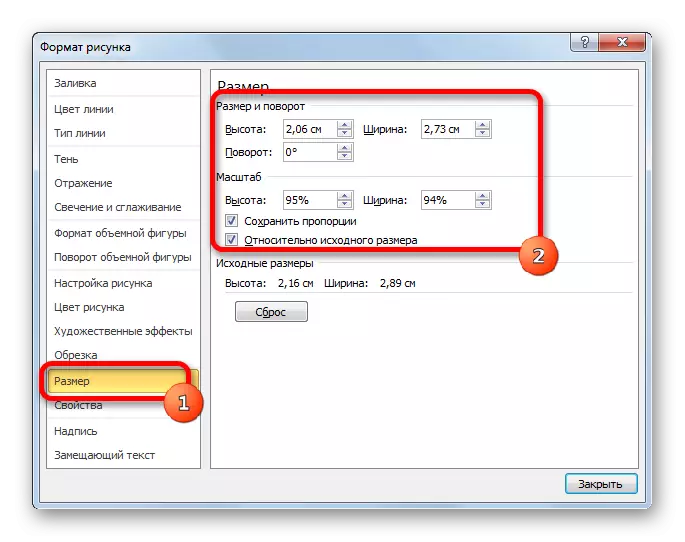
- The screen "Figure Format" appeared on the screen. We move to the "Size" section and make sure that the size of the image does not exceed the cell value. Additionally, you make sure that there are checkboxes near the "Save proportions" elements and "relative to the initial size". If any property does not correspond to the above, edit it.
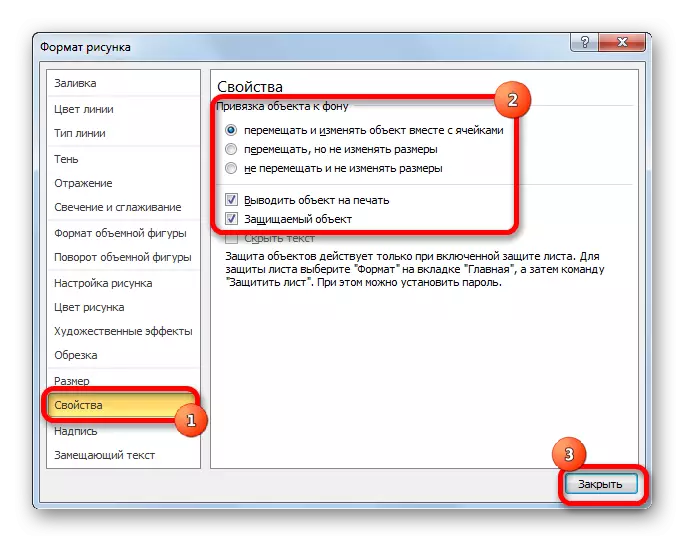
- In the same window we find the section "Properties" and move to it. If there are no checkmarks near the elements of the "Print Object" and "Protectable Object", then they must be supplied. We find the "Binding object to the background" property and put a mark near the inscription "move and change the object with cells". After all manipulations, click on the "Close" button, which is located at the bottom of the Figure Format window.
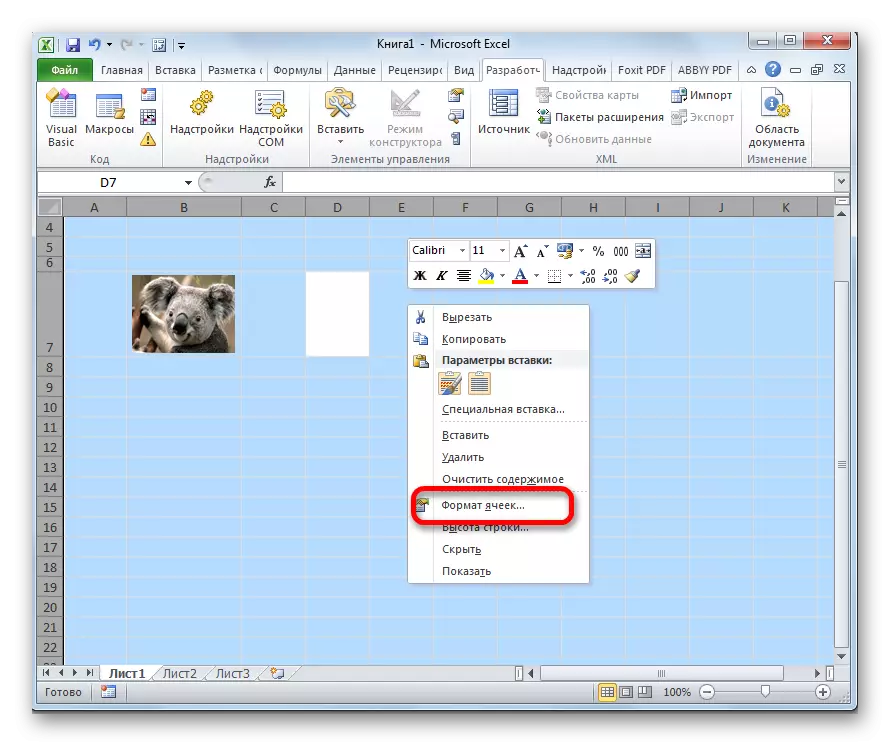
- Using the key combination on the "Ctrl + A" keyboard, we produce allocating the entire working sheet. Call the context menu and click on the cell format item ... ".
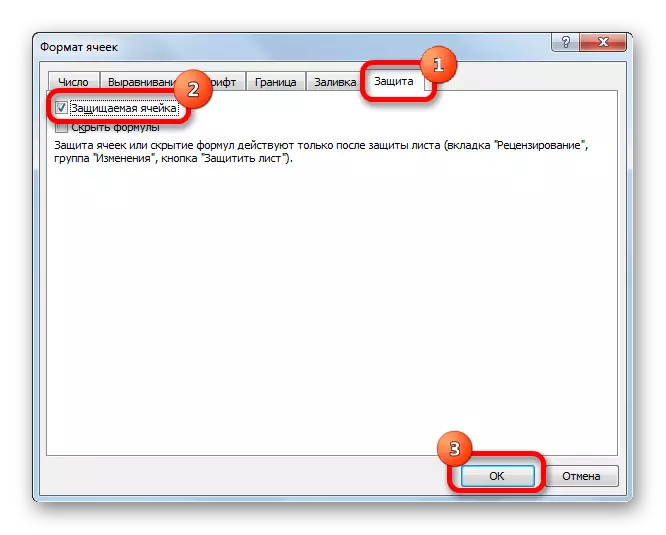
- A window appeared on the screen called "Cell Format". Go to the "Protection" section and remove the mark from the Protected Cell Properties. After all manipulations, click on the "OK" button, located at the bottom of the window.

- Now we produce the selection of the cell in which the inserted image is located, which we plan to attach. The method described above is moving into the "Cell Format" window, using the context menu. Once again, we move to the section "Protection" and this time we put a tick next to the "Protected Cell" property. After carrying out all manipulations, click on "OK".
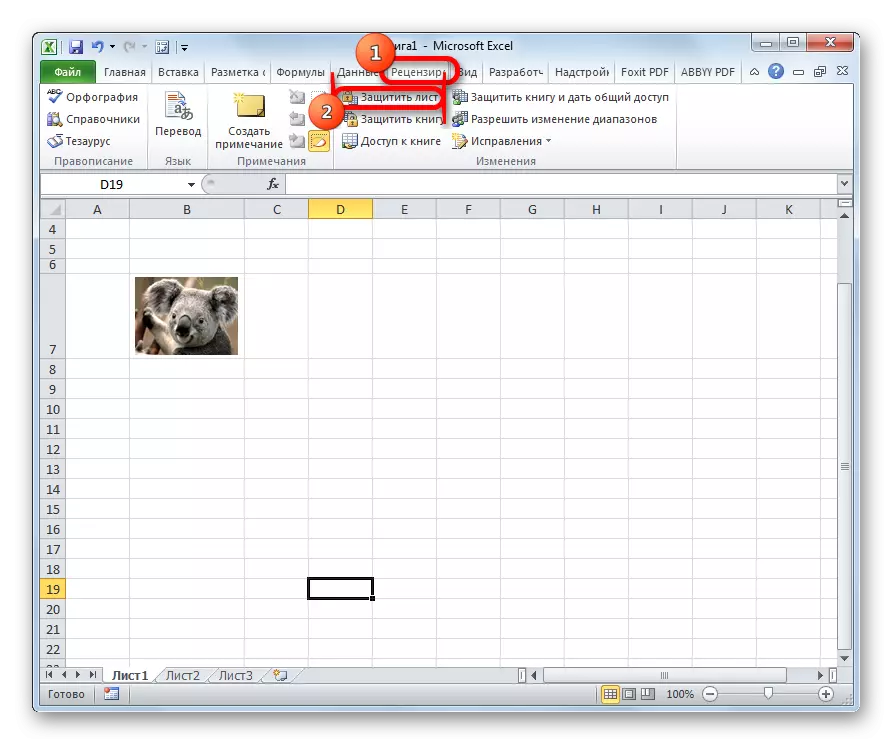
- Go to the "Review" section, located in the top of the table processor interface. Find a block called "Changes" and click on the "Protect Sheet" element.
- The window displays the window called "Sheet Protection". In the "Password to Disable Leaf Protection", drive a password. Click on the "OK" button. Another window appeared on the display, in which you need to re-enter the password.
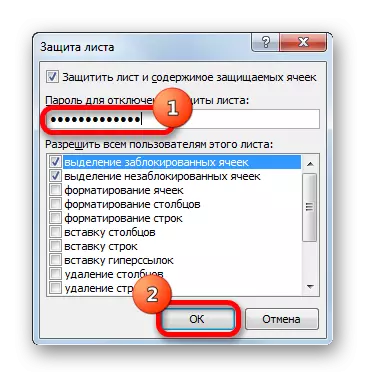
- Ready! We defended the cell with the image inserted from any changes. In other words, the drawing is attached to the cell.
Using Note, you can also bind images. Step-by-step guide looks like this:
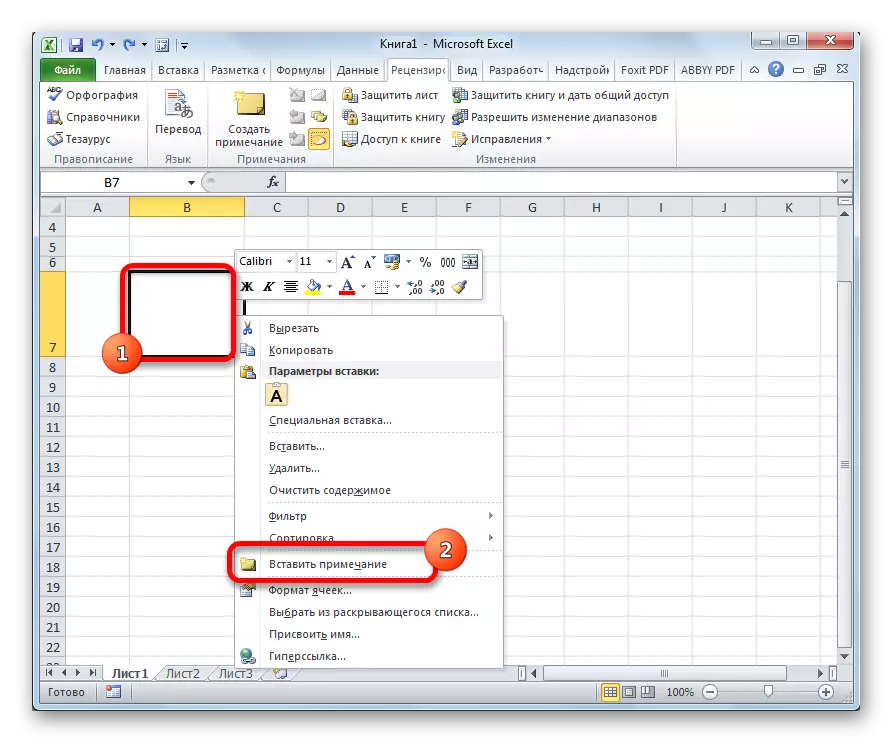
- We click PKM on the cell in which we wish to insert the picture. A small context menu has been revealed. Click on the item called "Insert Note".
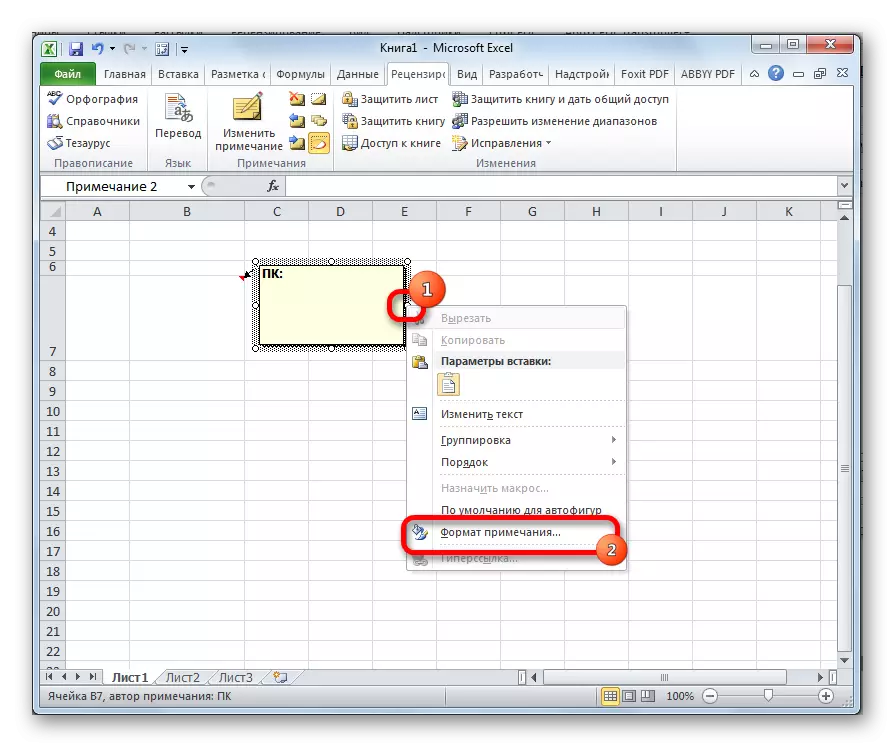
- A small window appears on the screen, allowing you to record a note. Move the pointer to the window frame and click on it. The screen displays a new context menu. Click on the "Notes Format" element.
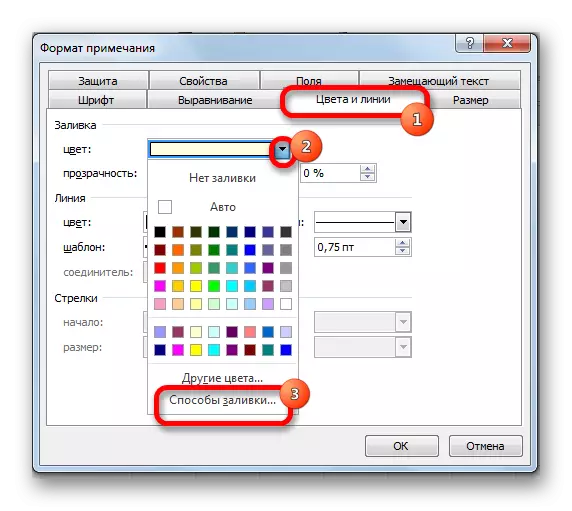
- A new window appeared on the display, designed to configure the notes. We move to the "Colors and Lines" section. We find the "Fill" property and reveal the list of shades in the "Color" subsection. In the discontinued list, click on the inscription "Methods of filling ...".
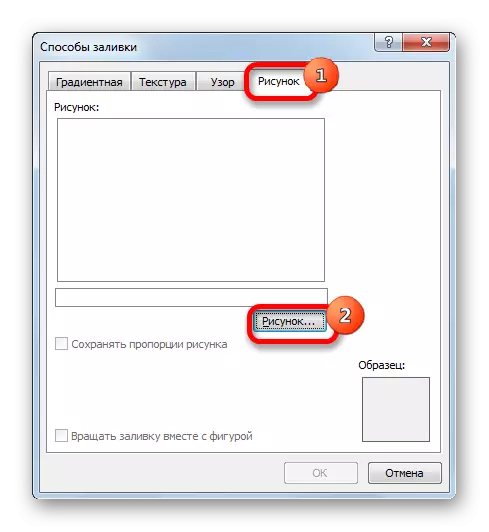
- A window is displayed in which you can select the fill method. Move into the "Figure" section, and then click on the element "drawing ...".
- Familiar to us on the above methods of the Insert Figure window described above. We make a choice of pattern. After holding all the manipulations, click on the "Paste" button, which is located at the bottom of the "Insertion Insert" window.

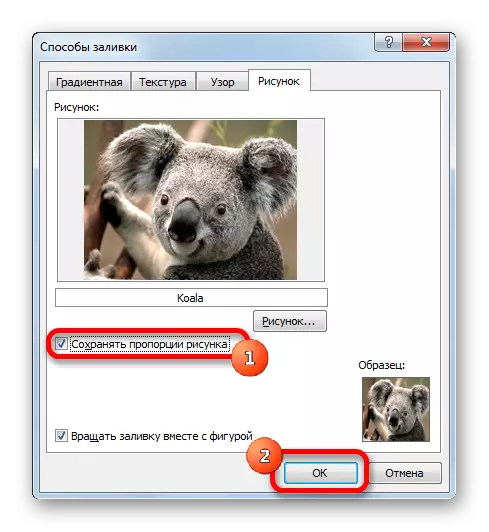
- The selected picture was displayed in the "Fill Methods" window. We put a tick next to the inscription "Save the proportions of the drawing". After all the actions, click on "OK".
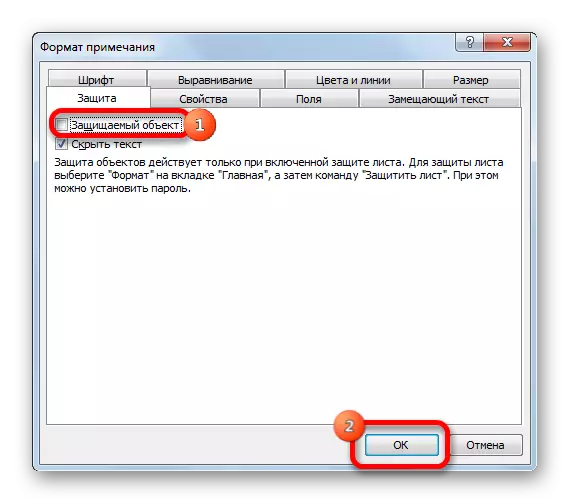
- We return to the "Notes Format" window. We move to the "Protection" section. Remove the mark near the inscription "Protectable Object".
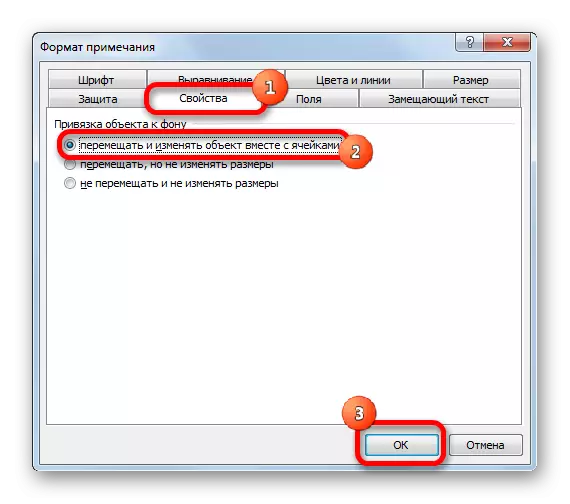
- We move to the "Properties" section. In the "Binding an object to the background" block, we put a mark next to the "Move and change the object with cells" item. After carrying out all manipulations, click on "OK".
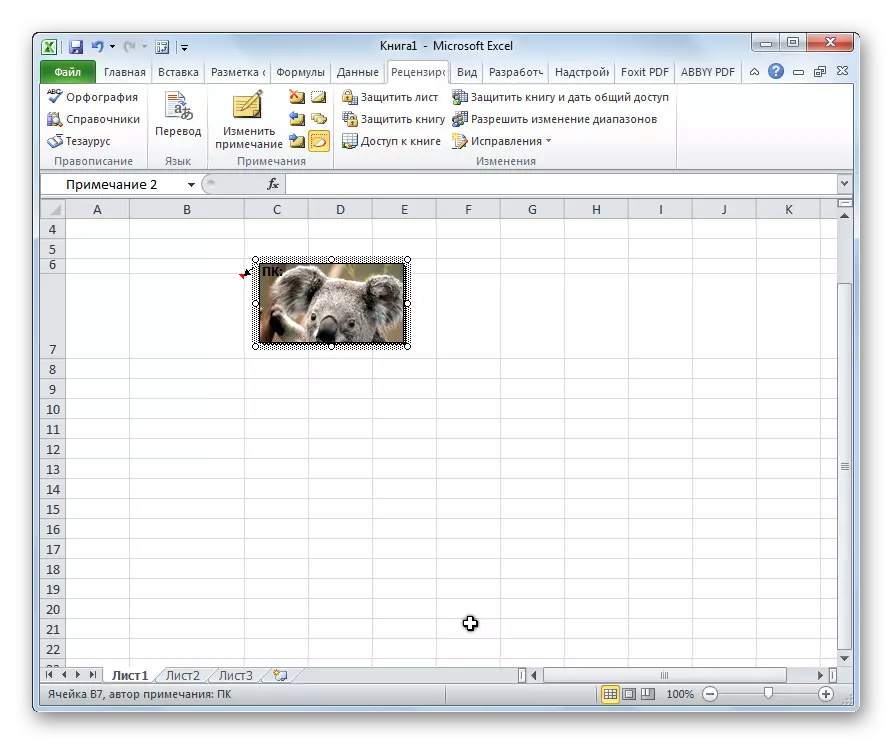
- Ready! After we implemented all the procedures described above, the picture was not only added to the note, but also attached to the cell. Of course, this method is not suitable for absolutely all tasks solved using a table processor, as it has certain limitations.
You can bind a picture to a cell using a special "developer" mode, integrated into a tabular processor. The main difficulty - the mode is in the off state. Initially, we will activate it. Step-by-step guide looks like this:
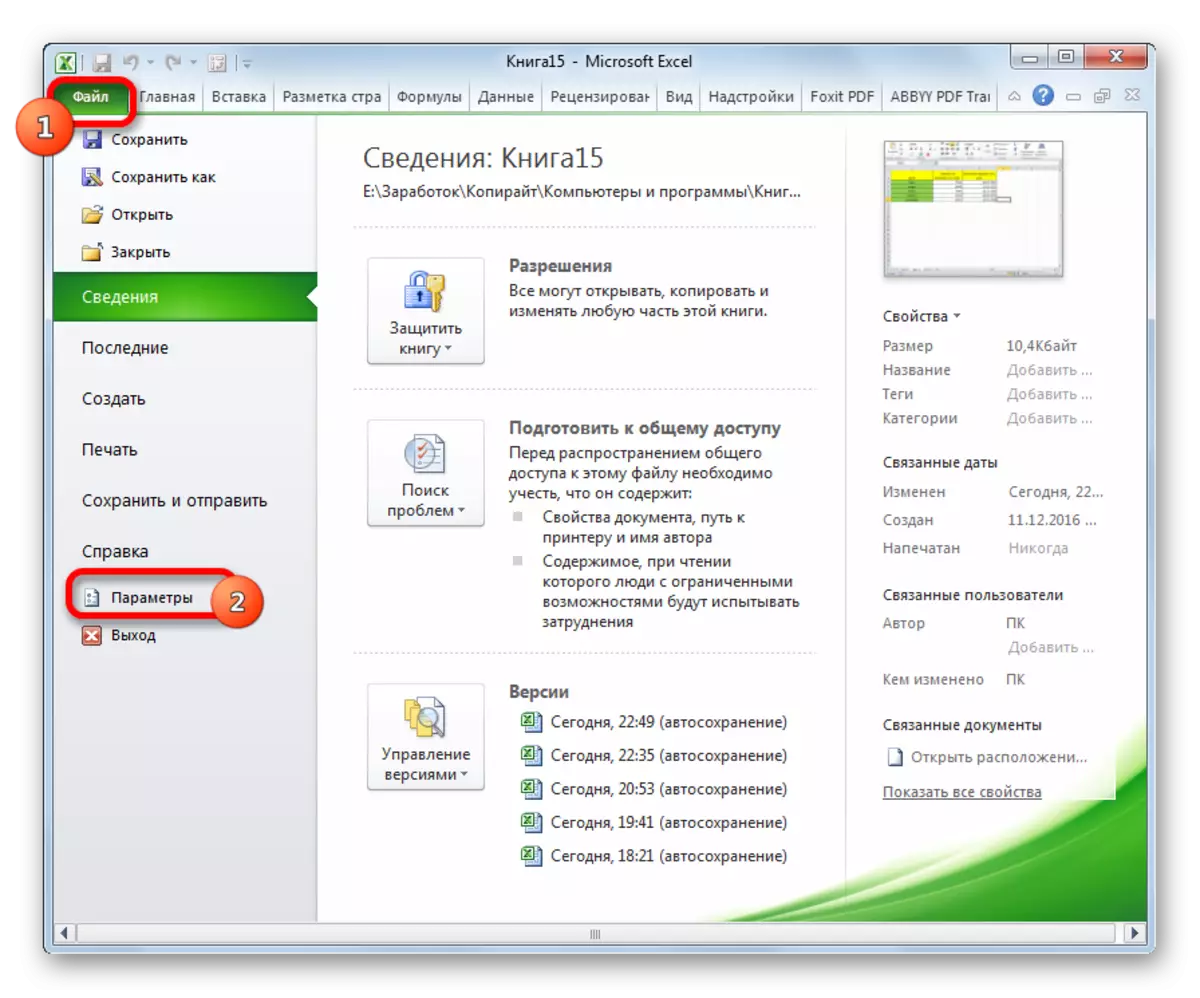
- Go to the "File" section, and then select the "Parameters" element.
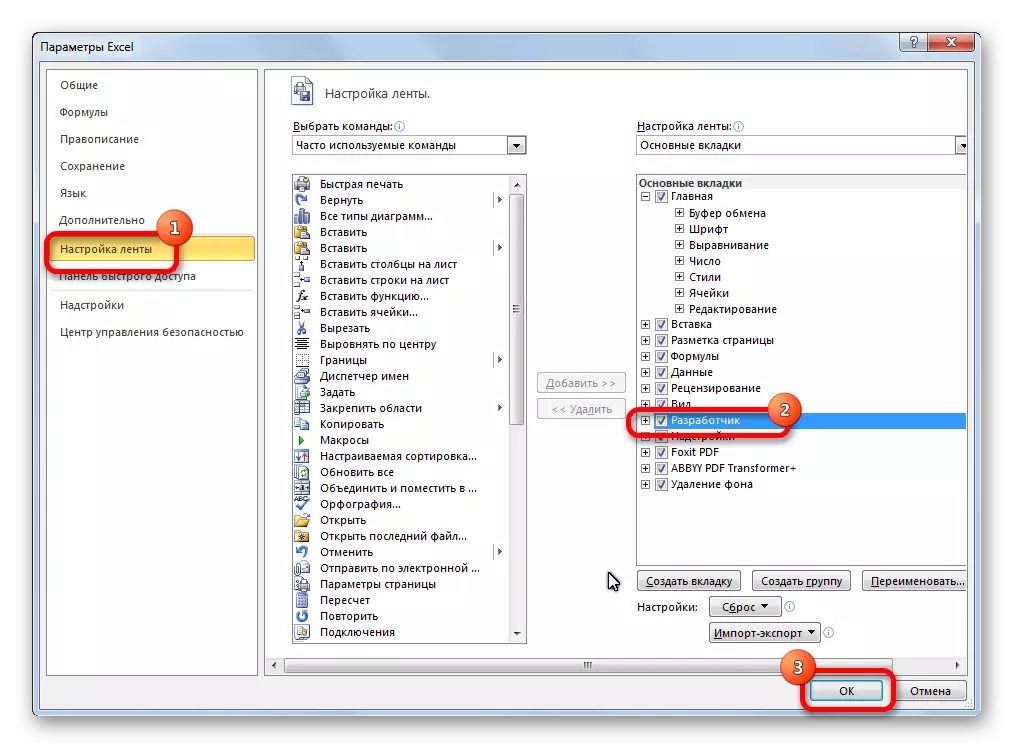
- In the appeared window, go to the "Tape Support" section. We put a mark next to the inscription "Developer". After all manipulations, click "OK".
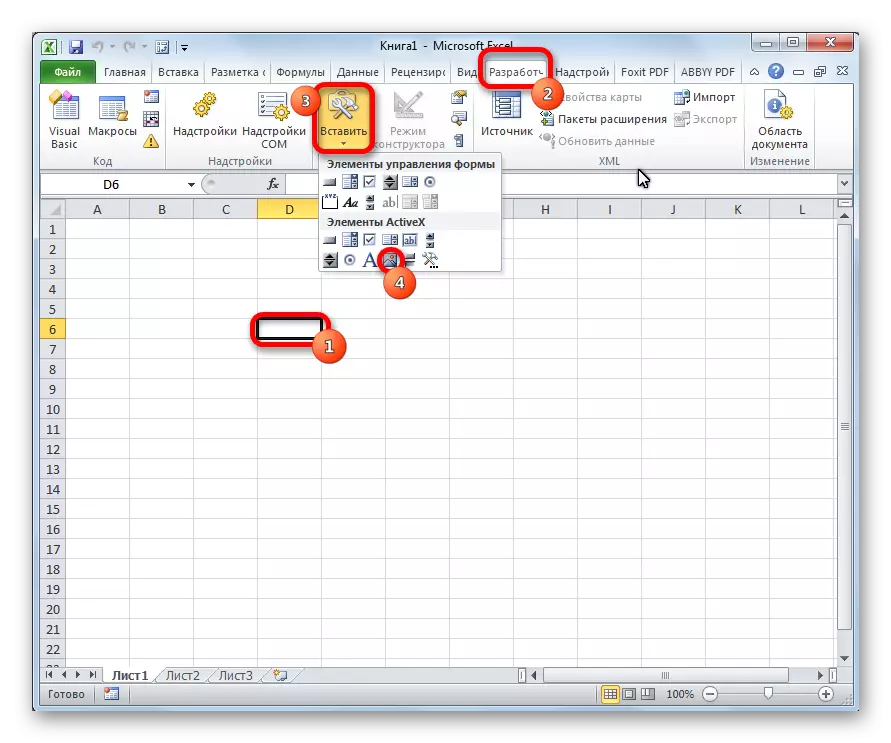
- We produce the selection of the area in which we wish to insert the pattern. Go to the Developer section, which appeared at the top of the table processor interface. In the "Add-in" block, click "Paste". In the list of clicking on the "Image" icon, located in the ActiveX elements section.
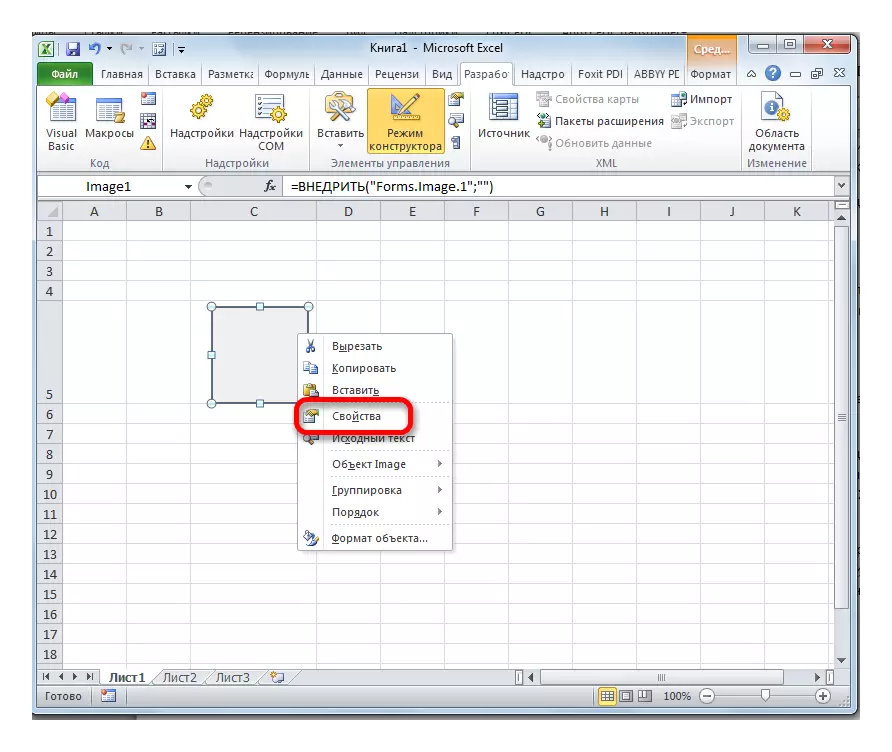
- A small quadrangle of the empty type appeared in the cell. We produce editing the sizes so that the figure fit into the selected cell. Editing We implement by moving borders with LKM. Click the PCM on the figure. A small context menu has been revealed, in which click "Properties".
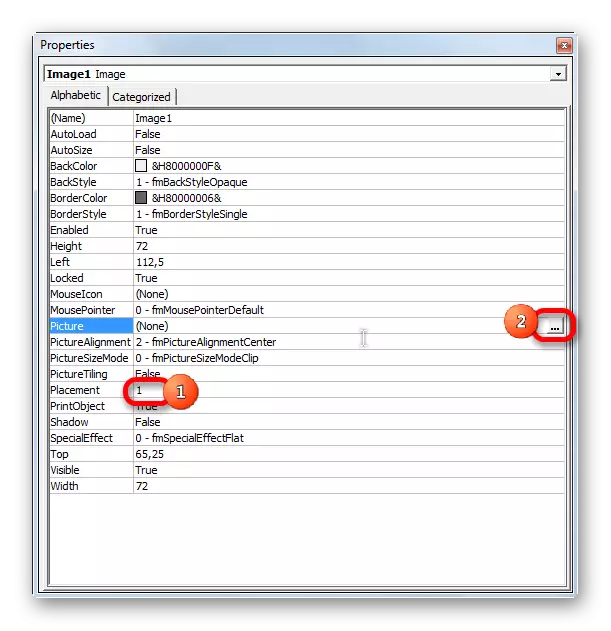
- The screen displays the properties window. Next to the inscription "Placement" put a unit. In the line "Picture" we find the icon in the form of three points and click on it with the left mouse button.
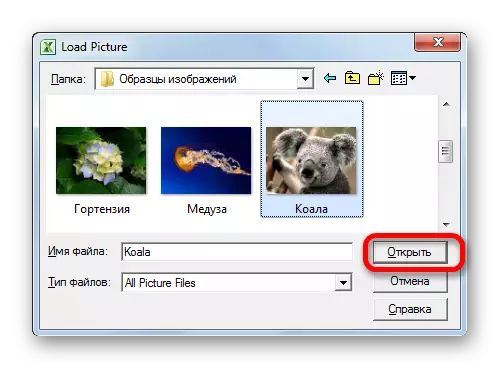
- Appeared window add image. We find the drawing that we wish to insert. We highlight it, and then click on the "Open" button, located at the bottom of the window.
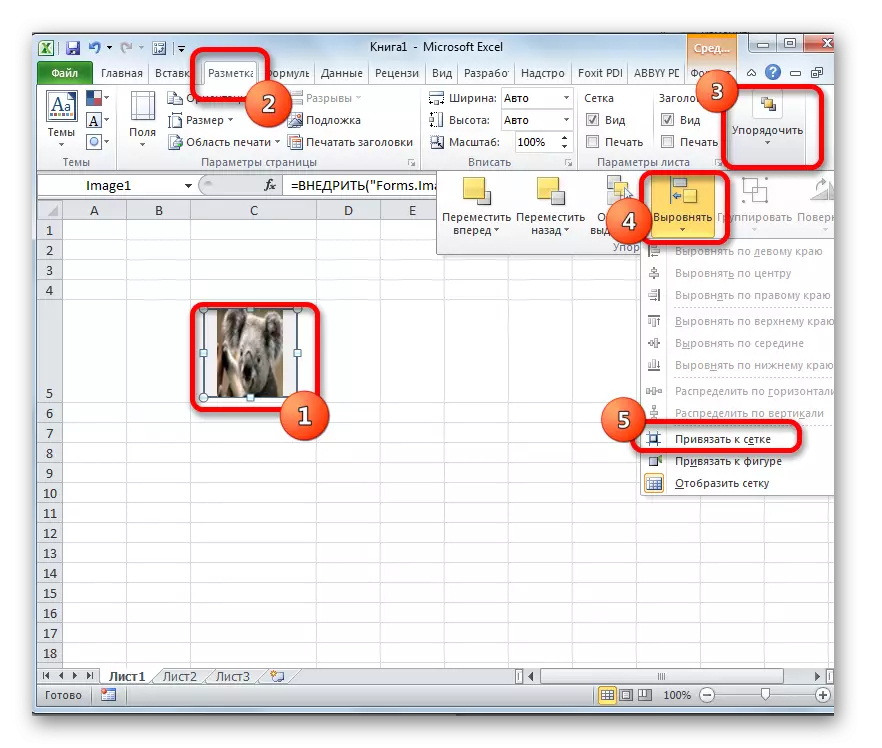
- Upon completion of all procedures, close the properties window. The desired image was inserted into the cell. Next, it is necessary to produce the process of binding an image to the cell. We implement the selection of the pattern on the workspace and move to the "page markup" section, located at the top of the table processor. We find the "Arrange" block and select the "Align" element. In the list of the list, click on "tied to the grid" and slightly move abroad image.
- Ready! After implementing the above procedure, we have been binding the image to the cell.
Conclusion
In the table processor, excel there are many methods for inserting a picture and binding it to a cell, but not every method is suitable for solving all tasks. For example, a method based on the use of notes is rather narrow-plated, and the "developer mode" and "sheet protection" - universal options that are suitable for all users.
Message How to insert a picture in an Excel table. Insert and setting up the image to Excel appeared first to information technology.