
Rocket.Chat is a free Scalable Open Source Corporate Chat designed with Meteor. Rocket.Chat can be considered an analogue of the SLACK, which can be deployed on its server, and connect to it from clients on Linux, Windows, MacOS, Android and iOS.

Rocket.Chat functions
- Real-time chat
- Audio conferencing
- Video conferencing
- Channels
- Guest inner
- Broadcast Screen
- File transfer
- Full-featured API
To ensure security used:
- LDAP group synchronization
- 2FA two-factor authentication
- Through encryption
- Single input SSO.
- Multiple Outh Authentication Suppliers
We tell how to install and configure the server and client Rocket.Chat in Linux.
Step 1. Installing SNAP in LinuxFor simplicity, we will use SNAPS package management system. First of all, you need to install the Snapd package using the package manager.
$ sudo apt install snapd #ubuntu and debian $ sudo dnf install snapd #fedora 22 + / centos / rhel 8 $ sudo yum install snapd # centos / rhel 7
Next, you must enable the SYSTEMD module that controls the main instantal communication socket. This command will start the socket and will allow it to start when the system is loaded.
$ Sudo SystemCTL Enable --now Snapd.Socket
Step 2: Installing Rocket.Chat in LinuxTo install RocketChat-Server, run:
$ sudo Snap Install RocketChatchat-Server
When the installation via SNAP is completed, Rocket.Chat server will start working and listening to port 3000. Next, open the web browser and enter the following address to configure Rocket.Chat via GUI.
http: // server_ip: 3000
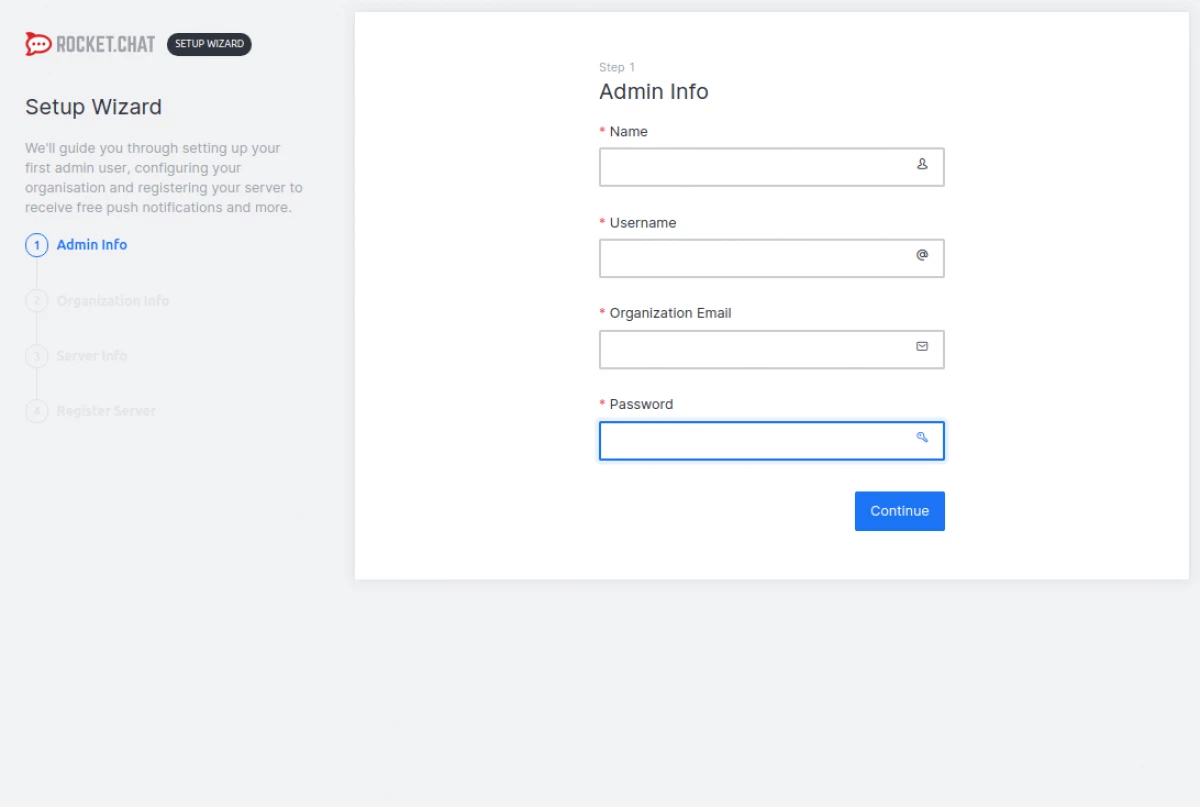
After downloading the setup wizard, specify the following parameters: the full administrator name, username, e-mail address of the organization and password.
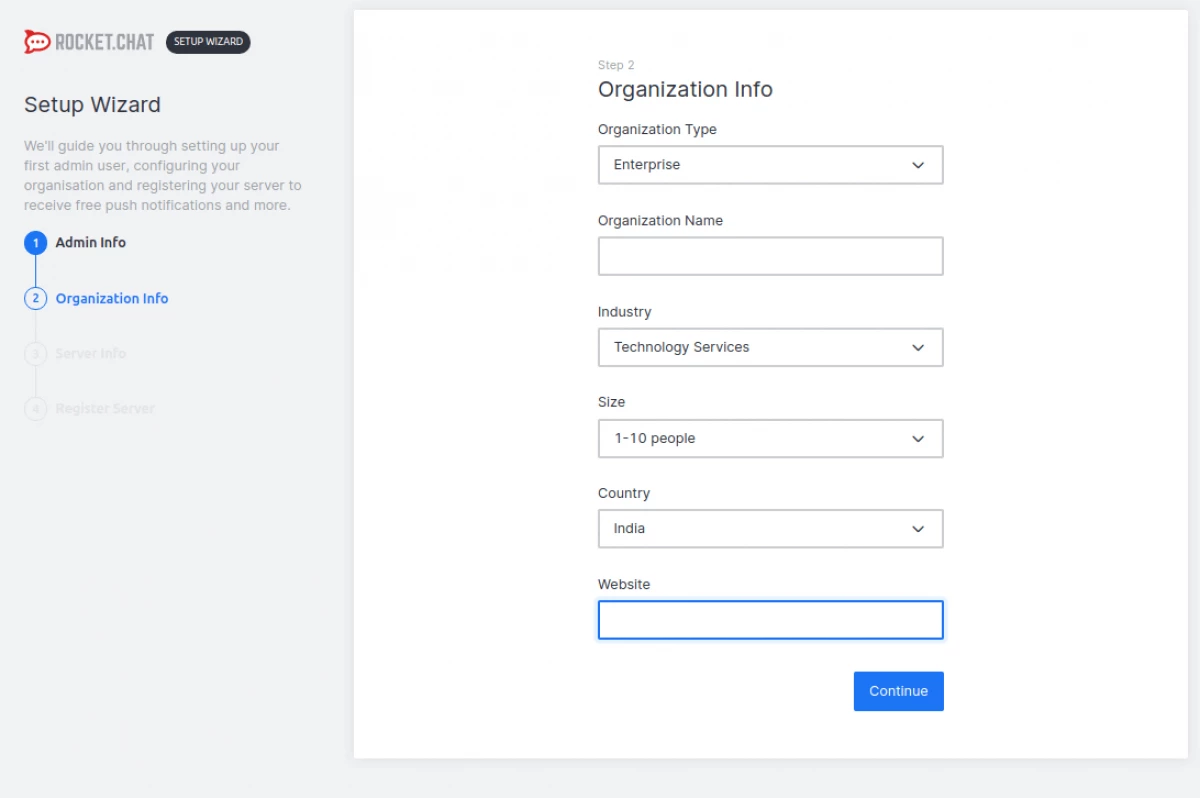
Next, you need to specify information about the organization: type of organization, name, industry, size, country and site.
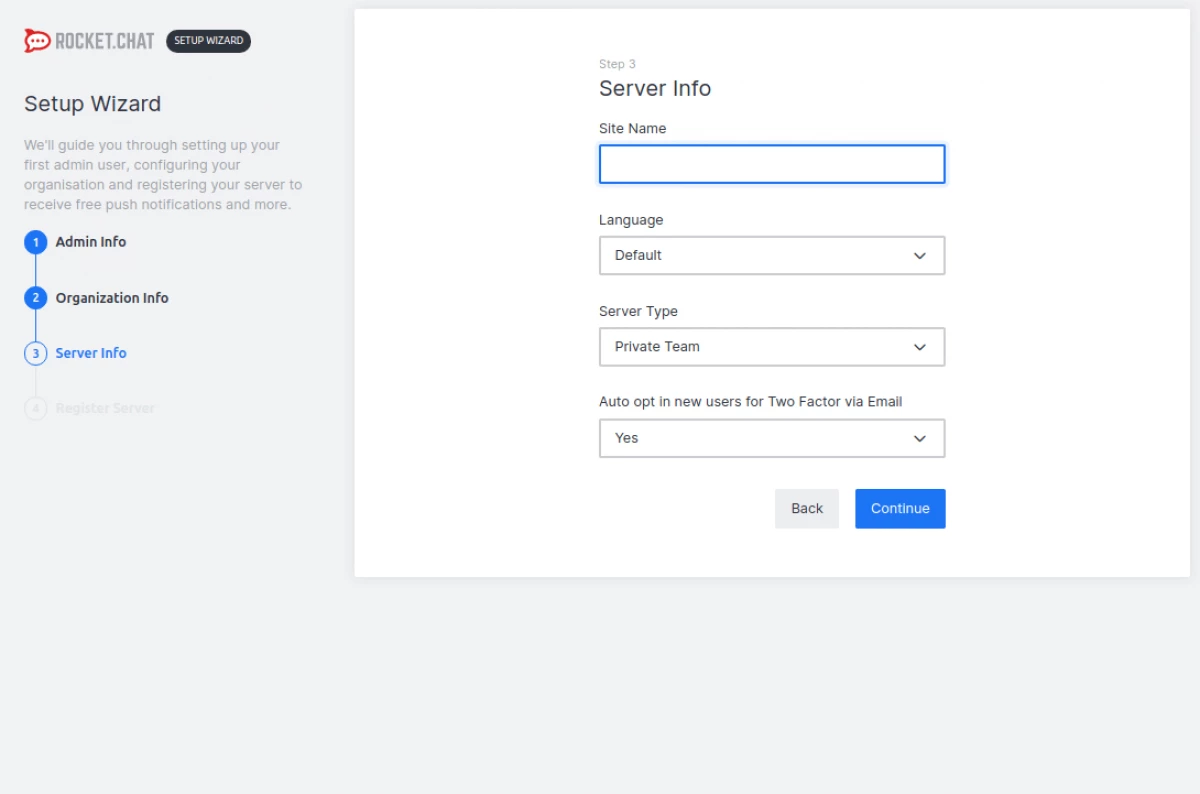
Then you need to specify the server information - the site name, language, server type, and switching on or disabling 2FA two-factor authentication.
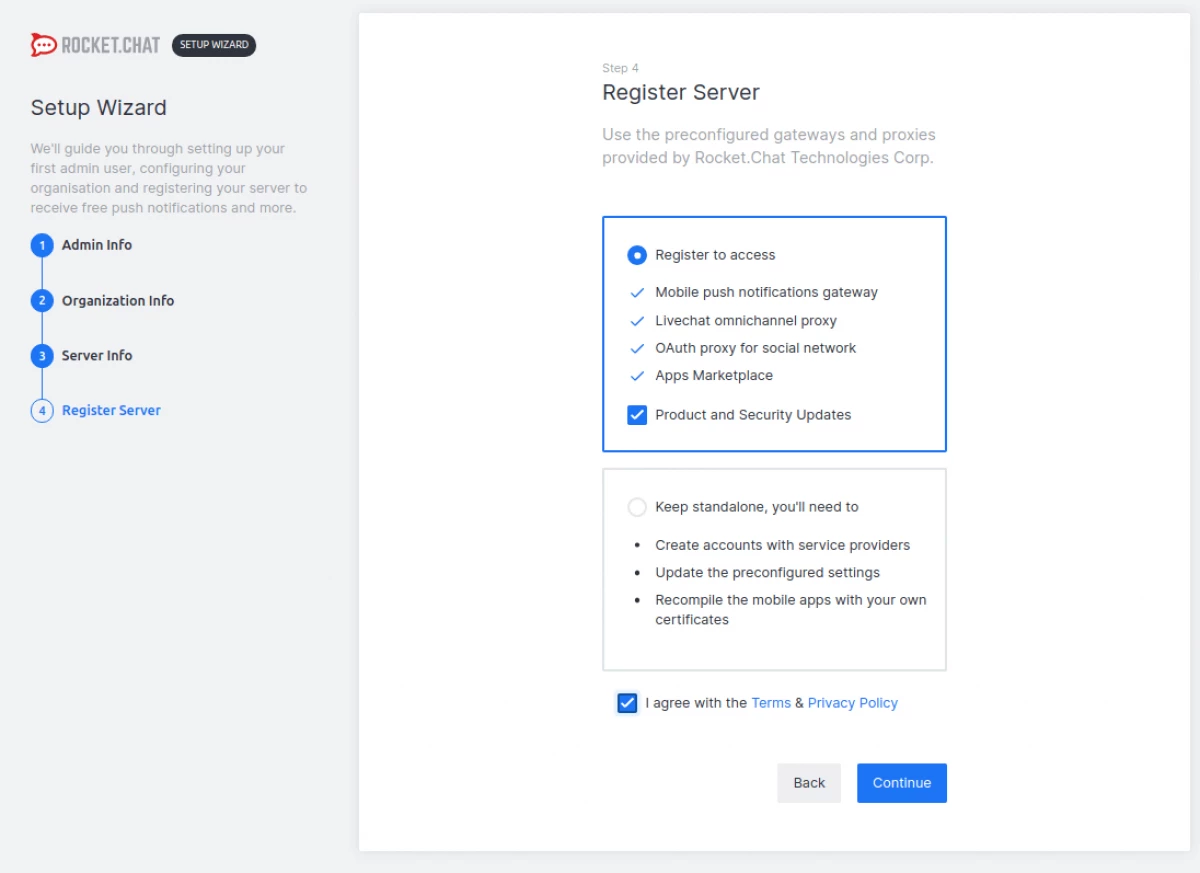
On the next page you need to register the server. There are two options here. The first is to use preset gateways and proxies provided by Rocket.CHAT Second - save autonomy and create accounts from service providers, update preset parameters, and recompile mobile applications with your private certificates.
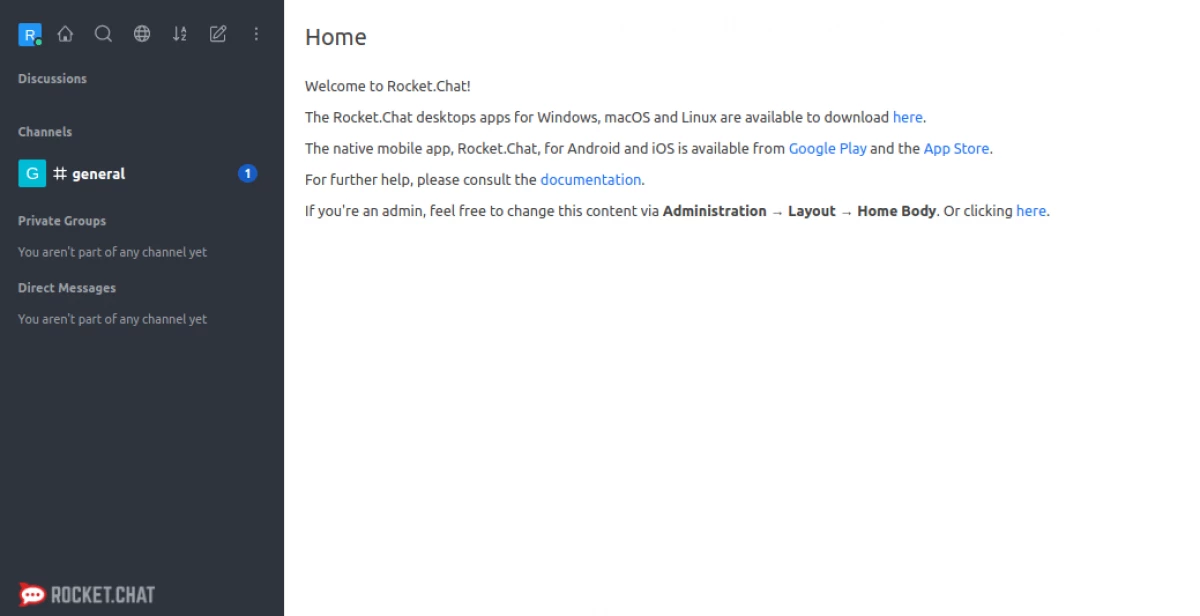
Setup completed, and your workspace is ready, now you need to click Go to Your Workspace (go to work space)
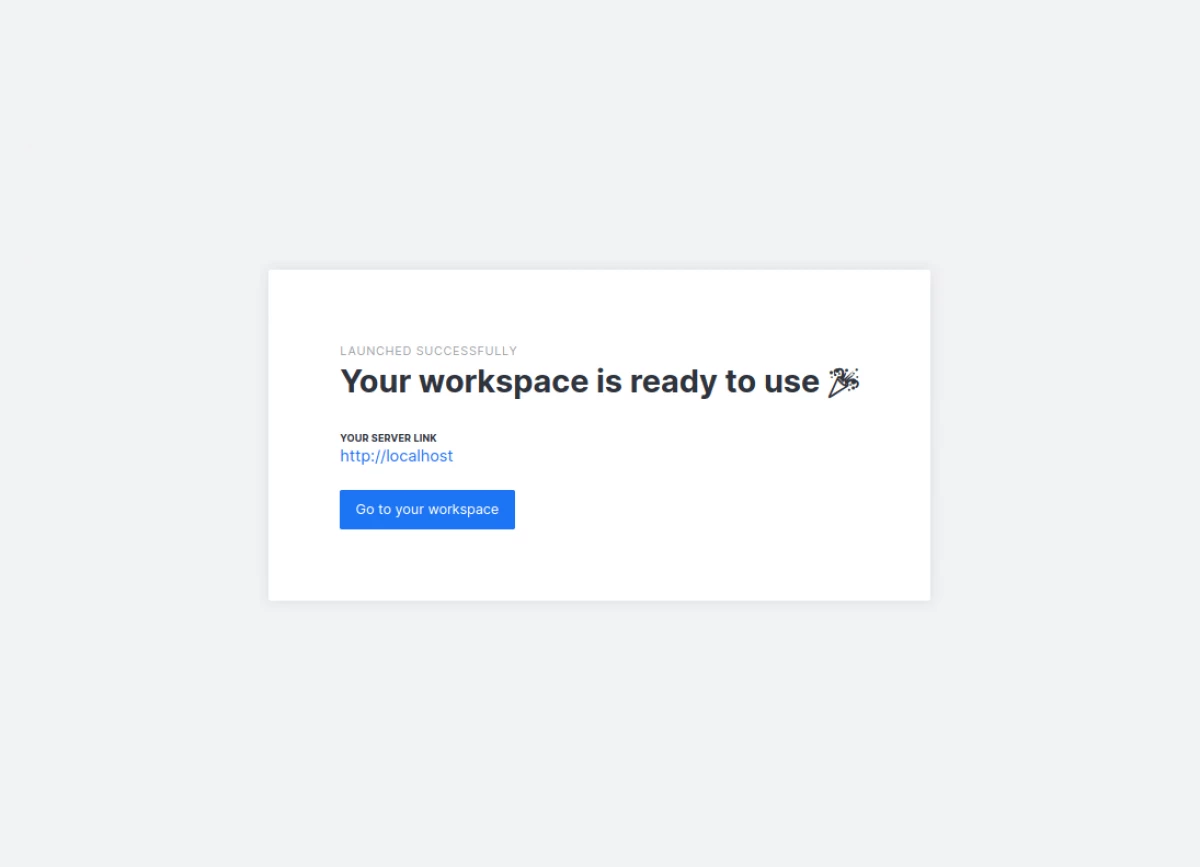
That's how it looks like.
Reverse proxy server, such as Nginx or Apache, allows you to configure the Rocket.Chat application to access via a domain or subdomain. Rocket.Chat is a mid-level application server that does not support SSL / TLS. The reverse proxy will allow you to customize SSL / TLS certificates to turn on HTTPS.
Reverse Proxy NGINX for Rocket.chatFirst install Nginx.
$ sudo apt apt install nginx # Ubuntu / Debian $ sudo dnf install nginx #fedora 22 + / CentOS / Rhel 8 $ sudo yum install nginx # centos / rhel 7
Next, run the NGINX service, turn on its automatic start when loading the system and check its status
$ sudo systemctl enable - Novow Nginx $ sudo systemctl status nginx
Then create a block virtual server file for the rocket.chat application, for example, in the /etc/nginx/conf.d/ directory.
$ sudo vim /etc/nginx/conf.d/chat.merionet.com.conf
Next, insert the configuration to this file by replacing the domain to your and save.
Upstream backend {Server 127.0.0.1:3000; } Server {listen 80; Server_Name Chat.merionet.com; # You can Increase The Limit IF You Need To. client_max_body_size 200m; error_log /var/log/nginx/chat.merionet.com.log; location / {proxy_pass http: // backend /; proxy_http_version 1.1; Proxy_Set_Header Upgrade $ http_upgrade; Proxy_Set_Header Connection "Upgrade"; proxy_set_header host $ http_host; proxy_set_header X-REAL-IP $ remote_addr; proxy_set_header X-FORWARDED-FOR $ proxy_add_x_forwarded_for; proxy_set_header X-FORWARD-PROTO HTTP; proxy_set_header X-NGINX-Proxy True; proxy_redirect off; }}
Finally, check the syntax and restart the NGINX service.
$ sudo nginx -t $ sudo SystemCTL Restart Nginx
Reverse proxy Apache for Rocket.chatInstall the Apache2 package
$ sudo apt install apache2 # Ubuntu / Debian $ sudo dnf install httpd #fedora 22 + / centos / rhel 8 $ sudo yum install httpd # centos / rhel 7
Next, run and enable the Apache service and check whether it is running and running.
----- In Ubuntu / Debian ----- $ sudo systemctl Enable --Now Apache2 $ sudo SystemCTL Status Apache2 ----- in CentsOS / Rhel 7/8 ----- $ sudo systemctl Enable - Now httpd $ sudo systemctl status httpd
Then create a virtual host file for the Rocket.Chat application, for example, in the / etc / apache2 / site directory / or /etc/httpd/conf.d/.
----- in Ubuntu / Debian ----- $ sudo vim /etc/apache2/sites-available/chat.merionet.com.conf ----- in CentsOS / Rhel 7/8 ----- $ sudo vim /etc/httpd/conf.d/chot.merionet.com.conf
Next, insert the configuration to this file by replacing the domain to your and save.
Serveradmin [email protected] Servername Chat.merionet.com Loglevel info errorlog /var/log/chat.merionet.com_error.log transferlog /var/log/chat.merionet.com_access.log Require All Granted RewriteEngine On Rewritecond% {http: Upgrade} = WebSocket [NC] Rewriterule /(.*) WS: // Localhost: 3000 / $ 1 [P, L] RewriteCond% {http: upgrade}! = Websocket [NC] Rewriterule /(.*) http: // Localhost: 3000 / $ 1 [P, L] ProxyPassreverse / http: // Localhost: 3000 /
In Ubuntu and Debian, enable the necessary Apache2 modules and restart the service.
$ sudo a2enmod proxy_http $ sudo a2enmod proxy_wstunnel $ sudo a2enmod rewrite $ sudo systemctl restart apache2
In Centos / Rhel and Fedora restart the Apache service.
# SystemCTL Restart httpd
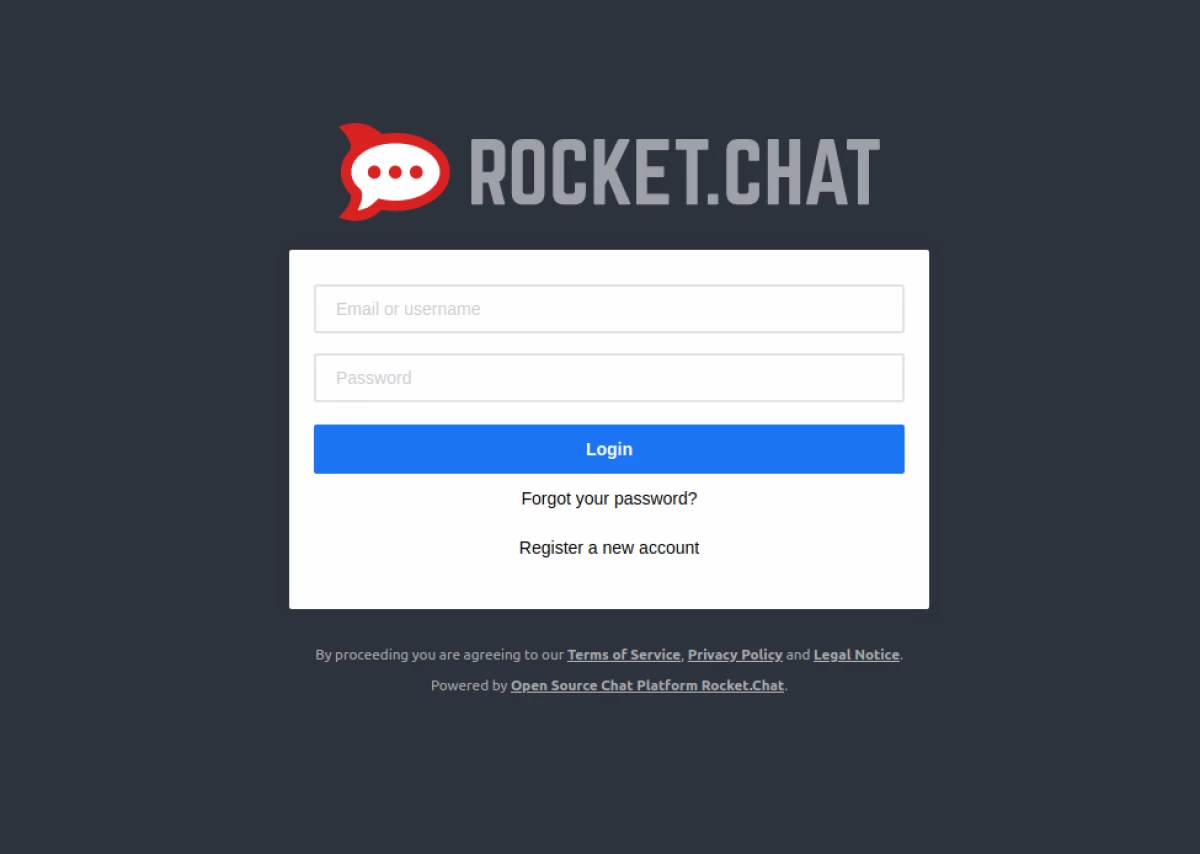
Now open the browser and enter your configured address and Rocket.Chat application will be available through your domain configured on the proxy server.
http://chat.merionet.com.
Client applications can be downloaded from the official website Rocket.Chat. To install a desktop application in Linux, you download the Deb packet (x64) or RPM (x64) depending on your Linux distribution.
$ wget -c https://github.com/rocketchat/rocket.chat.electron/releases/download/2.17.7/rocketchat_2.17.7_amd64.deb
Or
$ wget -c https://github.com/rocketchat/rocket.chat.electron/releases/download/2.17.7/rocketchat-2.17.7.x86_64.rpm
Next package using DPKG or RPM packet manager
$ sudo dpkg -i rocketchat_2.17.7_amd64.deb # ubuntu / debian $ sudo rpm -i rocketchat-2.17.7.x86_64.rpm # CentOS / RedHat
Manual installation Rocket.Chat.If you do not want to install Rocket.Chat through Snaps, you can do it manually.
Installation Node.js.First, update the list of system packets:
Sudo Apt Update.
Set node.js, NPM and all other dependences required to build NPM packages from source code:
Sudo Apt Install Nodejs NPM Build-Essential Curl Software-Properties-Common Graphicsmagick
We will use N, NPM package, which allows you to interactively manage versions of node.js. Command below to install N and Node.js:
Sudo NPM Install -G Inherits N Sudo N 8.11.3
Installing Mongodb.Mongodb is a document-oriented NOSQL database, which is used by Rocket.Chat to store data.
Import the MongoDB public key and turn on the official Mongodb repository:
Sudo Apt-Key Adv --KeyServer HKP: //KEYServer.ubuntu.com: 80 --recv 9DA31620334BD75D9DCB49F368818C72E52529D4 Sudo Add-APT-Repository 'DEB [Arch = AMD64] https://repo.mongodb.org/apt/ubuntu bionic /mongOdB-org/4.0 Multiverse '
After turning on the APT repository, update the packet list and install Mongodb by typing:
Sudo Apt Update Sudo Apt Install Mongodb-ORG
Then turn on and start the Mongodb service:
Sudo SystemCTL Start Mongod Sudo SystemCTL Enable Mongod
Creating a new system userNow you need to create a new user and group named Rocket, which will run Rocket.Chat instances.
Sudo UseRADD -M -U -R -D / OPT / Rocket Rocket
Add a WWW-DATA user to a new group of users and change the access rights to the / OPT / Rocket directory so that Nginx can access Rocket.Chat installation:
Sudo UserMod -A -g Rocket Www-Data Sudo Chmod 750 / OPT / Rocket
Installing Rocket.Chat.Switch to Rocket User
Sudo Su - Rocket
Load the latest stable version of Rocket.Chat using CURL:
curl -l https://releases.rocket.chat/lateest/download -o Rocket.Chat.tgz
After the download is complete, remove the archive and rename the directory in Rocket.Chat:
tar zxf rocket.chat.tgz mv bundle rocket.chat
Go to the rocket.chat/programs/Server directory and install all the necessary NPM packages:
CD Rocket.Chat/programs/Server NPM Install
To test our installation before creating the SYSTEMD module and configuring the reverse proxy with NGINX or Apache, we will install the necessary environment variables and start the Rocket.Chat server
Export Port = 3000 Export Root_URL = http: //0.0.0.0: 3000 / Export Mongo_URL = MONGODB: // Localhost: 27017 / RocketChat
Return to the Rocket.Chat directory and run the Rocket.Chat server by entering the following commands:
CD ../../ Node Main.js
If there are no errors, you should see the following conclusion:
? + --------------------------------------------- +? | Server Running | ? + --------------------------------------------- +? | | ? | Rocket.Chat Version: 0.71.1 | ? | Nodejs Version: 8.11.3 - x64 | ? | Platform: Linux | ? | Process Port: 3000 | ? | Site URL: http://0.0.0:3000/ | ? | Replicaset Oplog: Disabled | ? | COMMIT HASH: E73DC78FFD | ? | COMMIT Branch: Head | ? | | ? + --------------------------------------------- +.
Stop the rocket.chat server using Ctrl + C and return to your Sudo user by typing Exit.
Creating a SystemD moduleTo run Rocket.Chat as a service, you need to create a file of the RocketChat.Service module in the / etc / systemd / system / System.
sudo nano /etc/rsystemd/system/rocketchat.service.
Insert the following code:
[Unit] Description = Rocket.Chat server After = network.target nss-lookup.target mongod.target [Service] StandardOutput = syslog StandardError = syslog SyslogIdentifier = rocketchat User = rocket Environment = MONGO_URL = mongodb: // localhost: 27017 / rocketchat Root_url = https: //chat.merionet.com port = 3000 execstart = / usr / local / bin / node /opt/rocket/rocket.chat/main.js [Install] Wantedby = Multi-USER.Target
Tell SystemD that we have created a new module file, and run the Rocket.Chat service by performing:
Sudo SystemCTL Daemon-Reload Sudo SystemCTL Start Rocketchat
Check the status of the service:
Sudo SystemCTL Status RocketChat
The conclusion must be like this:
* RocketChat.Service - Rocket.Chat Server Loaded: Loaded (/etc/systemd/system/Rocketchat.Service; Disabled; Vendor Preset: Enabled) Active: Active (Running) SINCE WED 2018-11-07 14:36:24 PST ; 5s Ago Main PID: 12693 (Node) Tasks: 10 (Limit: 2319) CGroup: /System.Slice/RocketChat.Service` -12693 / usr / local / bin / node /opt/rocket/rocket.chat/main.js
Finally, turn on the automatic start of the Rocket.chat service during download:
Sudo SystemCTL Enable RocketChat
Finish, we installed Rocket.Chat manually, you can now go to configuring the reverse proxy and initialization of the system that were described from step 3.
RESULTSIn this manual, you learned how to install Rocket.Chat in Linux and how to configure Nginx and Apache as a reverse proxy.
To learn more about Rocket.Chat Visit the documentation page.