
USB devices have already completely outset optical media from work. This includes the storage of distributions of the OS. USB devices largely exceed optical speed carriers and easy to use to install operating systems. Nowadays, they are comfortable and extremely inexpensive. In addition, there are many tools for interacting with USB drives and creating distributions of the OS. Install Windows Server 2019 from a USB drive is very simple. In this article, we will study some ways to create a USB drive to install Windows Server 2019.
Why create boot USB?You can mount the ISO image to the virtual machine and install Windows Server. Yes, it is possible, but this is true only when using virtual environments. You can also, if you have, install the image in IDRAC - the Dell is a component that is in the server and allows system administrators to update, monitor and control systems, even when the OS is turned off. Different manufacturers have different features and prices. Another option is to install over the network. This option implies an additional installation of a separate PXE server and its setting. Even more complex in the setup and expensive option - use the SCCM server to install. In small and medium-sized businesses sometimes there are no such features, and they set the OS in the old manner. Creating a bootable USB disk is the fastest way to install Windows on the physical server.
Creating a USB boot flash drive with Windows Server 2019Consider three different methods for creating a bootable USB
- Using RUFUS or similar software that can record ISO image
- Manually prepare USB disk and copy files with ISO image
- Use OSDBuilder to customize Windows Server 2019 distribution
Before selecting the installation method, you need to load a disk image. If Visual Studio subscribe is purchased in the company, you can download the ISO image from the Microsoft Download and Evaluation Center.
Using RUFUS.Previously, it was necessary to use any utility to write an ISO image to an optical medium. Now RUFUS provides practically the same functions, but allows you to write an ISO image to a USB drive. The program has a simple interface in Russian and has a portable version. You can download the program from the RUFUS website.
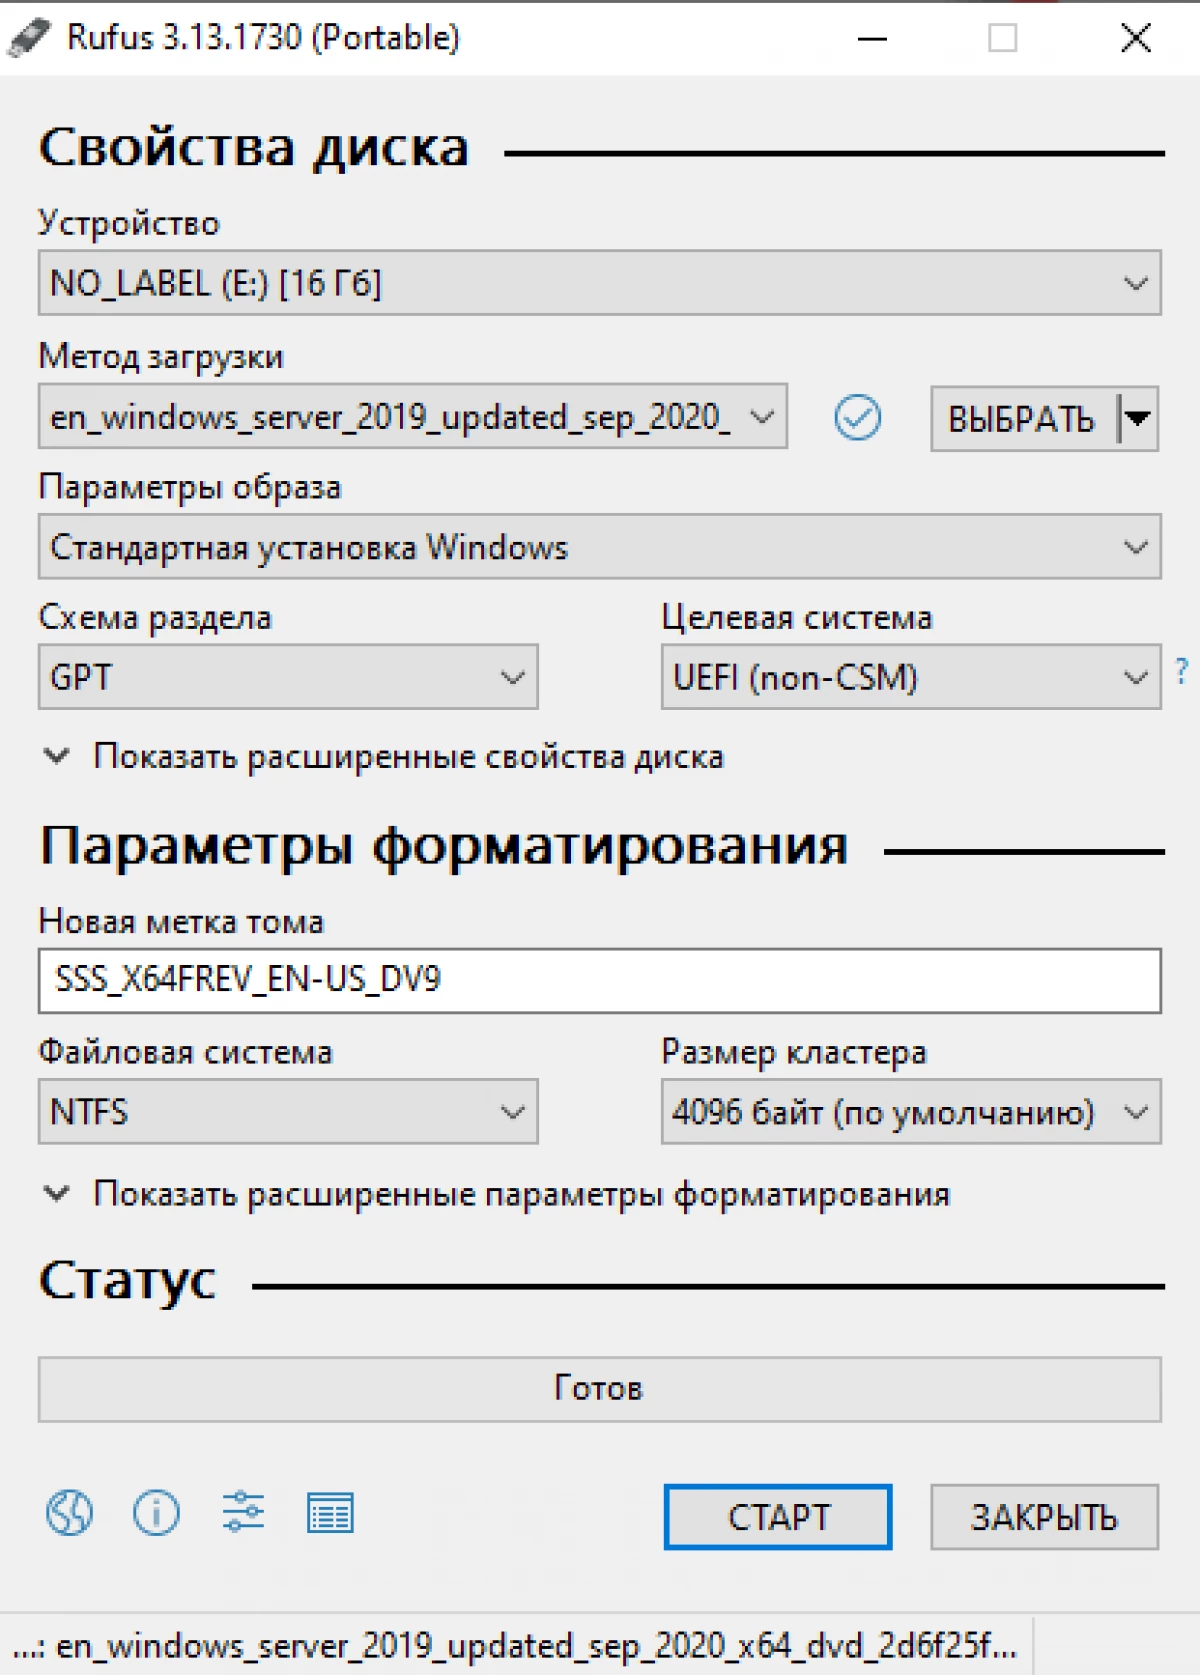
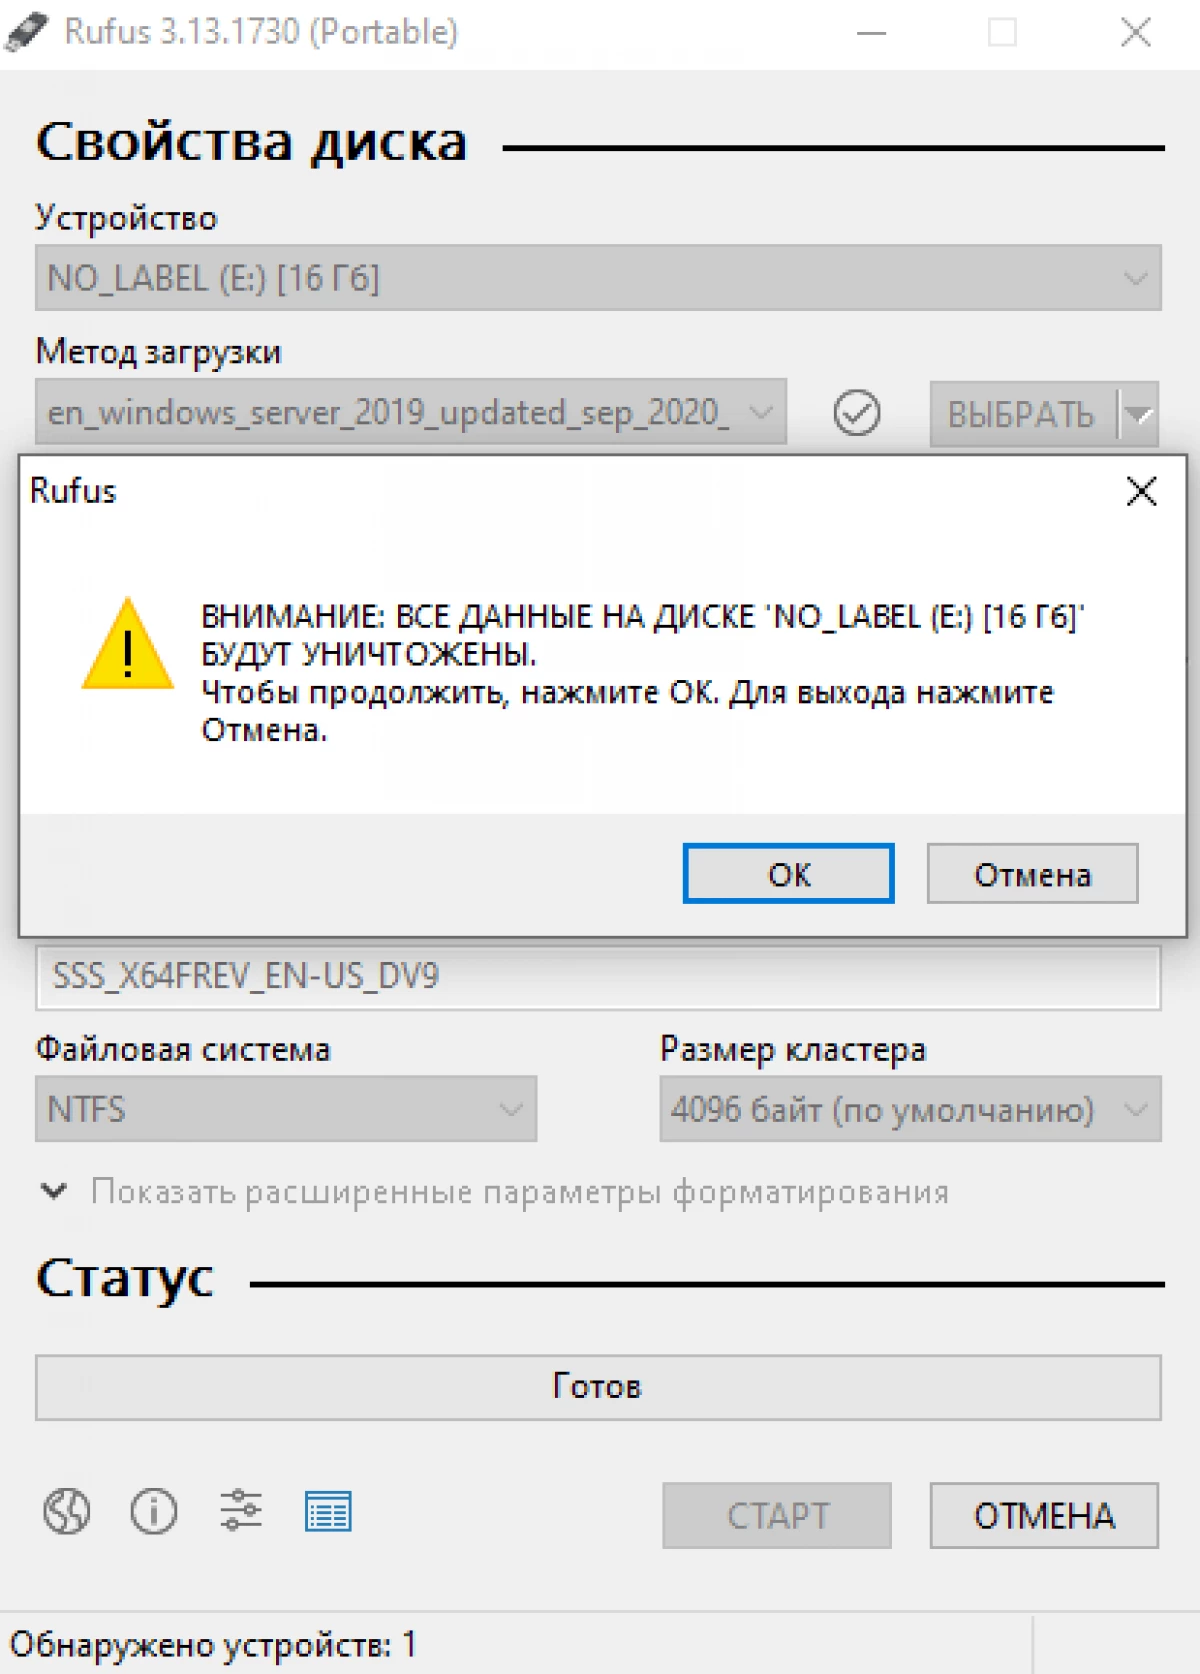
When writing, the program will warn that all data on the USB device will be deleted!
You can create an installation distribution system manually. The whole process consists of several stages. We connect Flash media using DiskPart. Clean the media, create a new FAT32 section. Copy the files.
Attention! All data on USB media during the DiskPart process will be deleted.
The next step is to connect the ISO image into the system. To do this, right-click on the ISO file and select "Connect". Then select all the files in the mounted image and copy them to the target USB drive.
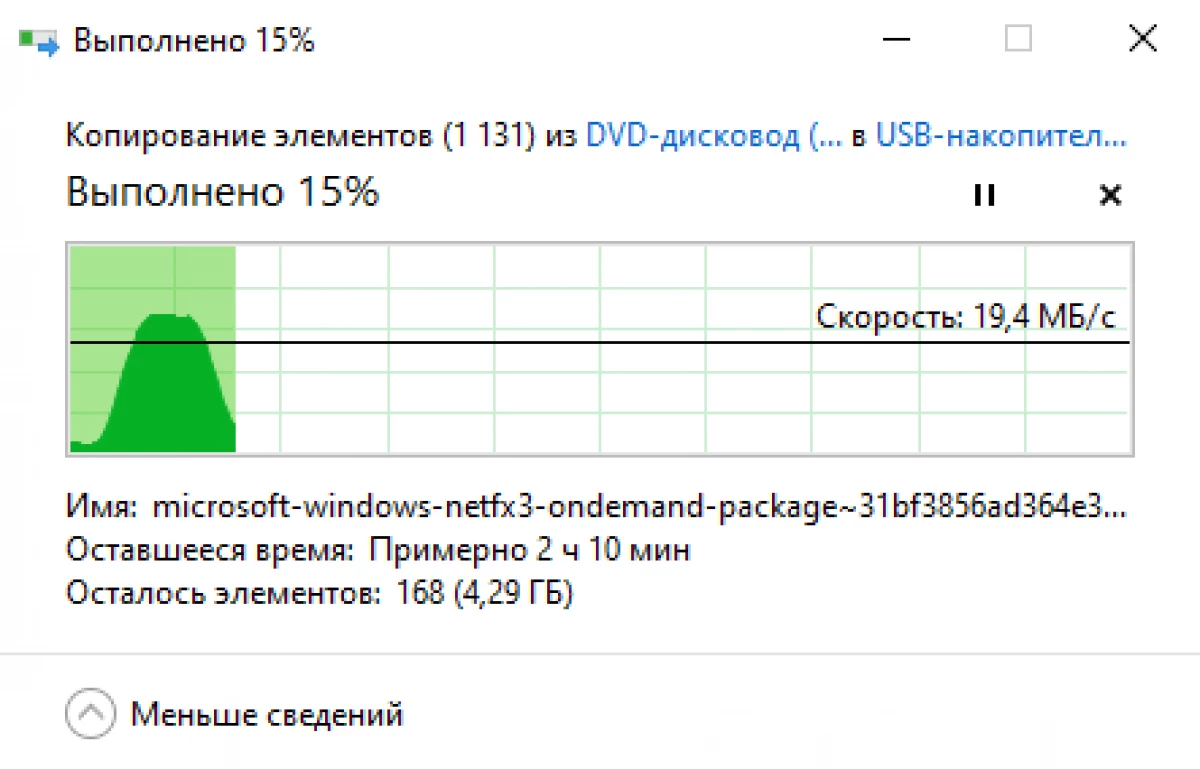
In the process, an Install.wim file copy error will appear, because The maximum possible file size for the volume formatted in FAT32 is 4 GB. Now skip the file and solve this problem below.
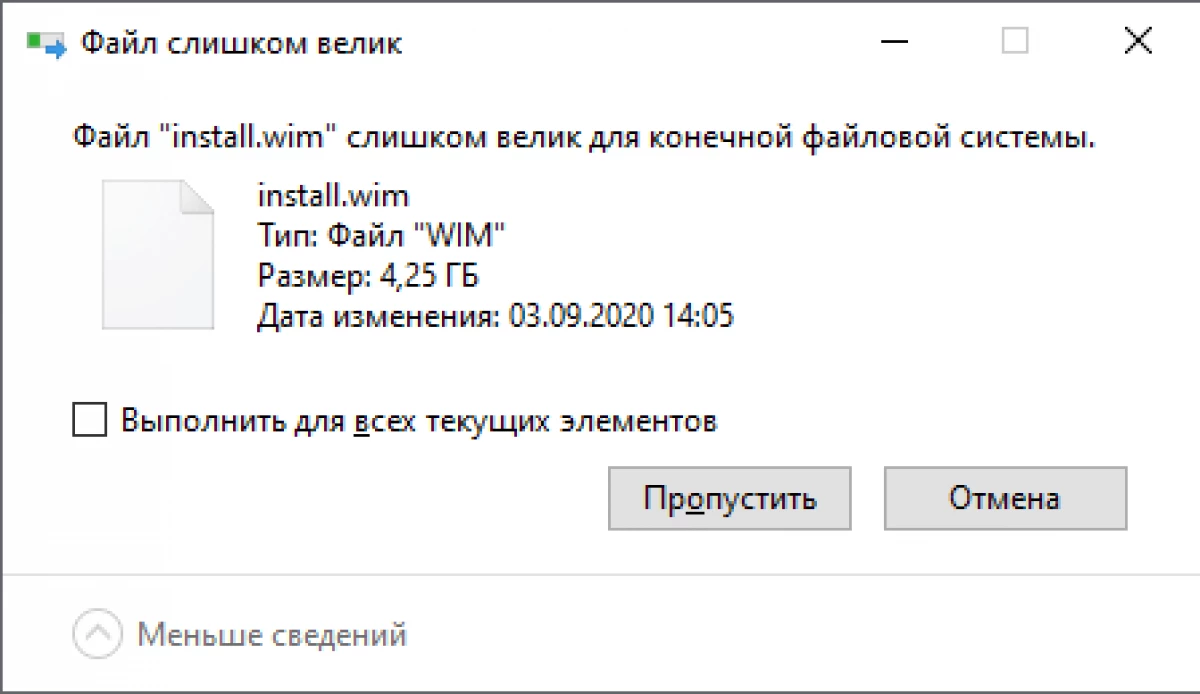
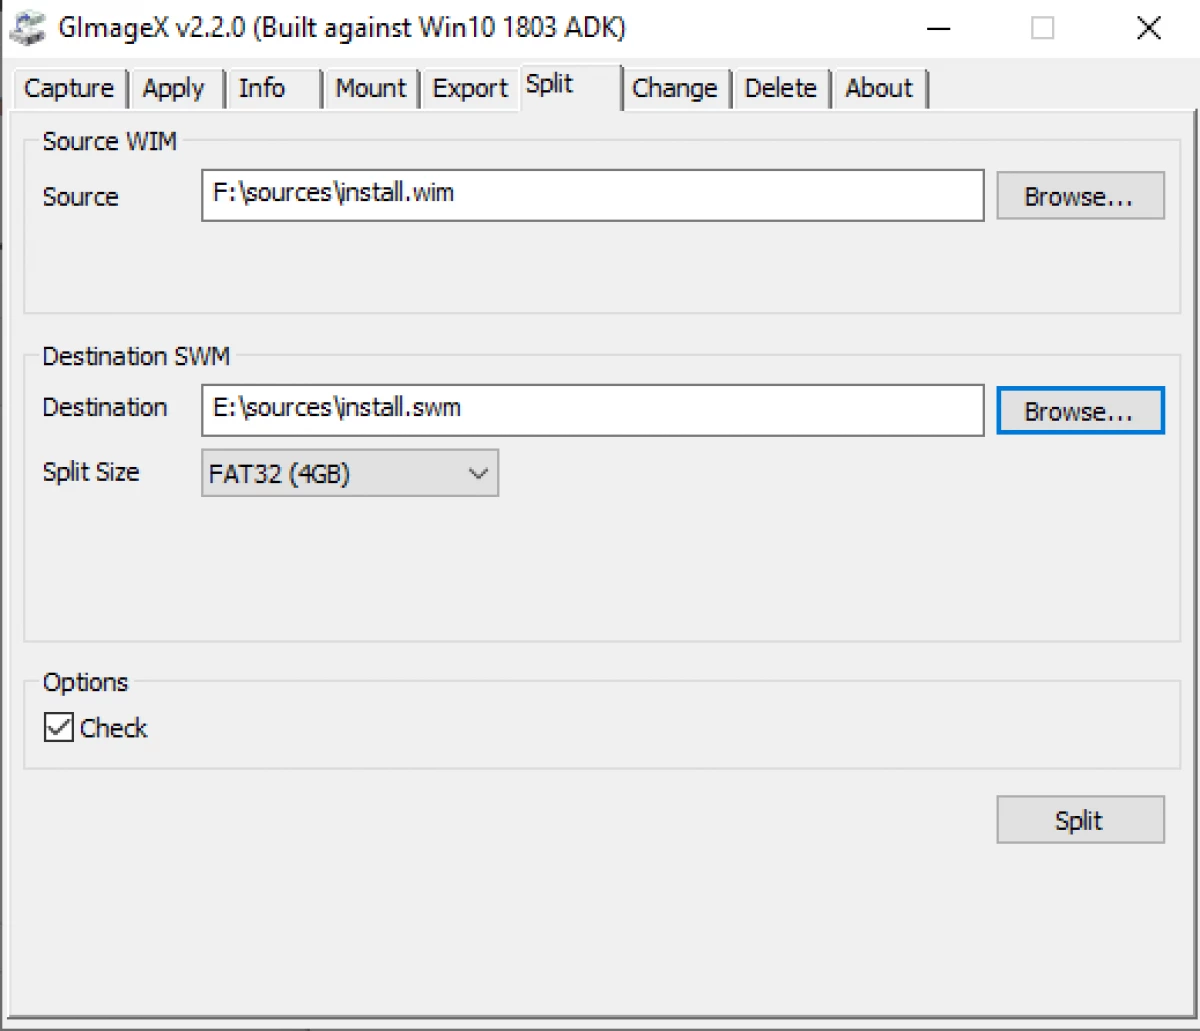
To get around the error associated with the FAT32 file system restriction, we divide the install.wim file into several files that do not exceed 4 GB.
And this action can be performed in two ways. The first, using the free GimageX program to work with WIM files. In it, go to the split tab, specify the install.wim file and the folder in which you want to record new files.
The second way is to use the DISM program.
dism / split-image / diffall.wim /swmfile:d:sourcesinstall.swm / filesize: 4096
- SourcesInstall - path to install.wim
- SourcesInstall - path to the target USB disk
If the path as the SourcesInsInstall was specified as in the example, immediately on the flash drive, a ready-made USB drive to install Windows Server 2019. If another path was specified, then transfer the received * .swm files to the "Sources" folder on the Flash drive and You will be a boot USB drive to install Windows Server 2019.
Using DISM, you can add and delete: Roles and components, updates and drivers. It is written in more detail in this article.
Using OSDBuilder for Customization ImageOSDBuilder is the PowerShell module, it is possible to create your own pre-parameters, ISO image. Like DISM, OSDBuilder allows you to perform offline maintenance of the Windows operating system, including Windows Server 2019. This creates the answer file, called the task that allows you to automate the autonomous image. Using the new-mediausb cmdlet, a boot USB carrier is created.
When installing and importing the OSDBuilder module, an error may occur because The default operating system is forbidden to start unreliable PowerShell scripts.
Install-Module OsdBuilder Import-Module Osdbuilder
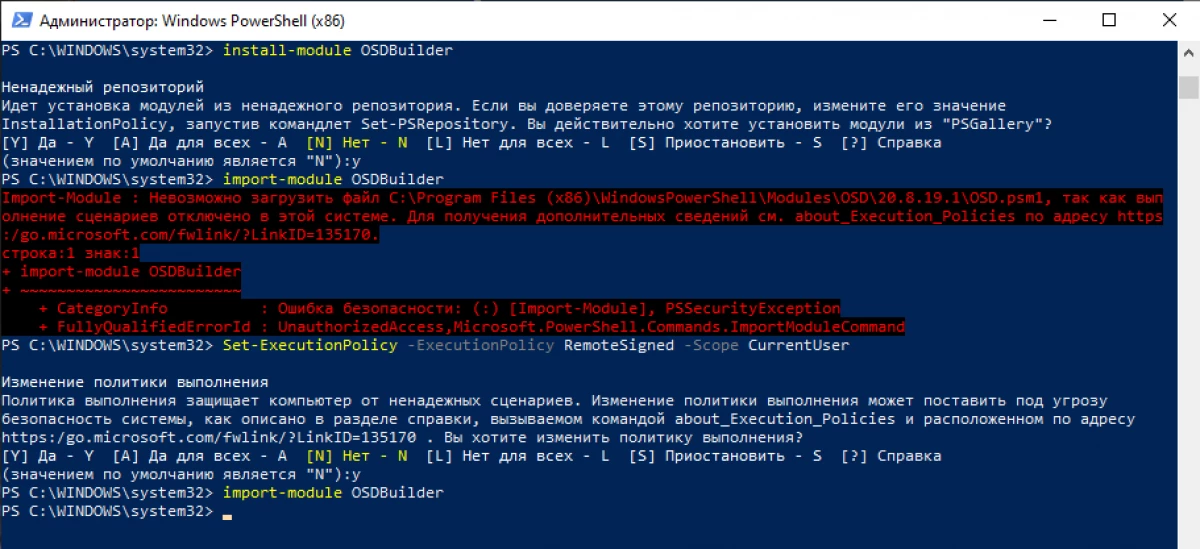
By changing the script execution policy, the module import command will end without error.
With a complete list of teams and a sequence of work, you can find the project site.
ConclusionThere are several ways to create a USB drive to install Windows Server 2019. The fastest way is to use RUFUS. More complex options are to use DISM and OSDBuilder.