
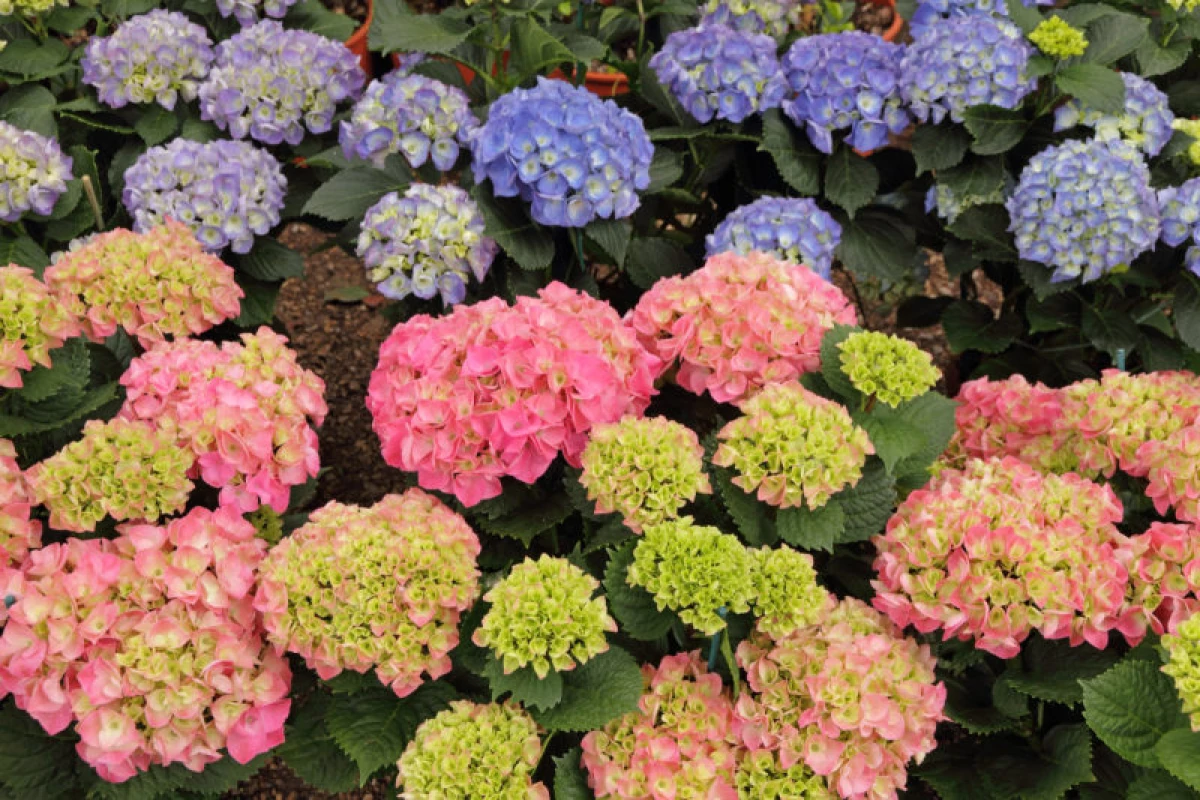
Good afternoon, my reader. Hydrangea, thanks to large chic inflorescences with a variety of shades, is able to decorate any nauded and summer cottage. This plant, if desired, it is easy to multiply independently using the extension technology. Among the representatives of the genus Hydrangea can be found shrubs reaching the height of 1.5 m, low trees, as well as Liana. There are both evergreens and deciduous species.
To multiply hydrangea with cuttings is easy. You can spend this procedure in summer, in spring or autumn, but taking into account the characteristics of each season.
The advantages of the autumn (beginning of October) reproduction:
- After the horticulture trimming before wintering, there is enough branches from which high-quality cuttings can be prepared.
- In the season, when the entire harvest is almost assembled, there is more free time to perform all the necessary actions to further rooting the planting material.
- By the spring period, the cuttings manage to germinate, gain strength and energy, which ensures good survival.
Among the shortcomings, the need for careful landing material care during the winter season is noted. Move it into the conditions of open soil when stable heat is installed and the threat of frosts. As well as the difficulty lies in the fact that by the middle of autumn, the shoots have time to fully shove out, which reduces the likelihood of one hundred percent rooting.
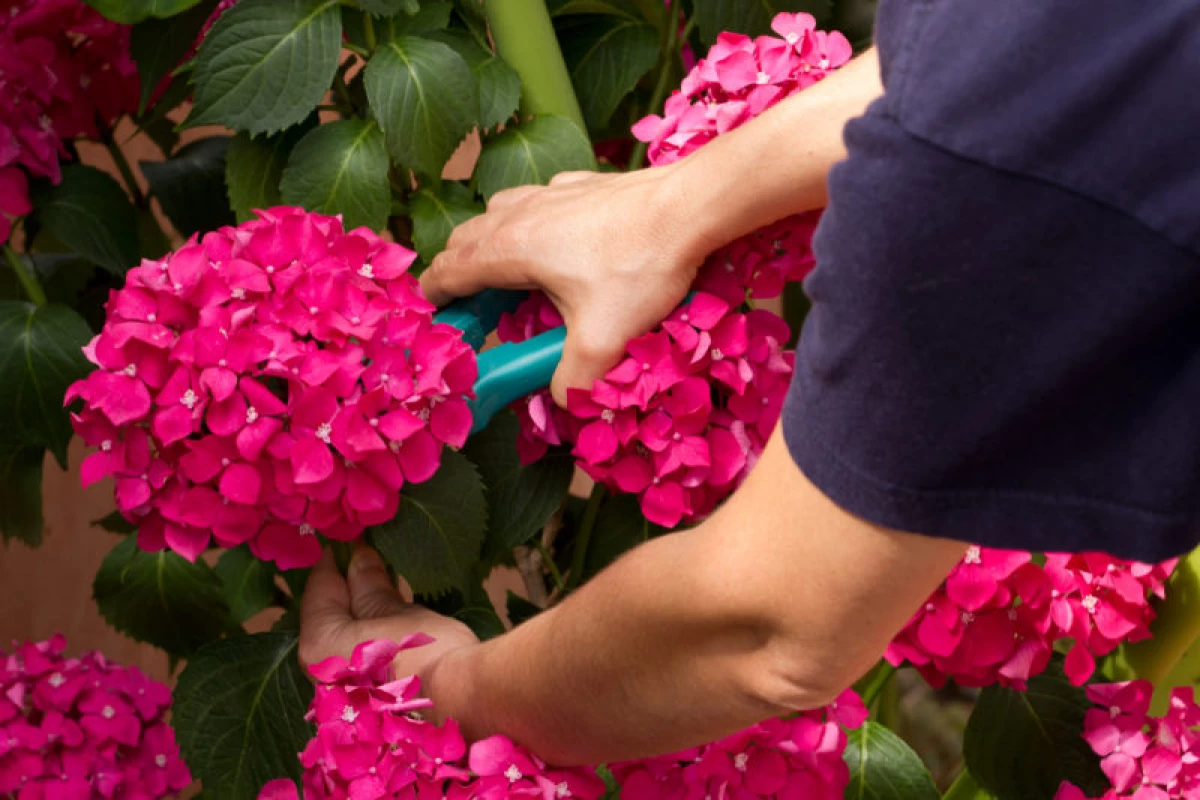
Pick up high-quality healthy strong branches on which there are no signs of diseases, damage, dry plots, rot. Apply a sharp tool. Before working it disinfect. Hands in the process of work are protected by gloves.
For the billet, the cuttings choose a cloudy morning. It is possible to light rain, which contributes to the preservation of moisture necessary for future development. If further actions are planned to perform the next day, the cuttings are placed in a bucket with liquid. It is impossible to leave them without water.
It is recommended for overlapping branches older than a year. It is advisable to choose shoots that did not bloom in the current year.
- Remove from the tops of the top.
- The remaining part of the stem is divided into several cuttings up to 15 cm long so that at least 3 nodes remain on each fragment, in which kidney will be formed.
- The bottom of the cutting must be cut off exactly under the node.
- Top left from the last knot to a slice of about 20 mm.
- Clean all the lower leaves. Top leafy plates cut half.
As a container to germinate cuttings, you can use clay dishes, plastic containers.
With independent manufacture, the extended riding peat with river coarse-grained sand in the ratio of 1: 2 is combined. You can take a mixture composed in the same fractions of sand, garden soil and needles. Add to it riding peat and turf, observing the 4: 3: 3 ratio.
Before the appearance of the roots, it is possible to put the cuttings into the dilated water, and then move it into the ground mixture. But such an operation is not mandatory, since the shoots of hydrangea gently germinate in the soil. In this case, it is necessary to predend the lower cuts to the tool stimulating the root formation. Ready-made drugs can be replaced with a solution of honey.
The soil mixture in the tank is moistened with extruded water with a pulverizer.
The cuttings are installed by observing the angle of inclination of about 60 degrees. It should be plunged up to 5 cm. Be sure to control that the upper kidney does not come into contact with the soil surface. Install shoots with an interval from 5 cm. It is important that they do not touch each other.
Cover the planting capacity by a plastic transparent package, glass or plastic can. Created greenhouse conditions contribute to more rapid rooting. It is advisable in the shelter to make ventilation holes. If the material does not allow this, then the miniature greenhouse is ventilated daily.
Install the design into a warm place, but should not be cutting with the exposure to the burning of the sun's rays. Soil must be kept in a moistened state. On average, it is watered with an interval of 6-7 days. If the shelter has not been established, then the systematic spraying of cuttings will be required.
Since when the winter is approached, the duration of the daylight is reduced, it is necessary to equip next to the landing capacity of the lamp. The shelter leaves about a month before the signs of high-quality rooting. Specify this swollen, ready to bite the kidneys.
After the shelter is removed from home greenhouse, they continue to periodically water the cuttings, not allowing the convergence. It is recommended every 6-7 days to spray them.
It is necessary to keep the container with future seedlings in the room where sharp temperature fluctuations are excluded. In the spring, when the temperature on the street reaches positive indicators, begin with the aim of hardening to carry out rooting cuttings on the veranda or balcony. Leave first for 25-30 minutes, and then gradually the duration of fresh air is increased.